To soundproof your home studio effectively, focus on adding mass and preventing sound leakage. Use materials like mass-loaded vinyl and thicker drywall for better isolation. Seal all gaps with acoustic sealant to eliminate sound escape. Incorporate floating floors and a ‘room within a room’ for enhanced decoupling. Don’t overlook ceiling treatments—layering drywall can block noise effectively. For HVAC systems, consider upgrades that minimize interference. Finally, strategic furniture placement, like rugs, can improve acoustics. With these methods in place, you’ll create a more focused sound environment, and there’s plenty more to explore for an even better setup.
Key Takeaways
- Adding mass with materials like mass-loaded vinyl or thicker drywall significantly enhances sound isolation in home studios.
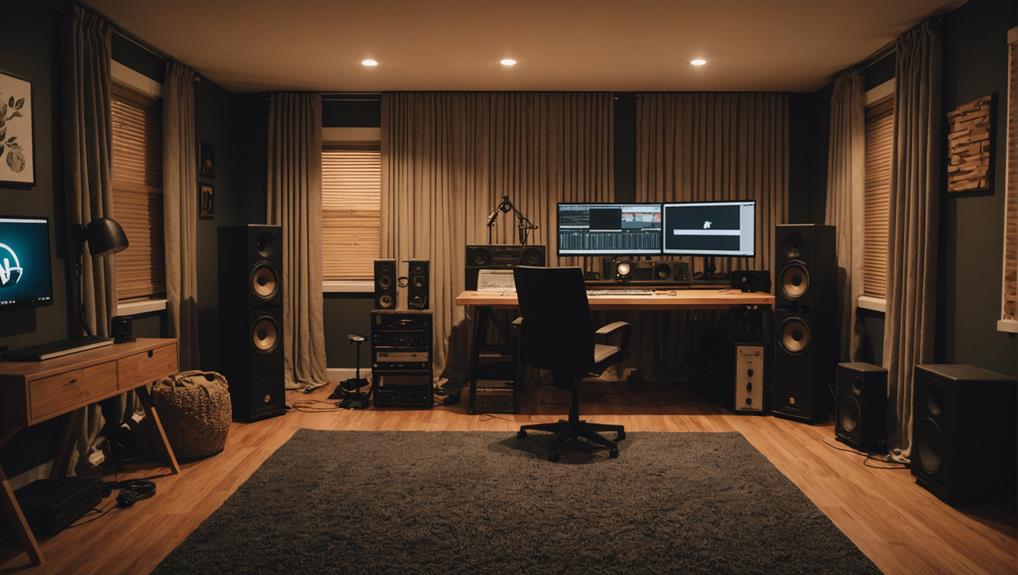
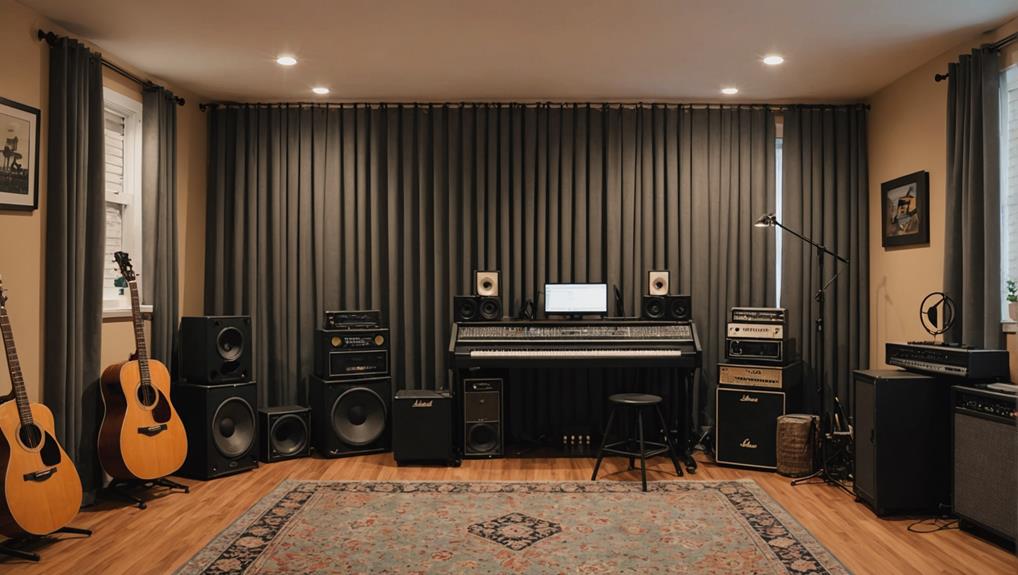
- Implementing acoustic treatment, such as foam panels and heavy curtains, effectively absorbs sound waves and reduces echo.
- Constructing a ‘room within a room’ with air gaps minimizes sound leakage and improves overall soundproofing.
- Sealing gaps and cracks with acoustic sealant is crucial to maintaining sound isolation and preventing sound leakage.
Understanding Soundproofing Basics
Understanding the basics of soundproofing is crucial if you want to create a quiet and controlled environment in your home studio. Soundproofing focuses on preventing sound from entering or exiting your space, while acoustic treatment manages sound behavior within that space. To effectively reduce sound transmission, you need to take into account several key methods.
Start by adding mass to your walls, floors, and ceilings. Materials like mass-loaded vinyl (MLV) and resilient channels can greatly diminish sound transfer.
Damping vibrations is another important strategy; using compounds like Green Glue can help absorb sound energy. Additionally, decoupling structures minimizes direct sound paths, further enhancing your soundproofing efforts.
It’s also essential to seal any gaps or cracks. Even tiny openings can compromise your sound isolation, so invest in quality acoustical sealant to guarantee a tight seal.
For home studios, aim for a minimum Sound Transmission Class (STC) rating of 50. This will provide a good level of isolation, while professional studios often achieve ratings in the 60-70 range.
Construction Techniques for Isolation
Effective construction techniques for isolation can transform your home studio into a soundproof haven, allowing you to focus on your recordings without unwanted noise interference. One of the most impactful methods is using soundproofing materials like multiple layers of drywall, which greatly enhance sound isolation due to their increased mass.
Additionally, consider floating floors that decouple from surrounding structures, effectively minimizing vibration transfer. Building a ‘room within a room’ can also create air gaps and detach your studio from the outer environment, reducing sound leakage. Using resilient channels, such as Auralex RC8, supports extra drywall layers and creates an air gap that further improves sound isolation.
Here’s a quick overview of effective techniques:
| Technique | Description | Benefits |
|---|---|---|
| Multiple Drywall Layers | Adds mass for better sound isolation | Reduces sound transmission |
| Floating Floors | Decouples the floor from surrounding structures | Minimizes vibrations |
| Room Within a Room | Creates air gaps to detach from outer structure | Effective soundproofing |
Don’t forget to use acoustic sealant to fill gaps and seams, ensuring your studio remains a quiet space for creativity!
Preventing Sound Leakage
To prevent sound leakage in your home studio, seal air gaps around wall and floor intersections, as even small openings can greatly compromise your sound isolation efforts. Use products like Auralex StopGap sealant to fill these gaps effectively.
Next, consider the doors and windows in your studio. Installing solid-core doors can markedly enhance soundproofing, improving the sound transmission class (STC) rating by about 10 points compared to hollow-core options.
Proper weather-stripping on doors is also essential; it helps eliminate gaps that allow sound to enter or exit, ensuring a more acoustically controlled environment.
For your windows, opt for double-pane, laminated glass. This choice can reduce sound transmission from the outside by up to 20-30 dB compared to single-pane windows, further enhancing sound isolation.
Effective Ceiling Soundproofing
When soundproofing your ceiling, consider layering drywall with Auralex SheetBlok for a dense barrier that greatly reduces noise transmission. This combination notably enhances sound isolation, creating a quieter environment for your studio.
Additionally, insulating the space between the ceiling and the upper floor with fiberglass is an effective strategy to further diminish noise transfer.
To improve your ceiling soundproofing, utilize resilient channels, like Auralex RC8, when mounting your drywall. These channels allow for decoupling, minimizing vibration transfer and enhancing overall sound isolation.
It’s also worth looking at the floor above your studio; a thicker floor covering can dampen sound transmission, contributing to a more effective soundproofing solution.
Don’t overlook potential air gaps, either. Addressing these with acoustic caulk around fixtures and edges is essential for maintaining an effective soundproof ceiling.
By focusing on these strategies, you’ll create a more peaceful workspace that allows you to concentrate on your creative projects without the distraction of unwanted noise.
With the right techniques, sound isolation can be markedly improved, ensuring your studio remains a sanctuary for sound.
HVAC Considerations
Upgrading your HVAC system is vital for keeping unwanted noise from disrupting your home studio’s sound isolation. Poorly designed HVAC systems can lead to significant noise interference, jeopardizing your recording quality. To guarantee peak performance, consider professional installation, which helps with both soundproofing and ventilation.
Ventilation is essential for maintaining air quality while keeping your studio acoustically controlled. Regular maintenance of your HVAC systems can prevent unexpected noise sources, allowing you to focus on your work without distractions.
When planning your sound isolation project, remember that HVAC considerations should come first. Only after addressing these can you effectively proceed with acoustic treatment installation.
Here’s a quick overview of key HVAC considerations:
| HVAC Aspect | Importance | Recommended Actions |
|---|---|---|
| System Type | Minimize noise interference | Choose the quietest models available |
| Installation | Guarantees soundproofing effectiveness | Hire professionals |
| Maintenance | Prevents unexpected noise | Schedule regular check-ups |
| Ventilation Design | Supports air quality and acoustics | Design for minimal disruption |
| Planning | Integrates with soundproofing efforts | Prioritize HVAC before acoustics |
Practical Soundproofing Solutions
Effective soundproofing solutions can make a significant difference in your home studio, enhancing both recording quality and overall acoustics. To soundproof your home effectively, consider implementing these practical methods:
- Add Mass: Use thicker drywall (around 1.6 cm) and sound isolation barriers on walls, floors, and ceilings. This increased mass reduces sound energy transfer and improves isolation.
- Seal Air Gaps: Even small openings can compromise sound isolation. Use products like Auralex StopGap sealant to seal gaps around wall/floor intersections and electrical outlets for improved sound absorption.
- Create a Soundproof Booth: Instead of soundproofing the entire room, construct a designated soundproof booth. This targeted approach allows you to focus on sound treatment where it’s most needed.
Additionally, you can utilize inexpensive materials such as egg crate mattress covers and thick carpeting to enhance sound absorption without breaking the bank.
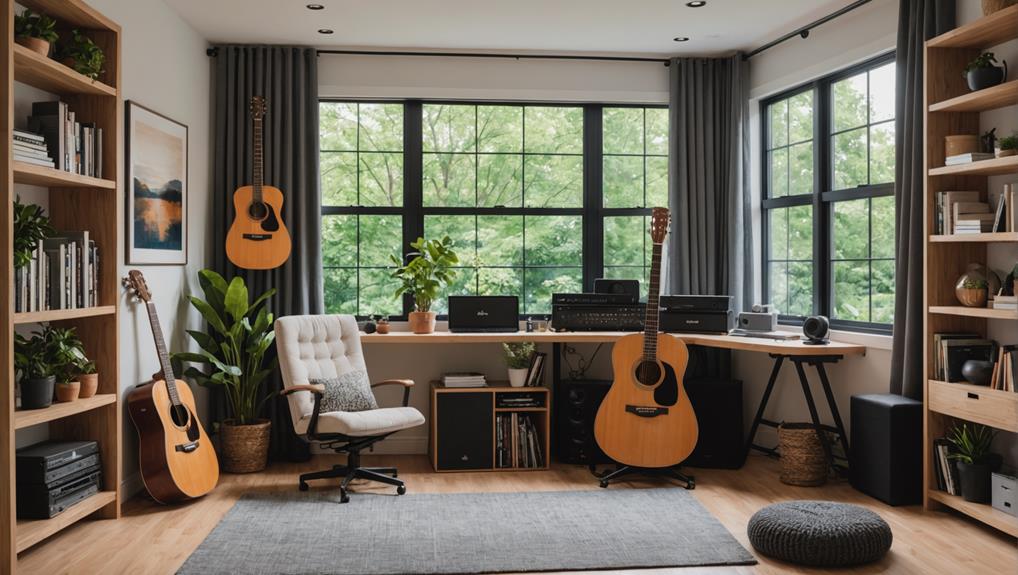
Implementing strategic furniture placement, like using rugs and insulation bags, can also enhance overall acoustic quality.
Resources and Support Options
Accessing the right resources and support options can greatly enhance your soundproofing project, guaranteeing you make informed decisions and achieve ideal results.
For home studios, professional consultations can be invaluable. They help you understand your specific recording needs and tailor sound isolation solutions accordingly. Companies like Sweetwater provide continuous support throughout your project, offering expert guidance to guarantee effective results.
Take advantage of a wealth of resources available online, including articles and how-to guides that explore soundproofing techniques and materials. Engaging with community forums can also enrich your knowledge, allowing you to learn from others’ experiences and strategies.
Consider subscription benefits from platforms like 42West, which offer exclusive content and promotions related to soundproofing. These resources keep you updated on industry trends and new products, making your soundproofing journey even smoother.
