To boost your home studio recordings, focus on mastering a few key techniques. Start by defining your recording goals to guide your setup. Optimize your recording environment with proper acoustic treatment and select quality microphones, like condenser models, for better sound capture. Don’t forget about gain staging; keep your audio levels between -12 dBFS and -6 dBFS to avoid distortion. Utilize digital audio workstations effectively, and enhance your mix with careful EQ adjustments. By incorporating these techniques, you’ll create polished tracks that stand out. There’s more to explore that can elevate your sound even further.
Key Takeaways
- Choose a room with minimal reverberation and use acoustic treatment to improve sound quality during recordings.
- Invest in quality condenser microphones and audio interfaces to enhance capture of vocals and instruments.
- Manage audio levels to prevent distortion, aiming for peaks between -12 dBFS and -6 dBFS for clarity.
- Utilize a DAW for multitrack recording and mixing, incorporating built-in effects and virtual instruments to enrich your sound.
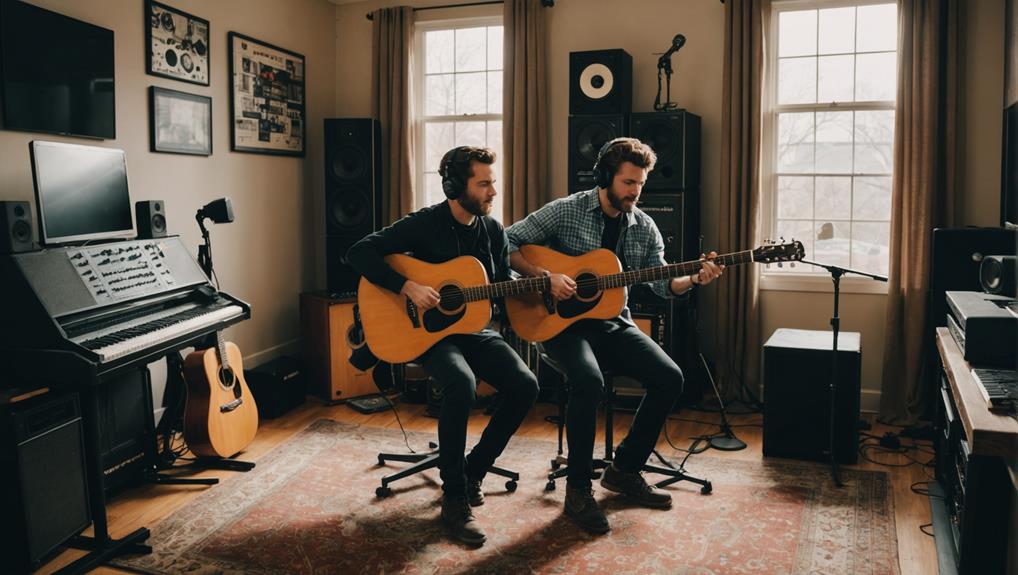
Understand Your Recording Goals
To kick off your recording journey, it’s essential to clearly define your recording goals, whether you’re aiming for demos, high-quality tracks, or just experimenting. These goals will directly influence your home studio setup guide, guiding you in selecting the right recording gear and techniques. If you’re focused on creating polished music, you’ll want to invest in quality microphones and audio interfaces that rival those found in a professional recording studio.
Consider the genre of music you’re producing, as different styles require unique approaches to recording and mixing. For example, if you’re working with acoustic instruments, you’ll need specific microphones and placements to capture the nuances in your home recordings. Similarly, if you’re experimenting, you might prioritize flexibility over perfection, allowing for more improvisation in your recording techniques.
Establishing a timeline for your project will keep you focused and organized. Set realistic expectations regarding the quality of your recordings based on your current skills and gear. Remember, mastering music production takes time, so embrace gradual improvement.
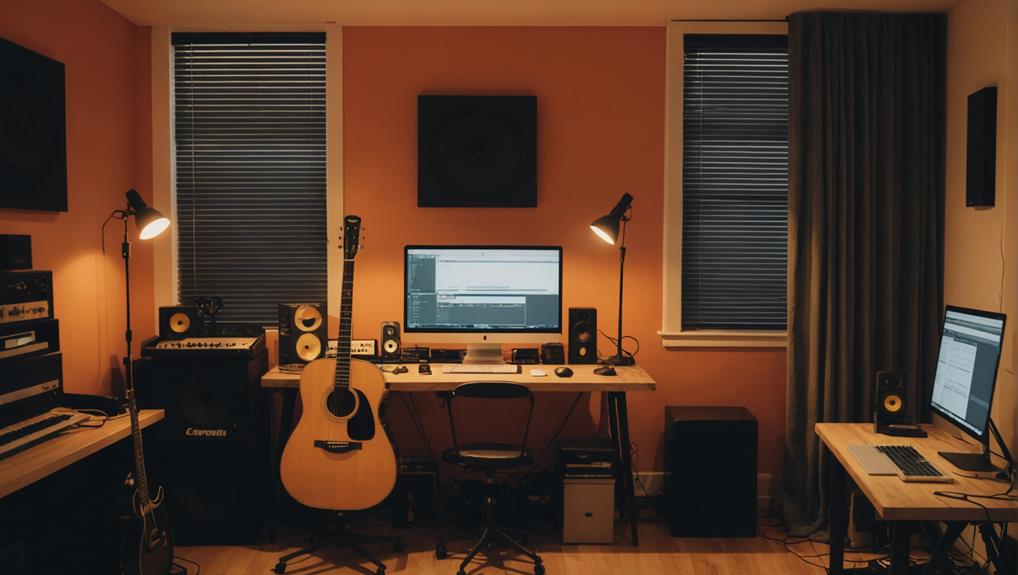
Optimize Your Recording Environment
Creating an ideal recording environment greatly enhances the quality of your tracks, ensuring that every note and nuance is captured accurately. Start by selecting a room with minimal reverberation and natural sound absorption, like one with carpets and soft furnishings. This will provide a solid foundation for your recording setup.
Next, implement acoustic treatment by adding DIY acoustic panels made from affordable materials. These panels absorb sound reflections, improving the clarity of your recordings.
Don’t forget to use heavy curtains or acoustic blankets on windows to block external noise and reduce sound leakage during tracking sessions.
Position your studio monitors and recording equipment away from walls and corners to minimize unwanted echoes and improve sound imaging. This careful arrangement will help you achieve a balanced mix.
Additionally, consider utilizing portable isolation shields around microphones to control sound capture, especially when recording vocals and instruments.
Utilize Quality Microphones
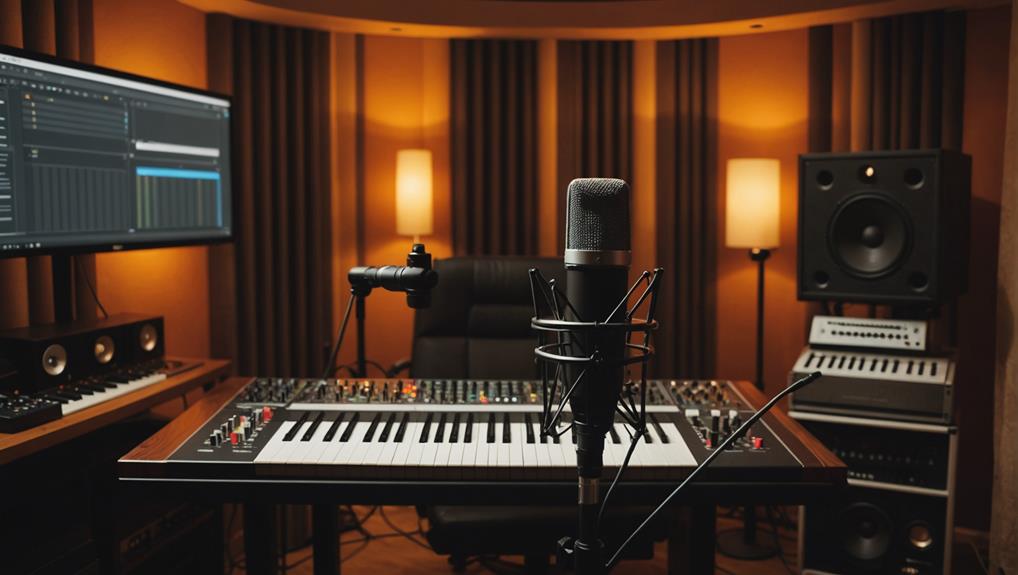
Choosing quality microphones is essential for capturing the best sound in your home studio recordings. For vocals and acoustic instruments, a condenser mic is often the best choice due to its sensitivity and ability to capture detail. The Audio-Technica AT2020 is a fantastic budget-friendly option that delivers excellent sound quality without breaking the bank.
When you’re recording, proper microphone placement plays a significant role in achieving clarity. Position your mic about 6-12 inches away from the vocalist’s mouth to balance the sound while minimizing plosive effects. To further enhance your recordings, use pop filters with your condenser mics. These filters help eliminate plosive sounds like ‘p’ and ‘b’, resulting in cleaner vocals.
Additionally, investing in a quality audio interface, such as the Focusrite Scarlett 2i2, is essential. It provides superior preamps and converters that greatly enhance the overall sound captured by your microphones.
Master Gain Staging
Mastering gain staging is vital for achieving clean and professional-sounding recordings in your home studio. Gain staging involves managing audio levels throughout your recording chain to prevent distortion and guarantee peak sound quality. Aim for a signal peak between -12 dBFS and -6 dBFS, allowing headroom during mixing.
Start by setting your preamp levels correctly to avoid clipping, especially when working at 24-bit depth, which offers a dynamic range of about 144 dB. Each piece of equipment in your audio chain should maintain consistent levels; for instance, make sure that the input gain on your audio interface isn’t too low or too high. This balance is significant for maintaining a decent signal-to-noise ratio, which minimizes unwanted noise and enhances your final mix’s clarity.
Regularly monitor your audio levels using your digital audio workstation (DAW) meters. This practice helps you identify potential issues early, allowing for necessary adjustments before you commit to multiple takes.
Experiment With Acoustic Treatment
To achieve high-quality recordings in your home studio, experimenting with acoustic treatment is essential for minimizing echo and background noise. A well-treated space can notably enhance your recording environment, making your tracks sound polished and professional.
Start by utilizing soft furnishings, like curtains and rugs, to absorb sound and reduce reflections. These simple additions can greatly improve your room sound. For a more targeted approach, consider creating DIY acoustic panels using affordable materials such as mineral wool or foam. Strategically place these panels in your space to dampen unwanted frequencies and enhance overall sound clarity.
If you’re looking for effective soundproofing, the ‘room in a room’ technique is worth exploring. This method involves building a separate inner structure to reduce noise interference from external sources.
Additionally, reflection filters around your microphones can elevate your vocal recordings by isolating the sound source and minimizing room reflections during tracking.
Leverage Digital Audio Workstations
Once you’ve optimized your recording space with acoustic treatment, the next step is to leverage a Digital Audio Workstation (DAW) to bring your musical ideas to life. DAW software is essential for recording music, as it provides the tools you need for recording and mixing tracks, much like a professional studio but in your home.
To maximize your DAW experience, consider these five key features:
- Multitrack Recording: Layer multiple audio sources for complex productions.
- Built-in Effects: Use virtual effects to enhance your tracks without needing external hardware.
- Audio Interface Integration: Pair your DAW with a good audio interface for high-quality sound capture and low latency.
- Editing Tools: Easily edit your recordings for precision and polish.
Incorporate MIDI Controllers
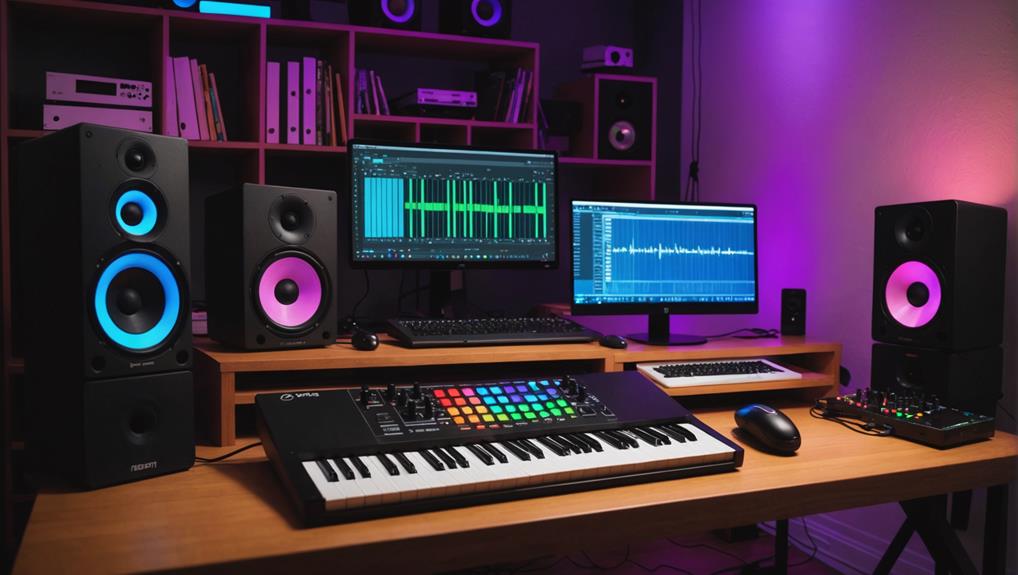
Incorporating MIDI controllers into your home studio setup can greatly enhance your music production process by providing precise control over virtual instruments and facilitating dynamic performance.
As a music producer, using MIDI controllers can revolutionize your workflow, allowing you to create rich and complex arrangements with ease. With velocity-sensitive keys, you can capture the nuances of your performance, making your recordings feel more lifelike.
MIDI controllers streamline the songwriting process, enabling you to edit note placements, velocities, and lengths within your digital audio workstation (DAW) effortlessly. This flexibility is invaluable for sound engineering, as it allows you to fine-tune your compositions without the limitations of traditional studio gear.
Additionally, many MIDI controllers feature assignable knobs and pads, giving you hands-on control over volume, panning, and effects during recording sessions. This real-time adjustment can notably improve your recordings, especially when you’re working on vocals or other instruments.
For home recording tips, remember that the ability to quickly access a vast array of sounds and instruments can spark creativity and experimentation in your music production.
Embrace MIDI controllers to elevate your home studio experience!
Focus on Mixing Techniques
Mastering mixing techniques is essential for turning your recordings into polished, professional-sounding tracks that captivate listeners. Achieving a balanced mix requires careful adjustments, so no single track overwhelms the others. Here are key techniques to help you create that professional sound:
- Level Adjustments: Guarantee all elements are distinctly audible within the overall soundscape.
- Panning: Use panning techniques to place instruments and vocals across the stereo field, creating space and avoiding congestion.
- EQ: Employ EQ to carve out frequency ranges for each track, reducing overlaps that can cause muddiness while allowing each instrument to shine.
- Compression: Apply compression judiciously to control dynamics, guaranteeing louder sounds don’t dominate while maintaining energy and presence.

5 responses to “Top Recommended Recording Techniques for Home Studios”
[…] recording environment and treatment plays an important role in achieving ideal sound quality. When you manipulate these frequencies […]
[…] this phase, consider how your recording environment and acoustic treatment can influence vocal clarity and overall sound […]
[…] mixing and mastering, providing clear, precise audio output. Additionally, consider implementing acoustic treatment to optimize your listening environment, assuring that your mixes translate well across different […]
[…] creating a confusing auditory environment. To improve your recording quality, consider implementing acoustic treatment techniques designed to minimize unwanted sound […]
[…] materials like Mass Loaded Vinyl (MLV) can greatly enhance this aspect, as well as implementing room selection strategies to find spaces with minimal […]