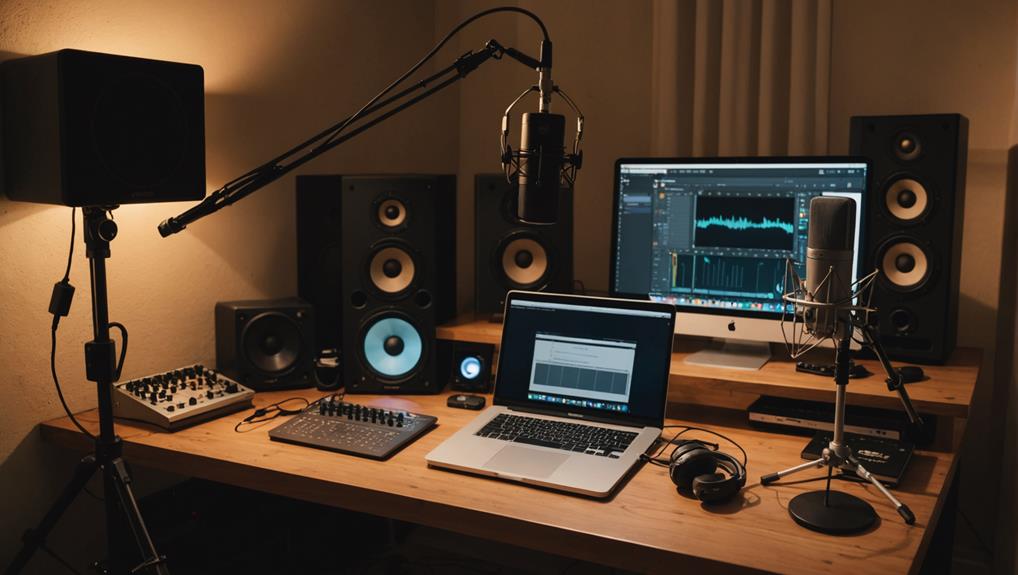
To guarantee home recording success, you need some must-have gear. Start with a powerful computer, like one with an Intel i5 or AMD Ryzen 5, along with at least 8GB of RAM and a 256GB SSD. Next, invest in a quality audio interface, such as the Focusrite Scarlett 2i2, for clear sound. You’ll also want versatile microphones, like large-diaphragm condensers and dynamic mics. Don’t forget quality closed-back headphones for recording and studio monitors for mixing. With this foundational gear, you’ll be on the right track. Keep exploring to discover even more essential equipment for your setup!
Key Takeaways
- Choose a powerful computer with a minimum Intel i5 CPU, 8GB RAM, and 256GB SSD for optimal DAW performance.
- Select a compatible DAW that meets your needs, considering trial versions and online tutorials for ease of learning.
- Invest in a high-quality audio interface like Focusrite Scarlett 2i2 for superior sound conversion and low-latency performance.
- Use large-diaphragm condenser microphones for vocals and dynamic microphones for instruments to capture diverse sound qualities.
Computer Selection and Setup
When setting up your home recording studio, choosing the right computer is vital for achieving smooth and efficient audio production. You should look for a computer or laptop with a powerful CPU, ideally at least an Intel i5 or AMD Ryzen 5. This guarantees your system can handle your Digital Audio Workstation (DAW) and multiple audio tracks without lag. Aim for a minimum of 8GB of RAM to support seamless recording and editing.
An SSD (Solid State Drive) with at least 256GB of storage is important for faster data access and improved load times, which is particularly significant when working with large audio files. To optimize your workflow, consider using dual monitors; this allows you to view your DAW and additional tools simultaneously, enhancing your overall performance.
Make sure your chosen setup is compatible with your DAW, whether you’re using Mac or Windows, as this can directly impact usability. Finally, don’t overlook external storage solutions like portable SSDs or cloud services for backing up and managing your audio projects efficiently, maintaining your internal drive’s performance.
Choosing the Right DAW
Selecting the right Digital Audio Workstation (DAW) is key to maximizing your home recording setup and enhancing your music production experience. Start by considering your operating system compatibility; for instance, Logic Pro X is exclusive to Mac, while options like FL Studio and Ableton Live support both Mac and Windows.
Next, evaluate the specific features you need. Look for DAWs with robust MIDI capabilities, advanced audio editing tools, and built-in plugins that suit your workflow. Avid Pro Tools is renowned for its professional-grade features, but it may be complex for beginners.
If you’re just starting out, explore free DAW options like GarageBand, Avid Pro Tools | First, or Ableton Live Lite. These can be excellent ways to experiment without financial commitment.
Don’t overlook the learning curve; choose a DAW that offers ample online tutorials and community support to help you grow in music production. Many DAWs also provide trial versions, so you can test functionality and workflow before making a decision. With the right DAW, you’ll be well on your way to creating amazing music at home.
Understanding Audio Interfaces
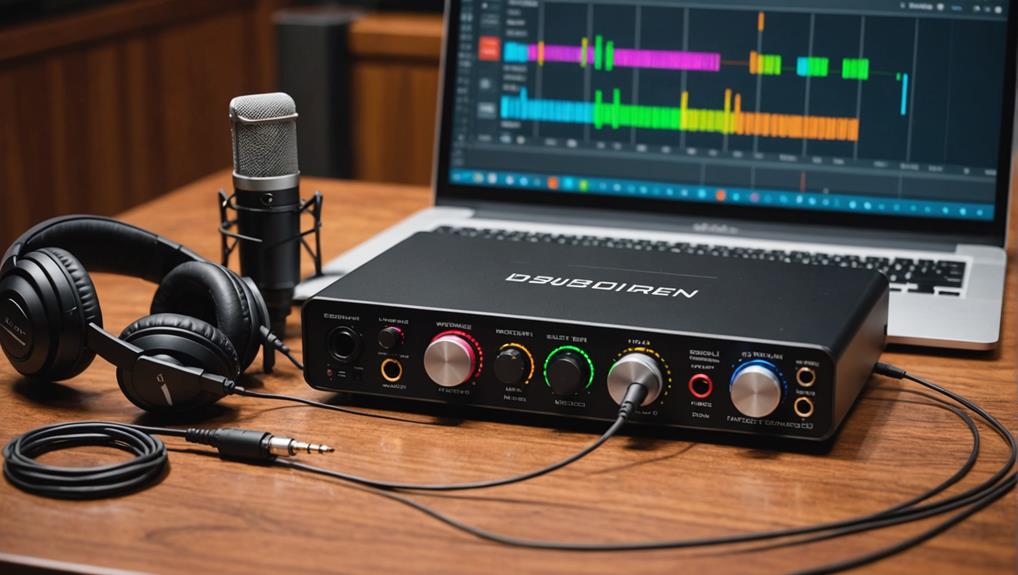
Understanding audio interfaces is vital for achieving high-quality recordings, as they bridge the gap between your instruments and your computer. An audio interface converts digital audio signals for monitoring and playback, guaranteeing that you capture every nuance of your sound. When selecting an audio interface, focus on key features like the quality of AD/DA converters, the number of inputs/outputs, and the quality of microphone preamps.
For beginners, the Focusrite Scarlett 2i2 is a popular choice, offering excellent performance without breaking the bank. Modern interfaces utilize USB-C and Thunderbolt connections, providing low-latency performance that’s essential for real-time monitoring during recording sessions. This means you’ll hear your inputs without any noticeable delay, allowing for a smoother recording experience.
Expandability is another important aspect; interfaces with optical/ADAT inputs enable you to add more microphones or instruments as your recording needs grow. This flexibility guarantees that your setup can evolve with you, keeping your home studio relevant for years.
Essential Microphone Types
Choosing the right microphone type is essential for achieving the best sound quality in your recordings, as each serves a specific purpose and excels in different applications. Here are some key microphone types to take into account:
- Large-diaphragm condenser microphones: Ideal for recording vocals and acoustic instruments, these mics are sensitive and capture a wide frequency range, providing rich detail to your recordings.
- Small-diaphragm condenser microphones: Great for high frequencies, these are often used for capturing intricate sounds from instruments like strings and percussion, offering exceptional clarity.
- Dynamic microphones: The Shure SM57 is a classic example, known for its robustness and versatility. It’s perfect for live performances and can handle loud sound sources like drums and guitar amplifiers.
- Ribbon microphones: With a warm, vintage sound quality, these mics excel in recording vocals and brass instruments. They provide a smooth response to high frequencies, enhancing your overall sound capture.
Don’t forget about microphone preamps! Quality preamps in your audio interface greatly influence how well your microphone signal is amplified, ensuring you get the best possible results.
Headphones for Home Recording
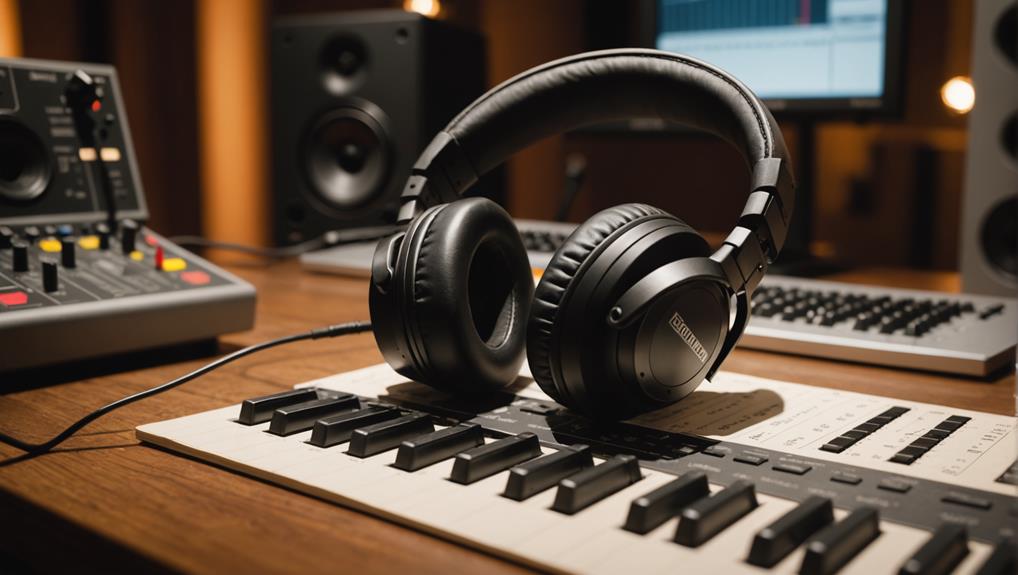
After ensuring you have the right microphone, the next key component for quality home recording is headphones, which play an essential role in monitoring sound accurately during tracking and mixing.
For recording, closed-back headphones are vital as they prevent sound leakage, making them perfect for capturing vocals and instruments in untreated spaces. You’ll want to prioritize comfort, too; long recording sessions can lead to fatigue if your headphones don’t fit well.
When it comes to mixing, consider open-back headphones. These offer a more natural sound and a wider soundstage, allowing you to make better decisions about your mix. Popular choices include the Audio-Technica ATH-M50X for its versatility and the Sennheiser HD 600, which excels in mixing accuracy. If you’re looking for high-fidelity listening, the Audeze LCD line is a fantastic option.
Don’t forget about impedance! High-impedance headphones (like those at 250 ohms) require a dedicated headphone amplifier to deliver peak performance, while low-impedance models (around 32 ohms) can easily connect to most audio interfaces. Choose wisely to enhance your home recording experience.
Studio Monitors and Acoustic Treatment
Studio monitors are essential for achieving accurate sound reproduction in your home recording setup. For the best results, consider investing in models like the Yamaha HS Series or JBL 305P, which offer a flat frequency response.
Proper acoustic treatment is equally important to improve sound quality. Here are four key elements to focus on:
- Bass Traps: These help control low-frequency buildup in your space, providing clearer bass response.
- Absorptive Panels: These reduce reflections from reflective surfaces, preventing unwanted echoes that can muddle your mix.
- Isolation Pads: Placing your studio monitors on isolation pads minimizes frequency resonances, enhancing your listening accuracy.
- Monitor Placement: Position your monitors at ear level to optimize your listening experience and guarantee accurate sound translation.
Avoid ported monitors if you want better fidelity; sealed designs typically offer more precise bass response.
By investing in both quality studio monitors and effective acoustic treatment, you’ll be on your way to achieving professional-sounding results right from your home studio.
Don’t underestimate the impact of these tools in elevating your recordings!
MIDI Controllers for Production
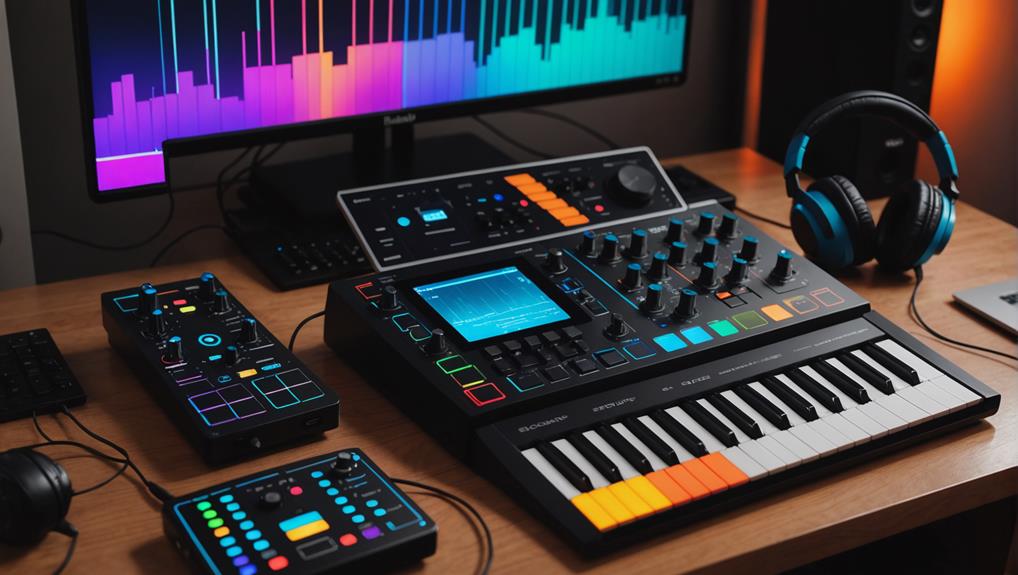
To enhance your home recording setup, incorporating a MIDI controller can greatly elevate your music production capabilities. MIDI controllers serve as essential tools, allowing you to play virtual instruments and control various parameters within your digital audio workstation (DAW) with ease. With features like velocity-sensitive keys and drum pads, you can achieve an expressive performance that brings your music to life.
Popular models such as the Akai MPK and NI Komplete Kontrol are designed for seamless integration with major DAWs, streamlining your workflow and enhancing creativity. You can find MIDI controllers in different sizes and complexities, from compact models perfect for travel to full-sized keyboards suited for studio sessions.
Advanced MIDI controllers often come equipped with features like aftertouch, customizable RGB lighting, and built-in displays. These enhancements not only improve user interaction but also inspire creativity during your music production process.
Cables and Accessories Needed
When setting up your home recording studio, having the right cables and accessories is vital for achieving high-quality sound and seamless connectivity. The right choices enhance signal integrity and guarantee your recording sessions run smoothly. Here’s what you need:
- XLR Cables: These are essential for connecting microphones to your audio interface. They minimize noise interference, ensuring peak recording quality.
- TRS Cables: Use these to connect your studio monitors and other balanced audio equipment. They provide clearer sound by reducing electromagnetic interference.
- USB Cables: Necessary for connecting digital audio interfaces to your computer, opt for USB 3.0 or USB-C for faster data transfer and low-latency performance.
- Coiled Cables: These help prevent tangles and keep your workspace tidy, especially in dynamic environments where movement is common.
Additionally, investing in cable organizers and Velcro ties can keep your studio clutter-free, allowing for efficient setup and easy access to your equipment during recording sessions.
Building Your Creative Space
Creating a comfortable and inspiring environment is essential for releasing your creativity and enhancing your recording experience. Start by choosing a quiet, vibration-free room, as the acoustics greatly affect your recording quality. Invest in acoustic treatment like foam panels and bass traps to minimize echo and improve sound clarity.
Next, focus on ergonomic studio furniture. A comfortable chair and a sturdy desk can make a significant difference, promoting good posture during those long sessions. Position your studio monitors at ear level and use isolation pads to decouple them from surfaces, ensuring accurate sound reproduction.
Don’t forget to personalize your workspace! Adding inspiring decor and appropriate lighting can transform your space into a true creative environment. The right atmosphere can motivate you and help keep your energy levels high while you work on your projects.
With the right setup, you’ll not only improve your recording quality but also enjoy the process. Building your creative space is about more than just gear; it’s about crafting an environment that inspires and supports your artistic vision.

One response to “Must-Have Gear for Home Recording Success”
[…] Acoustic treatment primarily includes fiberglass, foam, mineral wool, and wood, each serving distinct roles in sound management. Fiberglass is particularly effective due to its high sound absorption coefficients, making it a go-to choice for environments like recording studios, where clarity is paramount. Additionally, investing in quality acoustic treatment can improve the overall recording experience, leading to better mixing and production outcomes, as emphasized in vital recording gear and setup. […]