Setting up a home recording studio today lets you release your creativity whenever inspiration strikes. You’ll save money that you’d otherwise spend on studio rentals, and you can customize your space to fit your style and needs. With the rise of digital platforms, you can easily collaborate with others and share your music globally. Plus, you’ll gain valuable skills in mixing and mastering while maintaining control over your production quality. Whether you’re a beginner or an experienced artist, a home studio opens doors to endless possibilities, giving you the freedom to create and explore in your own environment. You’ll find more insights ahead.
Key Takeaways
- Home studios allow for creative freedom, enabling musicians to experiment and produce music anytime without studio time constraints.
- Significant cost savings can be achieved by avoiding expensive studio rentals, making music production more accessible.
- Enhanced control over production quality and sound design leads to better recordings and an opportunity to develop mixing and mastering skills.
- Increasing demand for home recordings and the rise of independent artists highlight the relevance of home studios in today’s music industry.
Benefits of a Home Studio
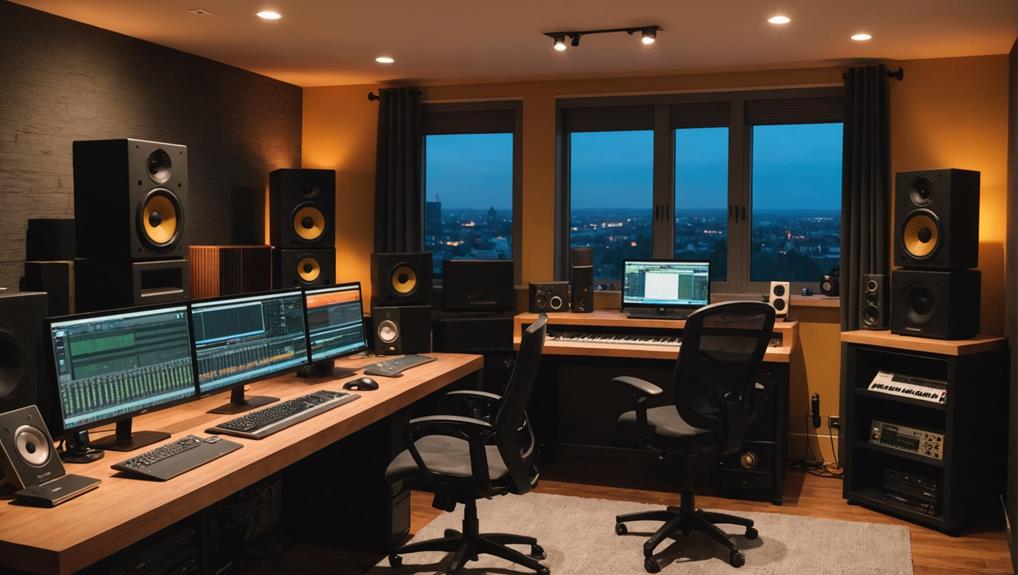
Setting up your own home recording studio gives you the freedom to create music on your own terms, without the constraints of traditional studio time. You can record and produce music whenever inspiration strikes, making the creative process more enjoyable and less stressful. With an extensive home studio setup guide, you’ll learn how to optimize your space for effective music production.
One of the most significant benefits is the cost savings. Rather than spending a fortune on professional studio rentals, you can invest in high-quality equipment that fits your budget. Advances in recording technology mean you can achieve a professional sound without breaking the bank.
Your home studio can be customized to suit your style and preferences, enhancing your comfort while recording vocals. Additionally, incorporating proper acoustic treatment can drastically improve sound quality, allowing your tracks to shine.
Moreover, in today’s digital age, having a home studio is essential for collaboration and distribution. You can easily connect with other musicians remotely and share your music with audiences worldwide. This flexibility not only broadens your creative opportunities but also helps you stay relevant in an ever-evolving industry.
Essential Equipment to Consider
To create high-quality recordings in your home studio, you’ll need to invest in key equipment that enhances your production capabilities.
Start with a powerful computer, as it’s essential for music production. Depending on your budget, you can choose a MacBook Air or go for the advanced Mac Studio, ensuring you have peak processing power.
Next, you’ll require a Digital Audio Workstation (DAW) for recording and editing. Free options like GarageBand are great for beginners, but if you’re serious about your craft, consider investing in professional software like ProTools.
An audio interface is another important component, as it connects your microphones and speakers, facilitating high-quality sound capture. The Scarlett 2i2 is a popular choice that offers quality preamps and converters at a reasonable price.
For capturing vocals and instruments, a condenser mic is essential. Options like the Audio-Technica AT2020 are budget-friendly, while high-end models like the Neumann U87 deliver exceptional sound.
Choosing the Right Space
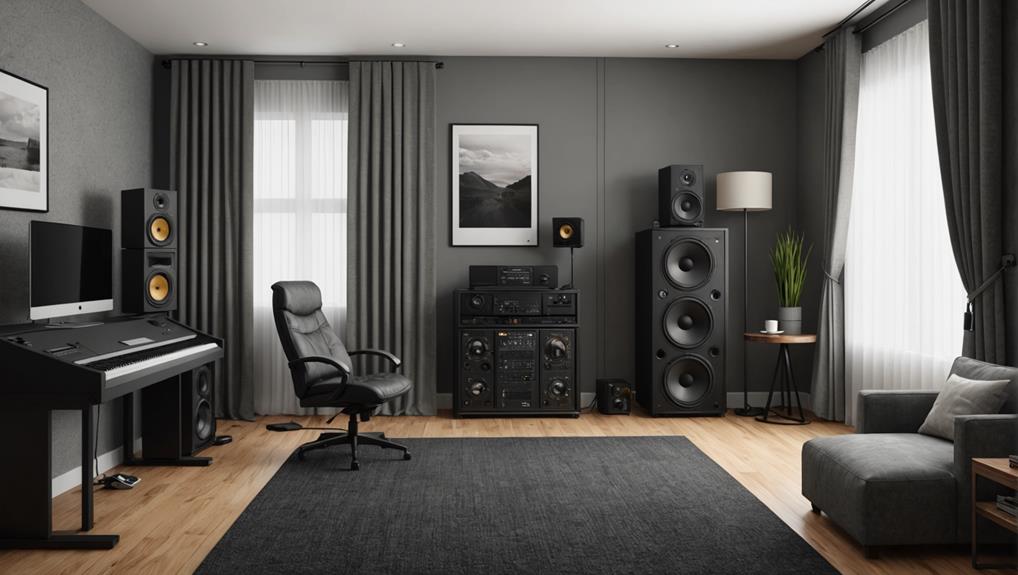
Finding the perfect space for your home recording studio is vital to achieving high-quality sound and maximizing your creative potential. The right environment can greatly impact your recording experience, so consider these key factors when choosing your space:
- Quiet Location: Select an area in your home, like a basement or unused room, to minimize external noise interference.
- Size Matters: Verify you have about 100-200 square feet to comfortably fit all your equipment and allow for movement and creativity.
- Room Shape: Opt for a rectangular room, as it generally offers better acoustics and sound distribution than a square room.
- Natural Light and Ventilation: A space with windows or good airflow can enhance your comfort and inspire creativity.
Basic Acoustic Treatment Tips
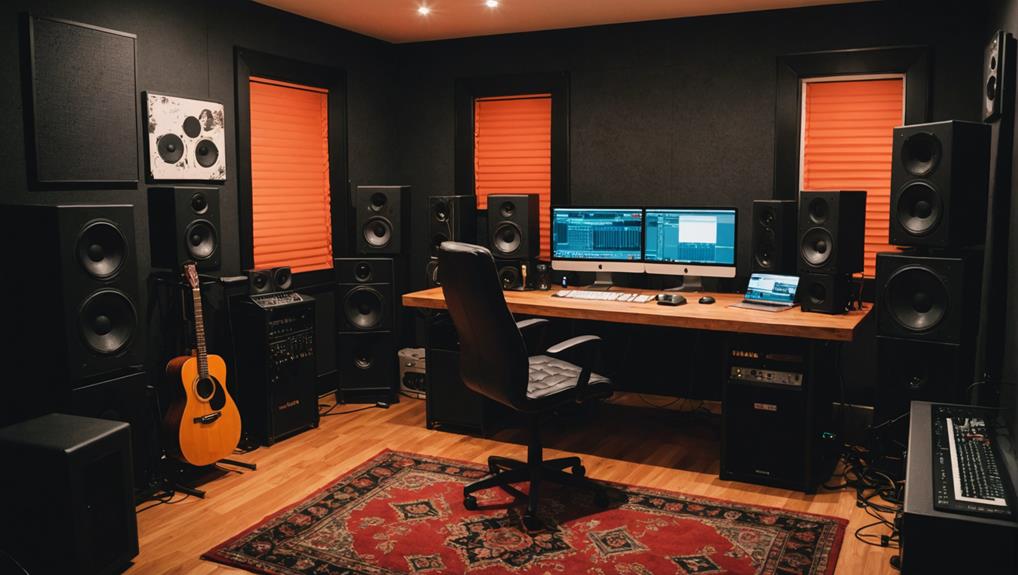
Improving your home recording studio’s sound quality starts with basic acoustic treatment, which can drastically reduce unwanted reflections and echoes. This treatment is essential for achieving accurate mixing and recording.
Begin by utilizing materials like acoustic foam panels, bass traps, and diffusers, which effectively absorb and scatter sound waves, creating a more controlled listening environment.
Strategically position these acoustic treatments at first reflection points on your walls and ceiling to maximize effectiveness. A good rule of thumb is to place panels at ear level, ensuring that you’re optimizing your setup for the best sound experience.
If you’re on a budget, don’t worry—there are plenty of DIY solutions available. Heavy curtains, carpets, and bookshelves can serve as affordable options to improve room acoustics without breaking the bank.
For those looking to take it a step further, consider a ‘room in a room’ design. This setup enhances sound isolation by decoupling your studio space from external noise, making it especially beneficial for tracking instruments and vocals.
Soundproofing Your Studio
Soundproofing your studio is essential to eliminate external noise and create a focused recording environment. Without effective soundproofing, your home studio won’t be able to deliver the high-quality audio you aim for.
Here are some effective soundproofing techniques to reflect on:
- Room in a Room: Create a decoupled space to minimize sound transmission.
- DIY Window Plugs: Use Roxul Rockboard for affordable sound absorption, especially if you’re renting.
- Address Weak Points: Strengthen windows and doors to prevent sound leakage during tracking sessions.
- Prioritize Soundproofing: Set up soundproofing before moving in your audio interfaces and other equipment.
Workflow and Layout Optimization
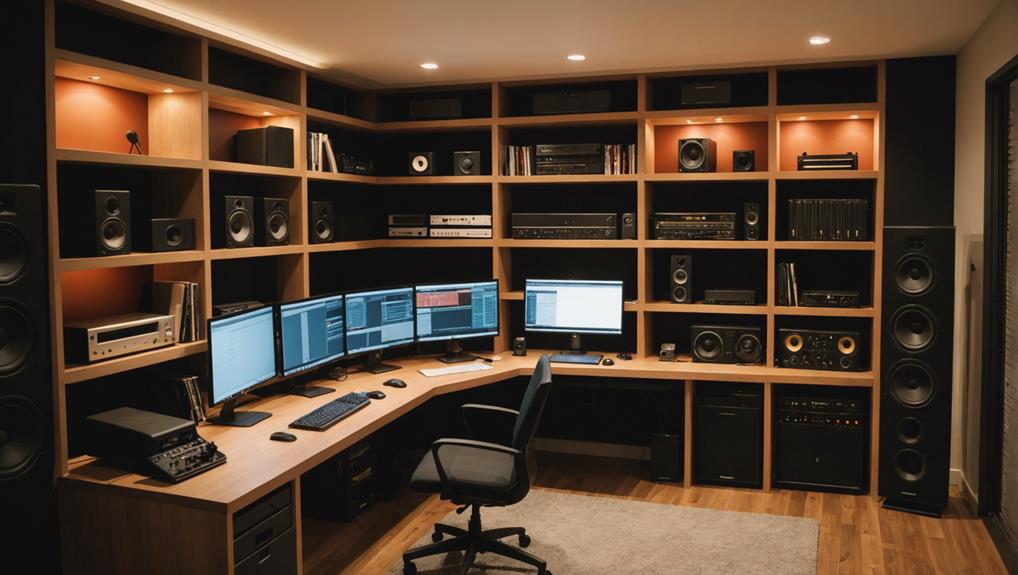
To maximize your creative output, it’s vital to design your home studio’s workflow and layout for efficiency and comfort. A well-planned workflow can greatly enhance your productivity, letting you minimize setup time and focus more during recording sessions.
Start with effective layout design—prioritize ergonomic placement of your equipment. This guarantees easy access to important gear while reducing physical strain during those long hours of music production.
Consider implementing designated zones for different tasks, like recording, mixing, and editing. This organization helps improve efficiency and reduces distractions. A clutter-free environment is imperative, so utilize storage solutions to keep your workspace tidy and maintain focus.
Don’t forget about acoustic treatment; strategically placing panels around your workspace will optimize sound quality. This creates a more accurate monitoring environment, leading to better mixing results.
Recording Techniques for Beginners
Mastering basic recording techniques is essential for beginners enthusiastic to capture high-quality sound in their home studios. By focusing on a few key aspects, you can greatly enhance your recordings.
- Microphone placement: Position your mic closer to the sound source to capture more detail and minimize background noise.
- Gain staging: Keep your levels in the green on your audio interface and DAW to avoid distortion. Clipping into the red can ruin your recordings.
- Recording methods: Experiment with techniques like direct input (DI) for instruments or ambient miking for a natural sound.
- EQ and compression: Use these tools in your DAW to balance frequencies and control dynamics, giving your tracks a polished feel.
Budgeting for Your Studio Setup
When budgeting for your studio setup, it’s crucial to categorize essential gear to confirm you stay within your financial limits.
Start with a computer, as a MacBook Air can set you back around £1,549. Next, don’t overlook the audio interface; a Scarlett 2i2 at £155 will guarantee high-quality sound capture. Invest in quality microphones too—like the Audio-Technica AT2020, starting at £90—since they greatly affect your recordings.
Consider budget-friendly alternatives to high-end gear. Explore online resources and communities for cost-effective options and DIY solutions for acoustic treatment, which can create a professional-sounding environment without breaking the bank.
Additionally, factor in ongoing costs associated with music production. Your DAW software options range from free programs like GarageBand to more advanced choices like ProTools, priced at £249. Make certain your budget accommodates these future needs, including plugins and potential upgrades.
Lastly, keep an eye out for sales, discounts, and student offers from manufacturers to reduce initial costs while still securing quality equipment for your home studio. Careful planning will help you craft a studio that meets your needs without overspending.
