
To elevate your home studio mixing, start by organizing your tracks in a Digital Audio Workstation (DAW). Use high-pass filters to clean up low-end frequencies on non-bass instruments and apply compression carefully to maintain dynamics. Panning instruments effectively across the stereo field can create depth and clarity. Monitor sound at conversational levels to protect your ears and to make better decisions. Finally, always reference your mix with professional tracks for balance and clarity. There’s so much more to learn about these techniques and how to apply them for the best results.
Key Takeaways
- Utilize high-pass filters on non-bass instruments to clear low-end clutter and improve overall mix clarity.
- Apply compression strategically to maintain natural dynamics while ensuring a cohesive sound among related instruments.
- Strategically pan instruments across stereo channels to create depth and prevent frequency masking.
- Regularly reference your mix against professional tracks to ensure clarity, balance, and industry standards.
Preparation for Mixing
How can you effectively prepare for mixing to guarantee a smooth workflow and a polished final sound? The key lies in thorough preparation for mixing.
Start by exporting all recorded and programmed tracks as individual audio files. This practice enhances clarity, ensuring each element in your audio production stands out.
Next, reassess your arrangements to eliminate unnecessary tracks or clashing sounds. Simplifying your mix not only streamlines the process but also elevates the overall clarity of your song.
As you prepare, mute tracks one by one to evaluate their impact. This technique helps you identify essential elements, making it easier to focus on what truly matters.
Additionally, set your mixer to mono during preparation. This adjustment allows you to spot frequency balance issues early on, preventing potential problems down the line.
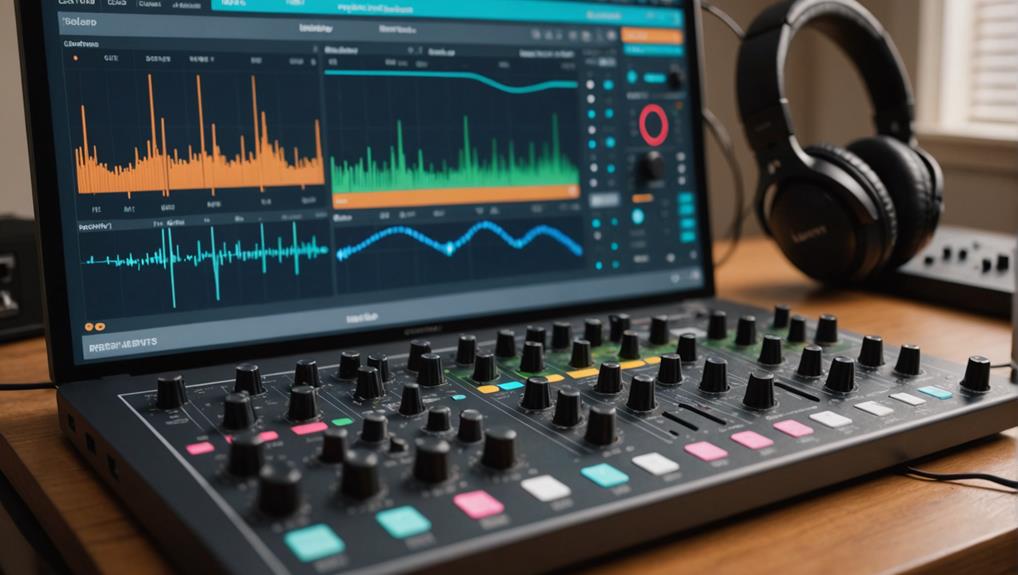
Essential Mixing Tools
After preparing your tracks, you’ll need the right tools to achieve a professional mix, and several key components can elevate your home studio setup. Here’s a quick overview of essential mixing tools you should consider:
| Tool | Purpose |
|---|---|
| Digital Audio Workstations (DAWs) | Organizes tracks and applies effects for mixing. |
| Audio Interfaces | Connects microphones and instruments to your computer. |
| Studio Monitors | Provides an accurate audio representation for mixing. |
| Plugins | Enhances your DAW with EQs, compressors, and effects. |
Using these tools effectively can bring your mixing skills to the next level. For instance, a good audio interface is vital for capturing sound with clarity, while quality studio monitors help guarantee your mix translates well across various systems. Don’t forget about plugins; they’re fundamental for adding depth and character to your tracks. As you work, keep these mixing tips in mind: always trust your ears and remember that even professional mix engineers rely on these tools to craft their sound. With the right setup, you’ll be well on your way to achieving mixes that stand out.
Effective EQ Techniques
Effective EQ techniques can greatly enhance your mix by ensuring each instrument occupies its own sonic space. Start by using high-pass filters on non-bass instruments, cutting frequencies below 80-120 Hz to eliminate low-end clutter. This helps prevent muddiness and keeps your mix clean.
When applying EQ, remember that wider bandwidths work better for boosts, while tighter bandwidths are more effective for cuts. This approach often results in a more musical sound.
To achieve clarity, sweep your EQ across the frequency spectrum to identify and reduce unpleasant frequencies. Once you find the problem areas, make precise cuts for a clearer mix. Focus on creating space for each instrument using subtractive EQ techniques, carving out frequencies instead of simply boosting them. This method fosters a more transparent sound, essential in music production.
Lastly, keep in mind that less is often more with EQ. Subtle adjustments of 1-3 dB can considerably enhance clarity without overpowering the original sound. By applying these effective EQ techniques, you’ll maintain the integrity of your mix while allowing each element to shine.
Compression Strategies
Building on the clarity achieved through effective EQ techniques, mastering compression strategies is key to shaping the dynamics and overall impact of your mix.
As a home recording enthusiast, you’ll want to use compression judiciously. Over-compression can lead to a lifeless mix, so aim for a balance that retains the natural dynamics of your instruments.
Mix engineers often employ group compression for instruments that belong together, like drums, to create a cohesive sound. Avoid using a limiter on the master bus during mixing; instead, opt for master bus compression to unify your mix without squashing the dynamics.
One effective technique is side-chain compression, which allows you to create space in your mix. This lets elements like vocals stand out by ‘ducking’ other sounds when they play simultaneously.
Additionally, don’t overlook parallel compression. By duplicating a track, heavily compressing one copy, and blending it with the original, you can add punch and presence without sacrificing dynamics.
Experiment with high and low pass filters alongside your compression settings to further enhance clarity and impact.
With these strategies, you’re well on your way to achieving a polished mix.
Panning and Stereo Imaging

Panning techniques are essential for positioning sounds within the stereo field, creating a wider soundstage and enriching the spatial perception of your mix. By strategically placing instruments across the left and right channels, you can enhance depth and clarity, allowing each element to shine without competing for attention.
To avoid frequency masking, don’t place two instruments at the same pan position. Instead, use panning to create separation; for example, placing guitars slightly to one side while keeping the vocals centered can provide a clearer sonic landscape.
You can also enhance depth by widening the pan of background vocals compared to the lead. This technique maintains clarity while enriching the overall vocal presence.
Regularly referencing your mix in mono is vital, as it helps you identify potential panning issues, ensuring all elements remain balanced and clear regardless of the listening environment.
Monitoring and Listening Techniques
To achieve a polished mix, it’s important to implement proper monitoring and listening techniques that can greatly impact your decision-making process. Here are three essential practices to take into account:
- Monitor at conversational levels: Keeping your monitor levels at normal conversation levels or lower protects your hearing and helps you make better mixing decisions.
- Check mixes at various volumes: Regularly listening at different volume levels prevents ear fatigue and distortion, guaranteeing your mix continues to sound good at all playback levels.
- Minimize distractions: Close your eyes while mixing to enhance your focus on sound quality and musicality, particularly when fine-tuning effects like reverb and delay.
Additionally, take frequent breaks to refresh your ears, which will help you maintain objectivity in your mixing process.
Always reference your mix on multiple playback systems, like earbuds and studio monitors, to guarantee a balanced sound across various environments.
Finalizing Your Mix

Finalizing your mix involves careful attention to detail, guaranteeing every element works together seamlessly before you send it off for mastering.
Start by taking breaks during the mixing process. This helps you return with fresh ears, allowing you to identify areas that need adjustment. Regularly compare your mix to professional reference tracks to guarantee clarity and balance.
Before finalizing, check that all elements harmonize and that your overall mix maintains sufficient headroom—typically around -6 dB—to prepare for mastering. Keep an eye on your levels throughout the mix, adjusting them to avoid distortion and guarantee no instrument overpowers the others. This balance is essential for a polished sound.
Utilize loudness meters to guarantee your mix meets the desired loudness standards while preserving dynamics. Aim for a balanced sound across various playback systems so that your final product translates well, regardless of where it’s heard.
