To get started with audio recording, focus on background noise management by choosing a quiet space and conducting sound checks. Invest in a quality microphone, like a USB mic, and avoid built-in computer mics for better sound fidelity. Maintain an ideal distance from the mic to prevent distortion, and use directional microphones to minimize unwanted noise. Set your volume levels correctly to avoid clipping, aiming for an average of -18 dBFS. Finally, absorb sound reflections with soft materials to enhance audio quality. There's a lot more to explore that can elevate your recording skills.
Key Takeaways
- Choose a quiet recording space and schedule sessions during low noise times to minimize background interference.
- Invest in a quality microphone; USB options like Blue Yeti provide excellent sound without breaking the bank.
- Maintain a distance of about 3 inches from the microphone to avoid distortion and ensure clear audio capture.
- Conduct test recordings to gauge volume levels and make necessary adjustments before the main session.
- Use soft materials like carpets or blankets to absorb sound reflections and reduce echoes for cleaner audio.
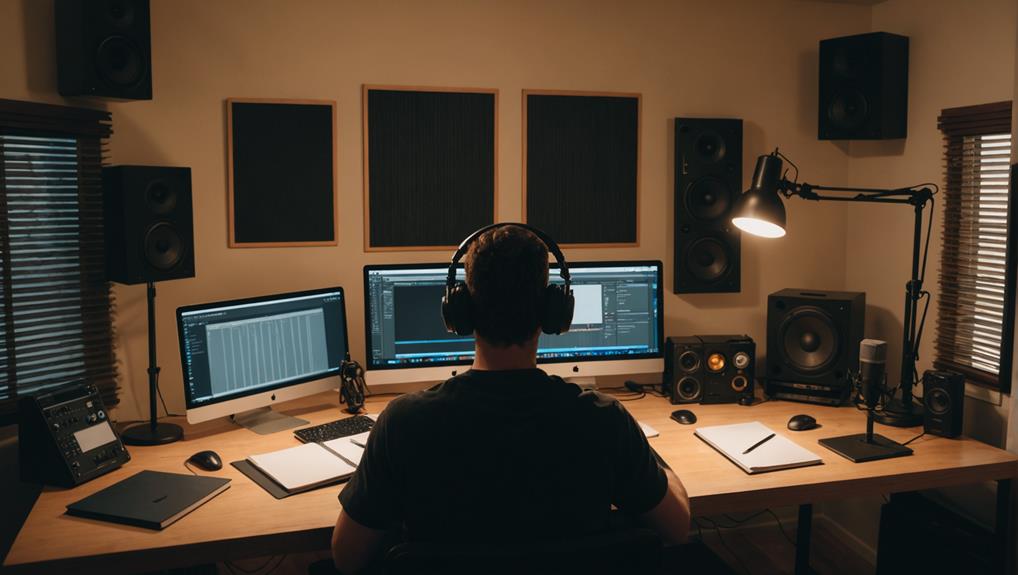
Background Noise Management
Effective background noise management is vital for achieving high-quality audio recordings. To minimize background noises, start by choosing a quiet recording space. Schedule your sessions during times when external sounds are at a minimum, like early mornings or late evenings. This simple step can greatly improve your audio quality.
Additionally, consider conducting sound checks to identify any issues before recording, as pre-recording preparation can help set the stage for success.
Next, enhance your recording environment by using soundproofing materials. Carpets, curtains, and foam panels can absorb sound reflections and reduce echo, transforming your recording space into a more acoustically friendly environment.
It's also essential to identify and eliminate hidden noise sources. Conduct sample recordings to listen for distractions, like computer fans or buzzing fluorescent lights, and address them before the main recording.
Additionally, testing the space beforehand allows you to pinpoint potential noise issues. If your environment isn't ideal, consider using a closet filled with clothes as an improvised sound booth to further remove background noise.
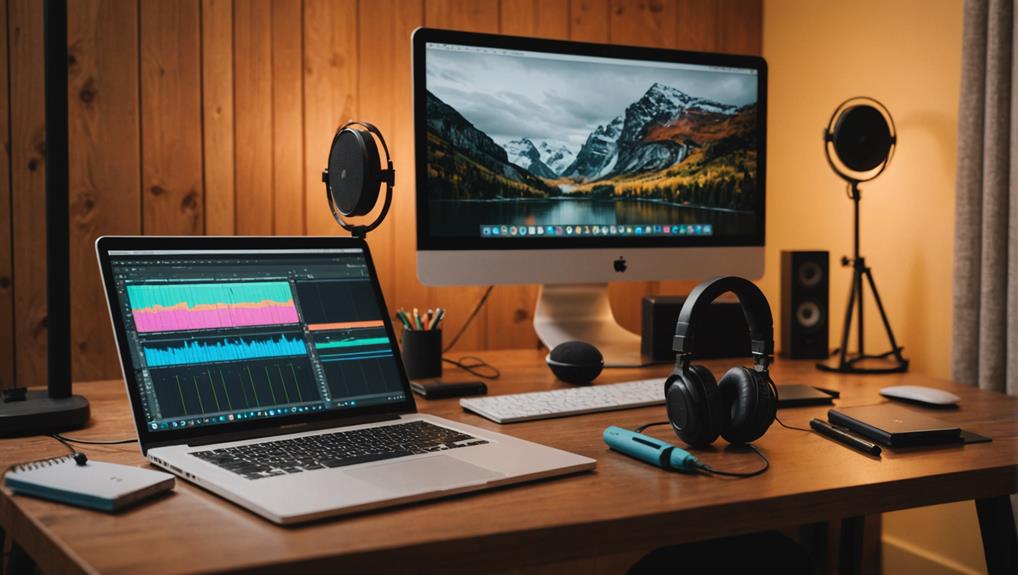
Equipment Selection
Choosing the right equipment is fundamental for beginners looking to improve their audio recordings. Your choices can considerably affect the clarity and quality of your sound, so it's imperative to invest wisely.
To achieve ideal sound input, think about adding a quality audio interface to your setup, as it allows for better analog to digital conversion. Here are three key components to reflect upon:
1. Microphone: A high-quality microphone is essential. USB mics like the Blue Yeti, priced around $100, are user-friendly and deliver excellent sound. For budget options, think about USB mics ranging from $30-$50, which provide decent quality without breaking the bank.
Avoid built-in computer mics, as they usually compromise sound fidelity.
2. Audio Interface: If you opt for XLR microphones, an audio interface is necessary. It enhances sound management, allowing for better control over your recordings. This is especially important if you're working with dynamic microphones like the Shure SM58-LC, which excel in noisy environments.
3. Headphones: Invest in quality headphones with good isolation. They enable accurate monitoring during recordings and help prevent audio bleed, ensuring you capture the best sound possible.
Microphone Techniques
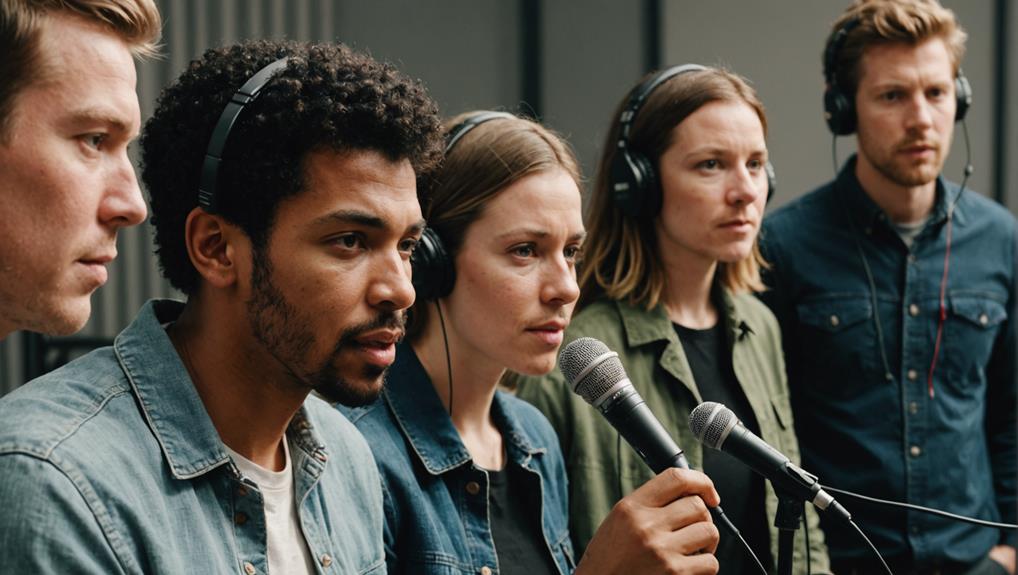
Once you've selected your equipment, mastering microphone techniques is key to capturing high-quality audio. To enhance the recording process, maintain an ideal distance of about 3 inches from the microphone. This distance guarantees clarity while preventing distortion caused by excessive proximity. Using directional microphones can effectively minimize background noise, allowing you to focus on the primary sound source.
Experiment with different angles and positions, as small adjustments can greatly impact the quality of your audio. Avoid speaking directly into the microphone; this reduces sibilance and plosive sounds that can distort your recordings. Align the microphone height with your mouth level for consistent audio capture and enhanced overall sound quality.
Here's a quick reference table to help you remember essential techniques:
| Technique | Purpose | Tips |
|---|---|---|
| Ideal Distance | Prevent distortion | About 3 inches away |
| Directional Microphones | Minimize background noise | Use for focused sound capture |
| Microphone Angle/Position | Improve clarity | Experiment for best results |
Volume Level Management
Maintaining proper volume levels is vital for achieving professional-sounding recordings. Consistency is key; aim for an average volume level of -18 dBFS, making sure peaks don't exceed -6 dBFS to prevent distortion and maintain headroom.
Here are some effective tips for recording:
- Monitor Levels: Regularly check your audio meters during recording. This allows you to quickly identify and adjust any discrepancies in volume, which is important for guaranteeing clarity and balance in your tracks. Implementing effective volume management techniques will enhance your recordings.
- Test Recordings: Conduct test recordings before your main session. This helps gauge volume levels, making it easier to adjust for clarity and balance.
- Adjust Gain Settings: Properly set the gain on your microphone or audio interface. This will help maintain ideal recording levels while avoiding clipping, which can lead to irreversible audio quality loss.
Additionally, utilize software tools during editing to fine-tune volume levels. This will provide a cohesive audio experience across your entire recording.
Pre-production Preparation
How can you set the stage for a successful recording session? It all starts with thorough pre-production preparation.
First, choose a quiet environment, ideally during times when external noise is low, to guarantee you're capturing clean audio. Soft materials like carpets or blankets can help absorb sound reflections and reduce echoes, enhancing your recording quality.
Next, conduct pre-recording tests. Walk around your space to identify any background noises—like ticking clocks or buzzing appliances—that could disrupt your session. Eliminating these distractions is vital for achieving professional-sounding results.
If you're looking for an extra edge, consider using a portable vocal booth or a closet for recording. These confined spaces can greatly minimize ambient noise and improve sound quality.
Conclusion
In the world of audio recording, a little preparation goes a long way. By managing background noise, selecting the right equipment, mastering microphone techniques, and keeping an eye on volume levels, you'll transform your recordings from ordinary to extraordinary. Think of your audio project as a recipe; the right ingredients and careful steps make all the difference. So grab your gear, embrace the journey, and let your creativity shine through every sound you capture!
