To soundproof your home studio effectively, you should start with layered drywall applications to add mass and use resilient channels to decouple surfaces. Seal gaps with acoustic sealant and opt for solid-core doors. Consider floating floor systems using Mass Loaded Vinyl to deaden vibrations. For ceilings, a drywall sandwich with insulating materials helps. Strategic placement of acoustic panels in reflection-free zones absorbs excess sound. Additionally, upgrading your HVAC system minimizes operational noise. These techniques create a balanced, quiet environment essential for high-quality recordings. There's plenty more to explore on optimizing your studio for sound isolation and acoustics.
Key Takeaways
- Utilize layered drywall applications with Auralex SheetBlok and Green Glue to enhance mass and reduce sound transmission between walls.
- Implement floating floor systems with U-Boat floaters and Mass Loaded Vinyl (MLV) to effectively dampen vibrations and improve sound isolation.
- Construct a "room within a room" using separate walls, floors, and ceilings to create significant air gaps that greatly reduce sound transmission.
- Seal air gaps with Auralex StopGap and use solid-core doors with weather-stripping to minimize sound leakage throughout the studio.
- Strategically place acoustic panels at first reflection points and corners to absorb sound and reduce echo within the recording space.
Understanding Soundproofing Basics
When it comes to soundproofing your home studio, understanding the fundamental principles is crucial. Soundproofing primarily aims to block sound from entering or exiting your recording space, while acoustic treatment focuses on controlling sound behavior within the room for ideal audio quality.
To achieve effective sound isolation, you'll want to minimize sound transmission through various techniques. Start by incorporating mass into your walls, ceilings, and floors. Adding materials like Mass Loaded Vinyl (MLV) can greatly enhance this aspect, as well as implementing room selection strategies to find spaces with minimal reverberation.
Damping is another important technique; using products like Green Glue Noiseproofing Compound will help absorb vibrations, reducing noise leakage.
Decoupling structures, such as using RSIC Sound Isolation Clips, creates a barrier that further prevents sound from traveling through walls.
Remember, treating all six surfaces—walls, ceiling, floor, windows, and doors—is crucial for thorough soundproofing. Aim for a Sound Transmission Class (STC) rating of 50+; professional studios often achieve ratings in the 60-70 range.
Key Construction Techniques
To achieve effective soundproofing in your home studio, consider implementing layered drywall applications, floating floor systems, and the room within a room technique.
Acoustic treatment techniques are also essential for enhancing the overall sound quality. Layering drywall adds mass, which is crucial for sound attenuation, while floating floors minimize vibrations.
Creating a room within a room effectively isolates sound, preventing unwanted noise transfer to and from adjacent areas.
Layered Drywall Applications
Layered drywall applications are a cornerstone of effective soundproofing in home studios, greatly enhancing sound isolation and minimizing noise transfer. To maximize soundproofing, you should use thicker drywall, around 1.6 cm, as it adds mass, which considerably reduces sound energy transfer.
Incorporating high-quality soundproofing materials, like Auralex SheetBlok between drywall layers, provides superior sound isolation, outperforming traditional materials such as solid lead. Additionally, understanding the unique sound characteristics of your recording space can influence your soundproofing choices and overall quality of your recordings, making it crucial to assess your environment before construction recording space and preparation.
Utilizing resilient channels, like Auralex RC8, is another key technique. These allow for additional drywall layers while creating air gaps that decouple the drywall from the underlying structure, further improving sound isolation.
Applying Green Glue Noiseproofing Compound between the layers effectively dampens vibrations, contributing to higher sound transmission class (STC) ratings, which are essential for a quiet studio space.
For best results, consider constructing a "room within a room" using layered drywall techniques. This method creates an effective barrier against external noise intrusion, ensuring that your studio remains a focused environment for creativity and productivity.
Floating Floor Systems
Soundproofing your home studio goes beyond just layered drywall applications; floating floor systems play an essential role in enhancing sound isolation.
These systems are specifically designed to decouple the floor from surrounding structures, effectively minimizing vibration transfer and improving sound energy absorption.
Here are some key aspects of floating floor systems:
- U-Boat Floor Floaters: These floaters create an air gap between the subfloor and the finished flooring, greatly deadening vibrations.
- Material Replacement: Installing a floating floor often involves replacing existing subflooring and flooring materials to enhance sound isolation.
- Mass-Loaded Vinyl (MLV): Incorporating MLV within the floating floor construction adds density, further increasing soundproofing effectiveness.
- Ideal for Smaller Spaces: Floating floors are particularly beneficial in compact studio environments, where controlling sound energy is vital for achieving high-quality audio recordings.
Room Within a Room
Creating a room within a room is a powerful solution for achieving ideal sound isolation in your home studio. This technique involves constructing two sets of walls, floors, and ceilings, effectively decoupling the inner room from the outer structure.
By creating an air gap between these layers, you greatly reduce sound transmission and vibration transfer.
To enhance this setup, consider incorporating floating floors using U-Boat floor floaters. These help to further diminish vibrations by isolating the flooring from surrounding structures. The space between the two walls can be filled with sound-absorbing insulation materials, which not only improve sound isolation but also enhance the acoustic performance of your studio.
For maximum effectiveness, utilize resilient channels when installing drywall layers. This method adds an additional level of decoupling between the surface and the structure, minimizing sound transfer.
Additionally, incorporating mass-loaded vinyl between drywall layers can increase the overall soundproofing capabilities of your room within a room.
Preventing Sound Leakage
When it comes to preventing sound leakage in your home studio, attention to detail is key. Even small gaps can compromise sound isolation, so you'll want to implement several effective strategies. Here are four essential techniques to take into account:
- Seal Air Gaps: Use Auralex StopGap acoustic sealant to fill in gaps at wall/floor intersections and around electrical outlets. This guarantees a tight seal, minimizing sound leakage.
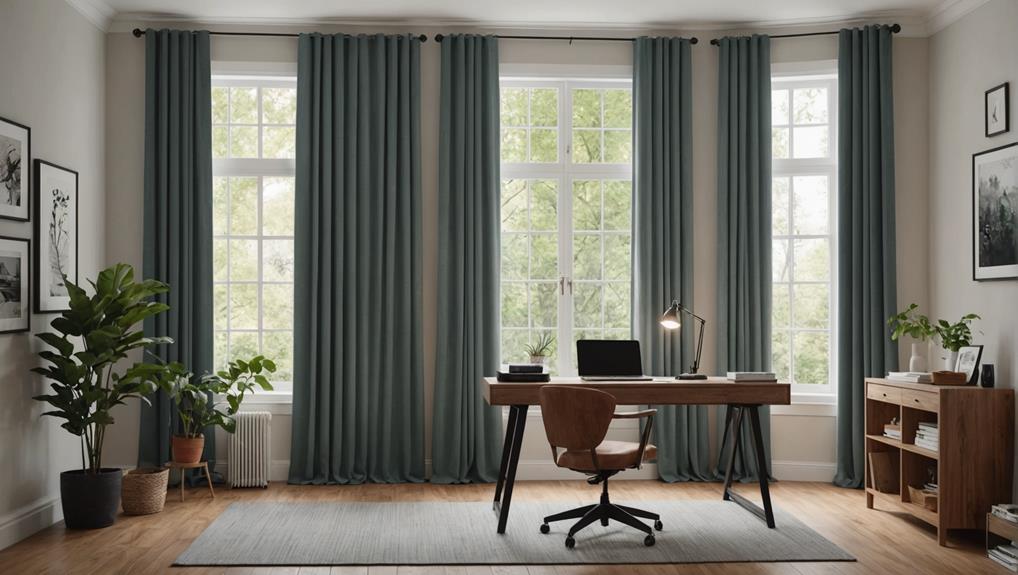
- Upgrade Windows: Install double-pane, laminated glass windows. These greatly reduce sound transmission from outside, creating a more controlled acoustic environment.
- Choose Solid-Core Doors: Opt for solid-core doors instead of hollow-core ones. Hanging two doors back-to-back on the same jamb can further enhance soundproofing.
- Weather-Stripping: Apply weather-stripping around doors and windows. This adds an extra layer of protection against unwanted noise, guaranteeing a tighter seal during operation.
Additionally, take into account utilizing resilient channels like Auralex RC8 to support additional drywall layers.
This creates an air gap that further improves sound isolation and reduces noise transfer between spaces.
Ceiling Soundproofing Strategies
Ceiling sound isolation plays an essential role in maintaining the acoustic integrity of your home studio. To effectively reduce sound transmission, consider constructing a drywall sandwich using Auralex SheetBlok. This material dampens vibrations and minimizes noise transfer from the upper floor.
Additionally, insulating the space between the ceiling and the floor above with fiberglass enhances sound isolation by absorbing vibrations.
Another effective strategy is to install resilient channels, like Auralex RC8, which allows for multiple drywall layers. This method creates an air gap that notably improves sound isolation, further decreasing unwanted noise.
You might face challenges with soundproofing, especially if the floor above is poorly finished. Refinishing that surface can dramatically reduce noise transfer to your ceiling, making it easier to keep your studio quiet.
Using a combination of these techniques can lead to considerable improvements in overall sound isolation, ensuring that your home studio remains a peaceful and productive environment.
Effective HVAC Considerations
To guarantee your home studio remains as quiet as possible, upgrading to the quietest HVAC system available is essential.
Professional installation will optimize performance and enhance soundproofing, while proper ventilation maintains a comfortable environment without compromising your studio's acoustic integrity.
Quiet HVAC System Upgrade
Upgrading to a quiet HVAC system can dramatically reduce noise disruptions in your home studio, allowing for a more focused and productive environment.
When considering this upgrade, keep in mind the following effective strategies to enhance sound isolation and soundproofing effectiveness:
- Choose the Quietest Model: Invest in a high-quality, quiet HVAC system designed specifically for low noise output.
- Install Duct Liners: Use duct liners in your ventilation system to dampen sound transmission and minimize operational noise.
- Opt for Insulated Ductwork: Insulated ductwork can considerably reduce noise transmission from the HVAC system, ensuring a quieter studio atmosphere.
- Maintain Regularly: Schedule routine maintenance for your HVAC system to prevent operational noise from escalating and to identify any additional noise sources.
Integrating these quiet HVAC solutions into your overall soundproofing strategy is essential.
A well-designed ventilation system not only enhances comfort but also maintains sound isolation, allowing you to create the perfect audio environment for your creative projects.
Professional Installation Importance
Proper installation of your HVAC system is vital for achieving effective soundproofing in your home studio. Upgrading to the quietest HVAC system available minimizes noise that can disrupt your sound isolation efforts.
However, it's not just about choosing a quiet unit; professional installation is necessary. An improper setup can lead to increased noise transmission, counteracting your soundproofing measures.
When you hire professionals, they'll guarantee that your HVAC system is installed with noise reduction in mind. They'll take into account the placement of ducts and vents, which can notably affect sound isolation. Extensive planning is necessary to avoid costly mistakes that might undermine your soundproofing goals.
Moreover, awareness of potential noise sources, such as the HVAC system, is essential. After soundproofing upgrades, you might notice noises that were once masked.
A well-installed HVAC system not only operates quietly but also integrates seamlessly with your soundproofing strategies. By investing in professional installation, you can maintain a comfortable environment while guaranteeing that your home studio remains a sanctuary for high-quality audio production.
Ventilation for Comfort
Creating a comfortable working environment in your home studio hinges on effective ventilation strategies. Proper ventilation guarantees a healthy atmosphere, especially during long recording sessions, while minimizing noise disruption.
To achieve peak performance, consider the following HVAC system strategies:
- Upgrade to a Quiet HVAC System: Choose the quietest model available to reduce noise interference with your sound isolation efforts.
- Professional Installation: Hire experts to install your HVAC system. This assures integration with your soundproofing measures and maximizes effectiveness.
- Ductwork Design: Use ductwork that minimizes noise transfer. This enhances both air quality and sound isolation, guaranteeing your studio remains a tranquil space.
- Regular Maintenance: Schedule routine checks for your HVAC system. This prevents unexpected noise issues from arising post-installation, maintaining consistent sound quality.
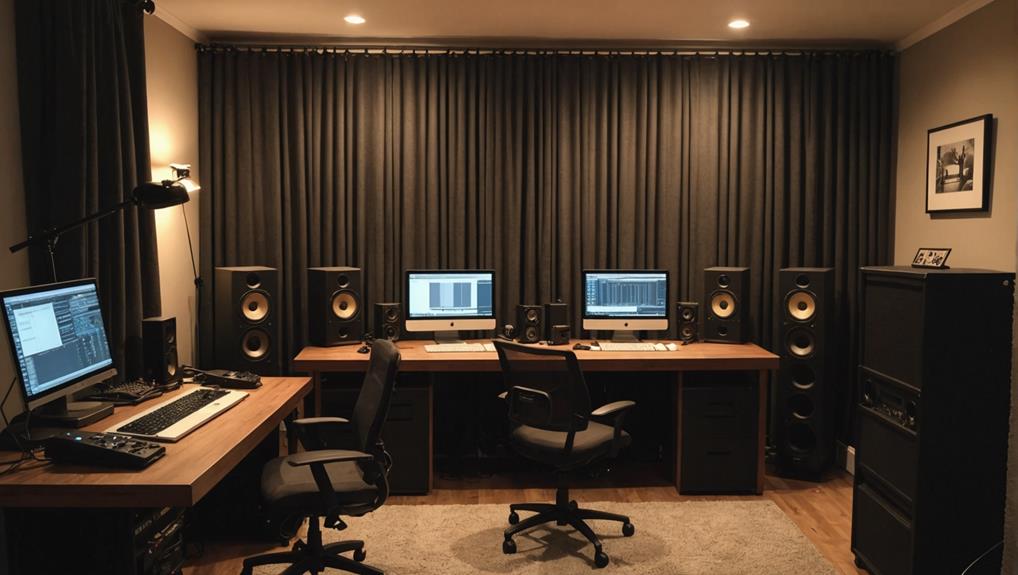
Room Layout and Design
Designing the layout of your home studio is crucial for achieving ideal sound quality and minimizing unwanted noise. Start by considering the room's dimensions; smaller spaces typically need more sound absorption materials to control sound energy effectively.
Position furniture and acoustic treatment materials strategically to reduce sound reflections, particularly at first reflection points, which greatly enhances sound quality. Incorporate floating floors and decoupling techniques into your room layout to diminish vibration transfer from the floor below. This contributes to a quieter recording environment.
Aim to create a reflection-free zone (RFZ) by arranging your monitoring equipment and seating to avoid direct sound paths from speakers to reflective surfaces. This setup promotes clearer sound reproduction.
Don't overlook the importance of treating all six surfaces—walls, ceiling, floor, windows, and doors—within your layout. Proper treatment prevents sound leakage and maintains ideal acoustics in your studio.
Affordable Soundproofing Solutions
While soundproofing a home studio often seems like a costly endeavor, there are several affordable solutions that can effectively enhance your acoustic environment without breaking the bank.
Here are some budget-friendly methods you can implement:
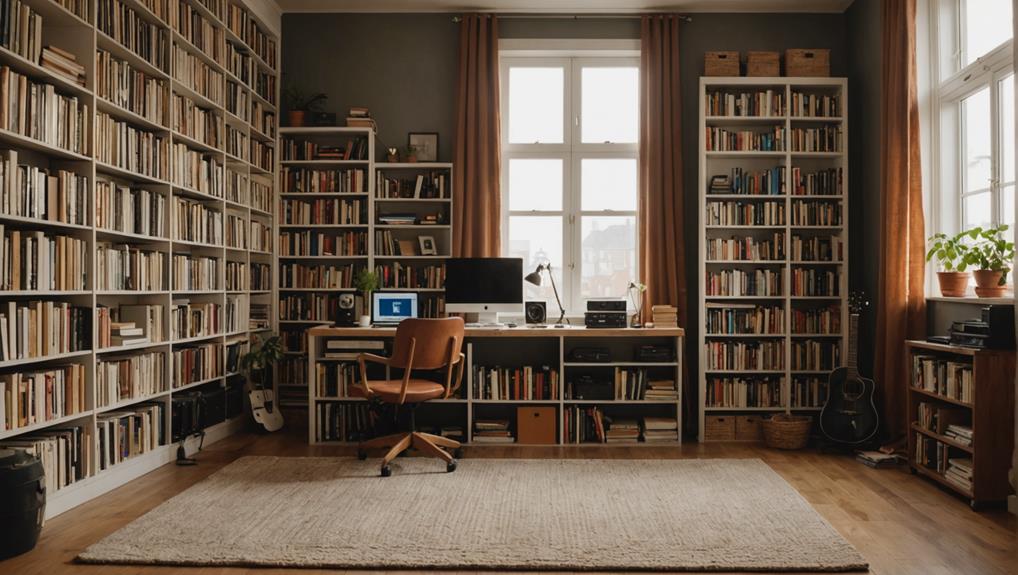
- DIY Acoustic Panels: Create your own panels using fabric-wrapped rigid foam. This can cost as little as $120 and notably absorb sound, improving your studio's acoustics.
- Egg Crate Foam and Thick Carpets: Utilize egg crate foam on walls and thick carpets on floors. These materials can absorb sound effectively, dampening noise without a hefty price tag.
- Mass-Loaded Vinyl (MLV): Consider installing MLV in your walls and ceilings. This adds density to surfaces, blocking sound transmission without extensive renovations.
- Weatherstripping and Door Sweeps: Apply weatherstripping and door sweeps to solid-core doors. This enhances isolation by preventing sound from escaping or entering.
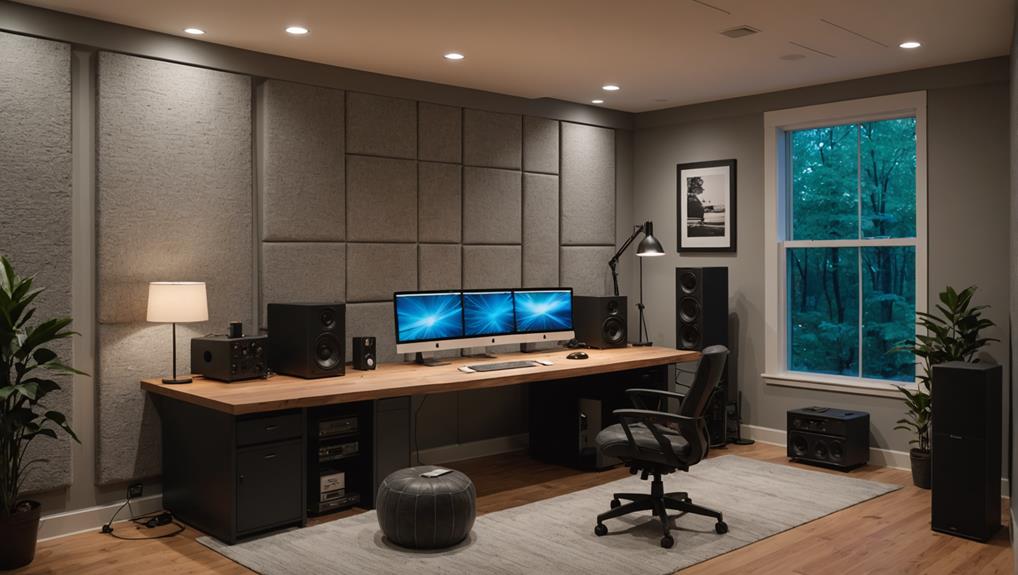
Best Practices for Acoustic Treatment
Soundproofing solutions lay the groundwork for a productive home studio, but acoustic treatment is what truly refines your sound quality. To achieve effective sound treatment, you should start with a minimum of 12 absorptive panels. Position these strategically at first reflection points and corners to minimize echoes and enhance clarity.
Utilizing 4-inch thick flat acoustic foam panels in corners with air gaps can greatly improve low-frequency sound absorption, creating a balanced environment. Constructing a reflection-free zone (RFZ) by treating the first angle of reflection and rear wall is fundamental for controlling sound behavior.
Incorporating bass traps in your studio is essential for managing low frequencies, especially in smaller spaces where sound energy tends to concentrate. Regularly testing sound quality during the acoustic treatment process is imperative. This allows you to make ongoing adjustments for ideal results.
Here's a quick summary of best practices:
| Treatment Type | Purpose |
|---|---|
| Absorptive Panels | Minimize echoes |
| Bass Traps | Control low frequencies |
| Reflection-Free Zone | Improve audio quality |
| Testing & Adjustment | Guarantee ideal sound treatment |
Professional Support and Resources
When you're diving into the world of soundproofing for your home studio, leveraging professional support and resources can make a significant difference in your project's success.
Engaging with industry experts helps you navigate the complexities of soundproofing, ensuring you choose the right materials and techniques for ideal results.
Here are some valuable resources to take into account:
- Sweetwater Sales Engineers: They provide continuous support throughout your soundproofing project, offering expert advice tailored to your specific needs.
- 42West: This content hub features editorial articles, how-to guides, and insider interviews designed for audio creatives, helping you enhance your knowledge of soundproofing techniques.
- Adorama: Their customer support services include order tracking and clear shipping policies, ensuring you find the right soundproof materials and equipment with ease.
- Online Resources: Access a wealth of tutorials and articles that keep you informed about the latest advancements in soundproofing your home studio.
Conclusion
To sum up, soundproofing your home studio is essential for achieving high-quality audio recordings. By implementing the techniques outlined—like effective construction methods and strategic room design—you can create a space that minimizes noise interference. Think of it like building a fortress; you want to keep sound out just like a castle keeps intruders at bay. Don't hesitate to invest in professional resources if needed. A well-soundproofed studio can make all the difference in your audio projects.
