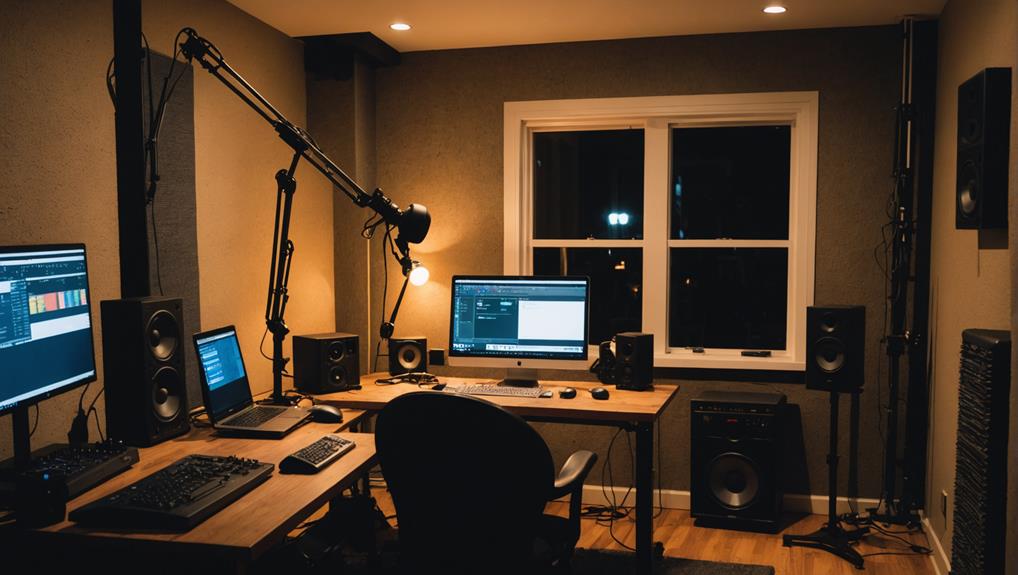
To record high-quality voiceovers at home, start by choosing a quiet space and using sound-absorbing materials to reduce echoes. Invest in a quality microphone and use a pop filter for clarity. Position your mic about 6 to 12 inches from your mouth for the best sound. Always rehearse your script with pauses for emphasis, and don’t skip vocal warm-ups to keep your voice in shape. Monitor your audio levels for consistency and utilize editing tools to refine your recordings. By mastering these techniques, you’ll set yourself up for success—there’s even more to discover on this journey!
Key Takeaways
- Choose a quiet room and use sound-absorbing materials to minimize echoes and external noise during recordings.
- Invest in a quality microphone and accessories like pop filters to enhance audio clarity.
- Position the microphone 6 to 12 inches from your mouth for balanced sound capture.
- Perform vocal warm-up exercises and stay hydrated to ensure vocal strength and clarity.
Setting Up Your Space
When setting up your space for voiceover recording, choose a quiet room with minimal external noise to secure the best sound quality. Look for a quiet place away from traffic, appliances, and foot traffic.
Next, focus on room treatment to enhance your audio. You can use sound-absorbing foam panels on the walls to reduce echoes, or hang heavy curtains to dampen sound reflections.
Unplug any noisy appliances, like fans or air conditioners, during your recording sessions. These background sounds can distract from the clarity of your voice.
Consider adding carpets or rugs to your space; they help absorb sound and minimize reflections, making your recordings even more professional.
Before you plunge into your voiceover, take a moment to record room tone—the ambient sound of the space for a few seconds. This will be useful for noise reduction in post-production.
Essential Recording Equipment
To achieve professional-sounding voiceovers, investing in essential recording equipment is important. The right tools can greatly enhance your audio quality, making your voiceovers sound polished and clear.
Here’s a quick list of must-have equipment:
- External Microphone: A quality external microphone, like a USB or XLR condenser mic, will greatly improve your audio clarity. You can find decent USB mics for under $100, while XLR setups typically start around $250.
- Audio Interface: If you choose an XLR microphone, pairing it with an audio interface is important. This device enhances sound quality by providing better preamps and analog-to-digital conversion, usually costing around $100.
- Pop Filter: This accessory is essential for reducing plosive sounds that can distort your recordings. It helps maintain crisp audio, ensuring your voiceovers sound professional.
- Studio Headphones: Invest in studio headphones to monitor your recordings accurately. They allow you to listen without introducing additional noise, which is key for precise audio capture.
Microphone Techniques
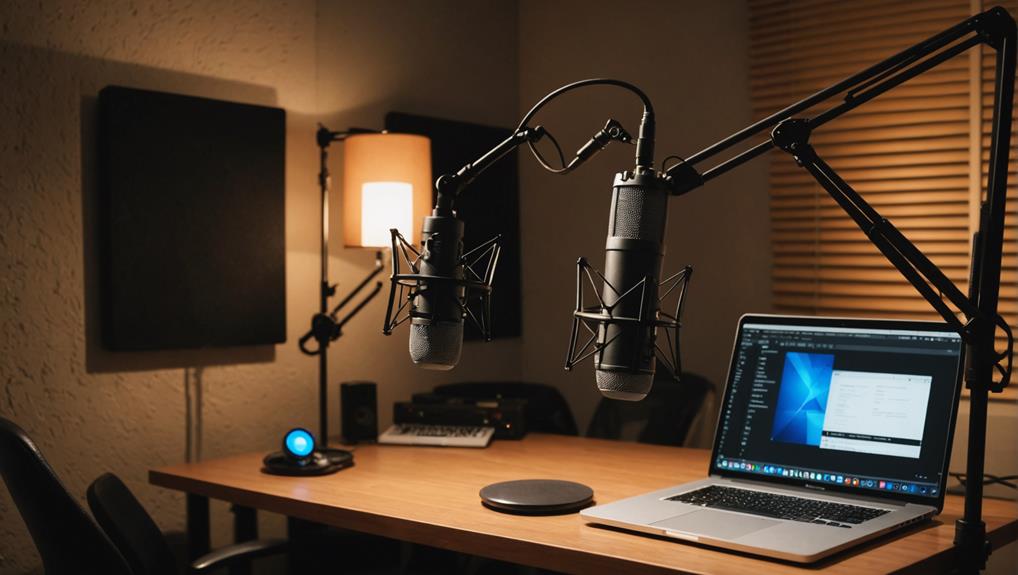
Understanding microphone techniques is just as important as having the right recording equipment, as it directly impacts the quality of your voiceovers.
Start by positioning your microphone about 6 to 12 inches from your mouth. This distance helps capture a balanced sound while minimizing plosives and sibilance. To further enhance clarity, use a pop filter; it’ll reduce those unwanted bursts from consonants like ‘p’ and ‘b.’
Experimenting with microphone positioning can also make a difference. Try angling the mic slightly off-axis to your mouth to soften harshness and achieve a warmer tone. Investing in a high-quality microphone, such as a condenser mic with a low signal-to-noise ratio, will guarantee your recordings sound professional.
Additionally, consider using windscreens to cut down on unwanted breath noise and ambient sounds. This simple addition can greatly improve the overall quality of your voiceover recordings.
Preparing Your Script
A well-prepared script is essential for ensuring your voiceover delivers its message clearly and effectively.
When you’re writing a script, focus on clarity and conciseness to enhance pacing. Here are some tips to make your script preparation smoother:
- Use a large font size: This improves readability and minimizes distractions while you record a voice-over.
- Incorporate pauses: Strategic pauses allow emphasis on key points and give listeners time to absorb the information.
- Structure with bullet points or numbered lists: This keeps your content organized, helping you maintain focus during recording.
- Rehearse your script: Practice multiple times to internalize the content, resulting in a more natural and engaging delivery.
Vocal Warm-Up Exercises
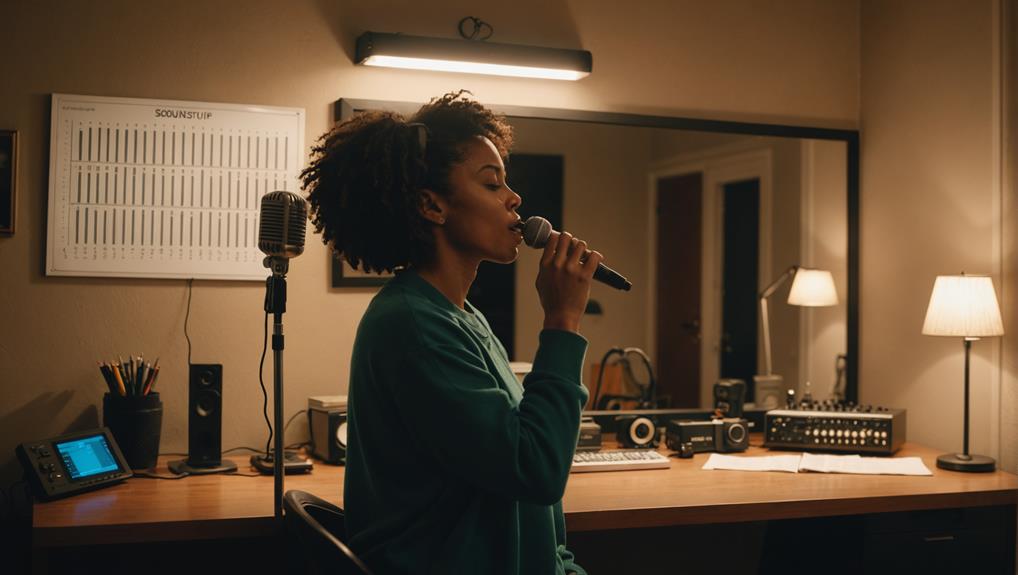
Vocal warm-up exercises are essential for preparing your voice, helping you achieve clarity and control during recordings.
Start with simple techniques like lip trills and humming to relax your vocal cords and improve flexibility. This not only enhances your control but also makes it easier to navigate different tones and emotions.
Incorporate tongue twisters into your routine; they sharpen your diction and articulation, making challenging sounds easier to pronounce.
Remember, hydration plays a vital role too. Drink room-temperature water before recording to keep your vocal cords lubricated and reduce strain.
Don’t overlook the importance of diaphragmatic breathing. Spend a few minutes practicing this technique to support your vocal strength and stamina, ensuring a steady and powerful delivery.
Engaging in light vocal exercises, such as scales or sirens, can warm up your voice effectively.
Recording Environment Considerations
Creating the right recording environment is essential for achieving high-quality audio, as even the slightest background noise can disrupt your performance. To optimize your space, consider these key factors:
- Choose a Quiet Space: Find a location with minimal external noise. Small spaces like closets often provide better sound isolation.
- Use Sound-Absorbing Materials: Incorporate foam panels, blankets, or rugs to minimize echo and improve sound clarity. These materials help absorb unwanted reflections.
- Unplug Noisy Appliances: Before recording, turn off any nearby appliances, like refrigerators or air conditioners, to reduce the risk of interference from electrical noise.
- Record Room Tone: Capture the natural sound of your environment at the beginning of your session. This can be useful in post-production to mask any unwanted noises.
Audio Level Monitoring
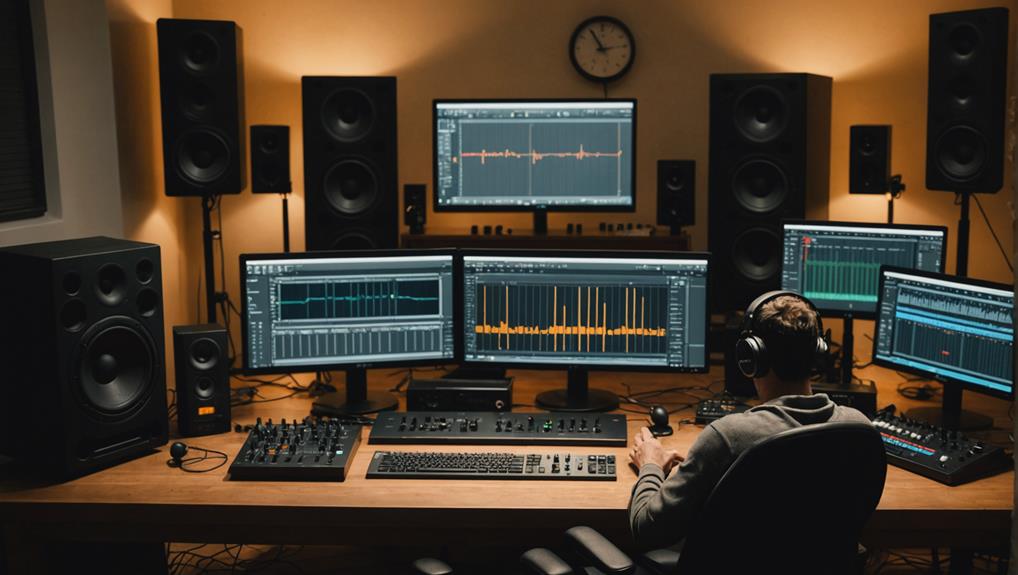
Ensuring proper audio level monitoring during your recordings helps maintain clarity and prevents distortion. When you’re recording your voice, aim for audio levels that average between -18dB and -10dB, ensuring that peaks don’t exceed -6dB. This balance is essential for clear sound without unwanted distortion.
To effectively monitor audio, always use headphones while recording. This way, you can hear the output in real-time and make immediate adjustments if you notice any distortion or background noise. Many digital audio workstations (DAWs) come equipped with visual level meters, which are invaluable for tracking audio levels consistently throughout your session.
Before diving into your final take, perform a test recording to assess microphone levels. This step helps confirm that your audio is captured clearly, free from clipping or excessive noise.
Don’t forget to regularly calibrate your recording equipment and adjust input levels as needed. By doing so, you’ll greatly enhance the overall sound quality of your voiceover work, ensuring that your recordings are professional and polished.
Post-Production Techniques
Post-production techniques play an essential role in refining your voiceover recordings and elevating their overall quality. Effective audio editing can transform a decent recording into a professional-quality voice-over. Here are some key techniques to reflect upon:
- Noise Reduction: Use software like iZotope RX to apply De-Noise and De-plosive tools, enhancing clarity and removing unwanted sounds.
- Equalization: Balance frequencies to guarantee your vocal tones are clear and stand out in the mix, making your voice more engaging.
- Compression Techniques: Maintain consistent volume levels throughout your recording. This prevents sudden peaks or drops, keeping your listeners engaged.
- Trimming and Cutting: Regularly practice trimming silences and removing mistakes. This improves your efficiency and greatly enhances the final audio quality.
Editing for Clarity
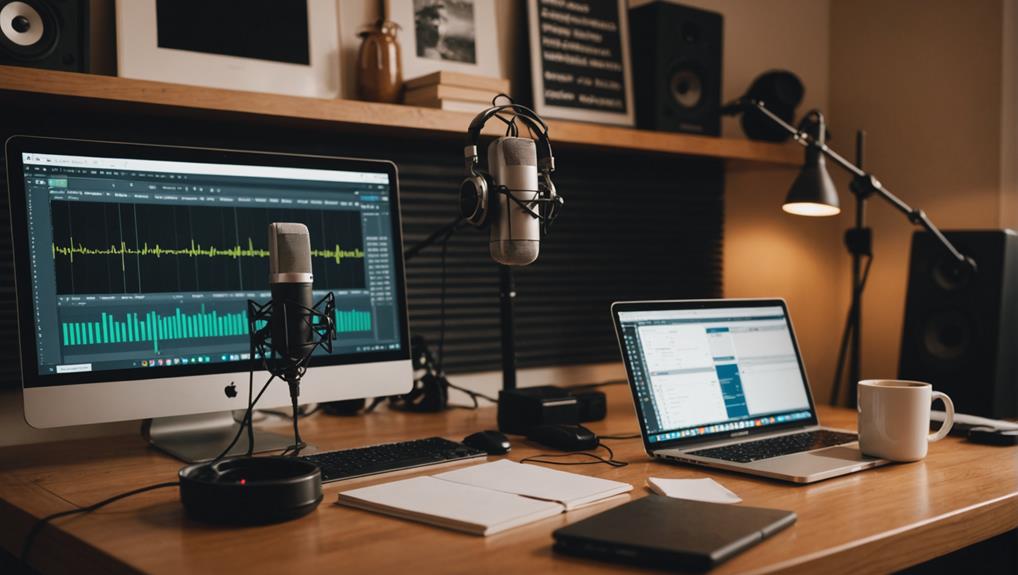
Effective editing for clarity sharpens your voiceover recordings, making them more engaging and professional-sounding.
Start by trimming unnecessary silences and breaths at the beginning and end of your recordings. This simple step creates a polished final product. To enhance audio quality further, utilize tools like iZotope RX for noise reduction. These tools help remove unwanted background sounds while maintaining vocal integrity.
Next, focus on equalization (EQ) to balance frequencies. Cutting low frequencies reduces muddiness, while boosting highs adds brightness to your voiceover.
Compression is vital as well; it guarantees consistent volume levels throughout the recording. By maintaining quieter parts and preventing distortion in louder sections, your voiceover will sound more cohesive.
Continual Learning and Practice
Regular practice and ongoing education are key to honing your voiceover skills and adapting to various styles.
As you work towards becoming a professional voice actor, embracing continual learning and consistent practice sessions will help you excel.
Here are some effective techniques to incorporate into your routine:
- Engage in Regular Practice: Aim for practice sessions a few times a week, focusing on different styles and genres.
- Study Scripts: Take time to understand the context of the scripts you’re working with. This enhances authenticity and relatability in your performances.
- Seek Feedback: Share your recordings with peers or mentors. Constructive feedback can refine your techniques and point out areas for improvement.
- Experiment with Characters: Don’t shy away from trying out different character voices and emotional deliveries. This not only boosts your versatility but keeps practice fresh and enjoyable.

