To achieve flawless voiceover recordings at home, start by choosing a quiet space and adding sound-absorbing materials like curtains or foam panels. Invest in quality equipment, like a good USB microphone and a pop filter, to guarantee clear audio. Proper microphone placement is key, so keep it 6 to 12 inches from your mouth and angled slightly off-axis. Warm up your voice and practice your script to boost clarity and confidence. Don't forget to review and edit your recordings for the best output. Ready to refine your skills further? There's so much more to discover!
Key Takeaways
- Choose a quiet space and use sound-absorbing materials to minimize background noise and echo during recordings.
- Invest in quality equipment like a USB microphone and pop filter for improved sound clarity.
- Maintain a consistent distance of 6 to 12 inches from the microphone, angling it slightly off-axis to reduce plosive sounds.
- Engage in vocal warm-ups and practice reading to enhance clarity, pacing, and overall performance before recording.
- Regularly review and edit your recordings using user-friendly audio software to achieve the best final output.
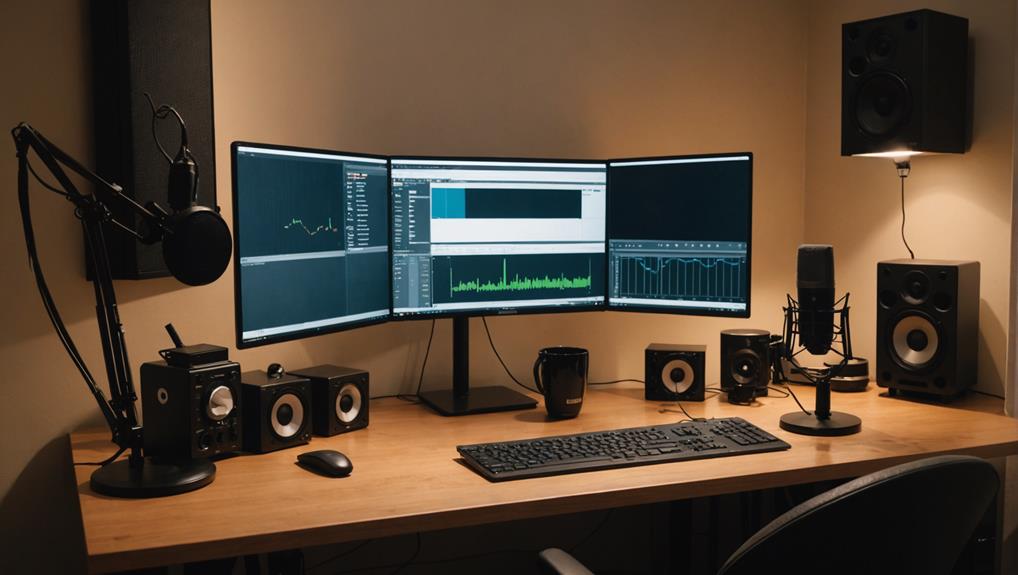
Optimize Your Recording Environment
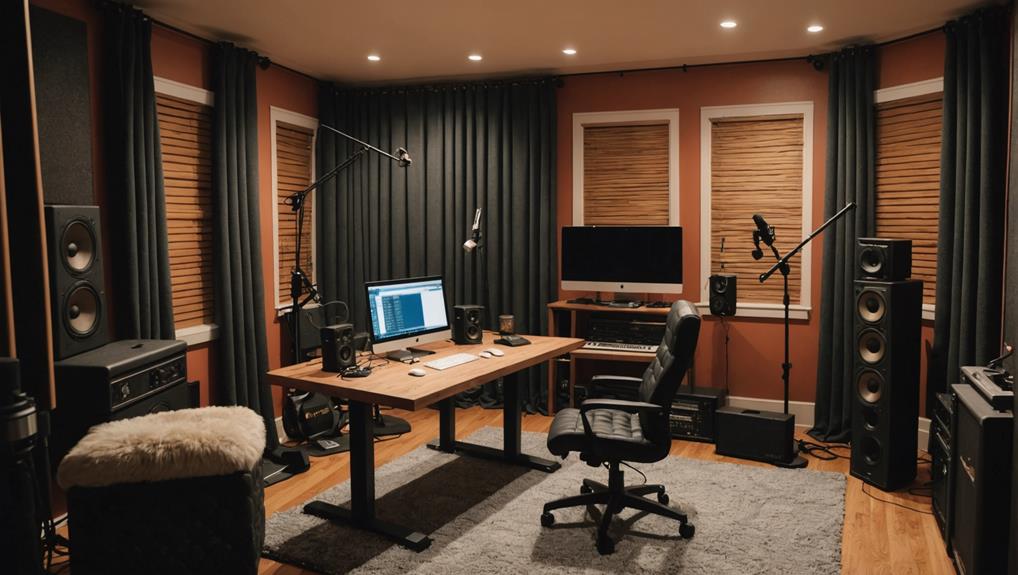
When it comes to flawless voiceover recordings, your recording environment plays a crucial role. You want to find a quiet place free from background noise, as even the slightest distraction can ruin your take.
Soft furnishings like curtains or cushions can work wonders in absorbing sound, reducing echo, and improving audio quality in your recording space. Additionally, incorporating sound-absorbing materials like foam panels can further enhance the acoustics of your setup.
Consider some DIY soundproofing techniques, too. Hanging heavy blankets or investing in sound-absorbing foam can make a significant difference. With a little creativity, you can transform any room into a more acoustically friendly environment.
Next, think about microphone placement. Ideally, keep your mic about 6 to 12 inches from your mouth and slightly off-axis. This setup helps capture ideal sound while minimizing those pesky plosive sounds.
Don't forget to unplug noisy appliances before you start recording at home. If distractions persist, using a portable sound booth can help isolate your space from external noise.
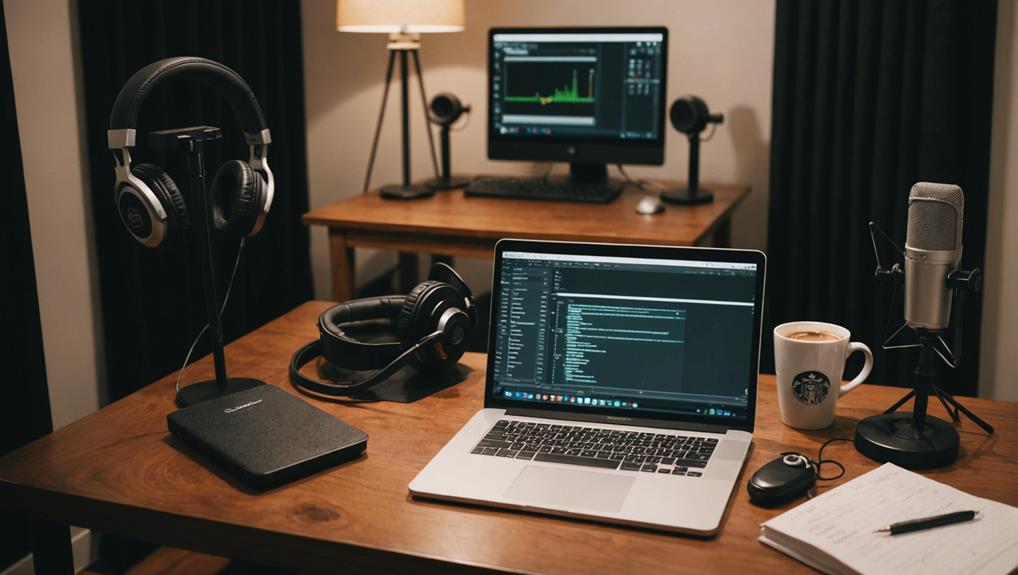
Essential Equipment for Beginners
After setting up your recording environment, the next step is to get the right equipment to guarantee you capture the best sound possible.
First off, investing in a USB microphone, like the Audio-Technica AT2020, is fundamental for achieving clear audio. Prices start around $99, making it a solid choice for beginners.
To assure good audio quality, don't forget a pop filter, which costs about $20 and helps reduce those pesky plosive sounds. Additionally, consider using a quality audio interface to enhance sound clarity, as it's a vital component for studio recordings that many beginners overlook.
Next, you'll need a reliable audio interface, such as the Focusrite Scarlett Solo, priced around $130. This device connects your microphone to your computer and enhances sound clarity.
You should also grab a pair of headphones like the Audio-Technica ATH-M50x for about $150. These will allow you to monitor your recordings in real-time, catching any issues before they become bigger problems.
For more tips on essential equipment for home recording, check out some beginner guides.
Effective Script Preparation
Effective script preparation is essential for delivering flawless voiceover recordings. Start by crafting a clear and concise script that outlines both the visual and spoken elements of your project. This enhances coherence and professionalism.
When you're ready, practice reading the script aloud. This helps you identify difficult phrases and establish a natural flow, so you can incorporate pauses for clarity in complex sections. Additionally, focus on clarity and conciseness to enhance pacing, as emphasized in voice warm-up exercises.
Next, mark your script with breathing points and pitch changes. This simple step guides your delivery and injects energy into your performance, making it more engaging for listeners. It's also a good practice to use a music stand or digital device at eye level—this minimizes vocal cord restriction and keeps you focused without distractions from paper rustling.
Before you embark on the final recording, conduct a test recording. This allows you to check sound quality and make any necessary adjustments.
Vocal Warm-Up Techniques
Before you hit record, it's essential to warm up your voice. Not only does this boost your vocal flexibility, but it also helps prevent strain—trust me, you'll thank yourself later!
Let's explore some effective warm-up exercises that can set you up for a flawless recording session.
Importance of Vocal Warm-Ups
Vocal warm-ups are a crucial step for anyone looking to achieve flawless voiceover recordings. These exercises, like humming and lip trills, boost your vocal range and flexibility, setting you up for clear and dynamic delivery.
Spending just 10-15 minutes on vocal warm-ups enhances your breath control, minimizing the risk of strain or injury during long recording sessions.
When you practice these warm-ups, you also improve your diction and articulation, ensuring that tricky sounds come out crisp and clear. Plus, incorporating hydration into your routine—sipping warm or room temperature water—helps maintain vocal clarity and prevents that pesky dry mouth, which can be a real distraction while recording.
But the benefits don't stop there! Consistent warm-up routines build your confidence, allowing you to deliver your lines naturally and engagingly. You'll notice how a well-prepared voice not only sounds better but feels better too.
Effective Warm-Up Exercises
Warming up your voice sets the stage for success, and knowing the right exercises can make all the difference. Effective vocal warm-ups not only boost your performance but also enhance your overall clarity during recording voice-overs. Here are some techniques to incorporate into your routine:
- Humming and Lip Trills: These exercises help relax your vocal cords and improve lung capacity.
- Diaphragmatic Breathing: This technique enhances breath control, ensuring you maintain clarity and reduce strain while recording.
- Articulation Exercises: Use tongue twisters to practice enunciating each word clearly, boosting your diction and delivery.
- Read Aloud: Familiarize yourself with your script's pacing, which helps highlight challenging phrases.
Also, don't underestimate the power of good posture. Standing tall while warming up supports ideal breath control and encourages a confident tone.
By dedicating time to these vocal warm-up exercises, you'll prepare your voice for a professional sound and make your recording sessions more effective.
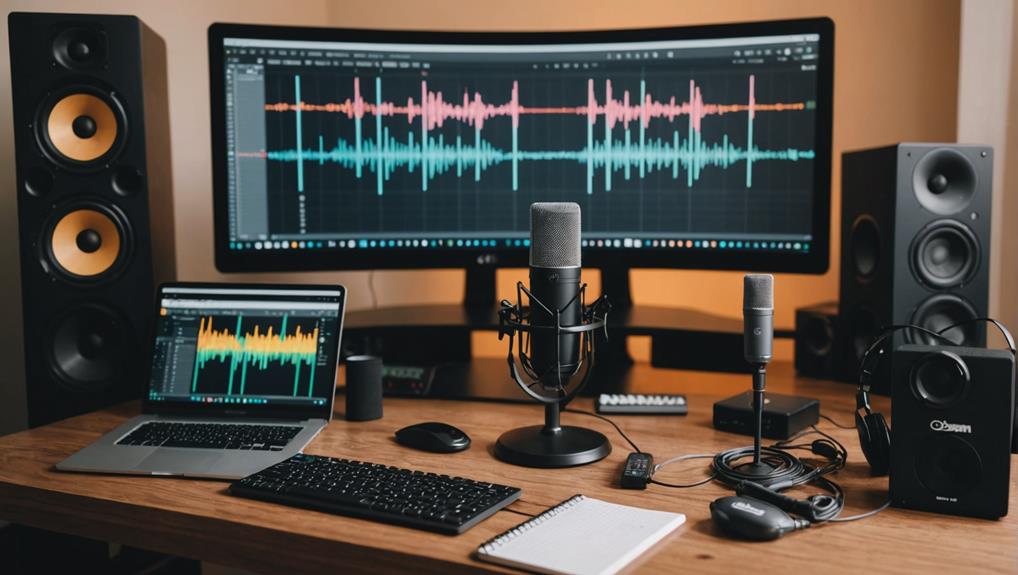
Mastering Microphone Techniques
Getting the most out of your microphone is vital for achieving high-quality voiceover recordings at home. Start by using a cardioid pattern microphone, which focuses on your voice and minimizes background noise. This is key for capturing that professional voice sound you're aiming for.
When you're recording your voice, maintain a consistent distance of 6 to 12 inches from the microphone. This distance helps you avoid muddiness and sibilance, ensuring your audio remains clear.
To tackle plosive sounds, angle the microphone slightly off-axis from your mouth. This positioning reduces the impact of those pesky "p" and "b" sounds that can distort your recording.
Another great tip is to use a pop filter in front of your microphone. This handy tool further reduces plosives and unwanted noise, enhancing overall audio clarity.
Don't forget, recording multiple takes is essential. It gives you options in post-production and allows you to select the best performance for a polished final output.
With these techniques, you're well on your way to mastering your microphone skills and producing flawless voiceover recordings right at home!
Recording Best Practices
When it comes to recording voiceovers at home, following best practices can make all the difference in achieving professional sound quality. Start with proper mic placement; keep your microphone about 6 to 12 inches from your mouth. This distance guarantees clear audio capture without muddiness or distortion.
Don't forget to use a pop filter to minimize plosive sounds from hard consonants—trust me, your audio quality will thank you!
Before hitting record, warm up your vocal cords with exercises like humming and lip trills. This simple step enhances your vocal performance and clarity, making your voice sound its best.
Also, conduct multiple takes—aim for about five. This way, you'll have options to choose from during editing while keeping your energy and focus intact.
Lastly, always test your recording environment with a short trial recording. Check for any background noise and adjust your settings accordingly to guarantee peak sound quality.
Remember these key practices to elevate your home recordings:
- Peak mic placement
- Use of a pop filter
- Vocal warm-up exercises
- Conducting multiple takes
Audio Editing Essentials
Now that you've nailed your recording, it's time to polish it with some essential audio editing.
Using software like Audacity or Adobe Audition, you can easily clean up unwanted noise and breaths to create a crisp final product.
Let's explore some key techniques that will elevate your voiceover to the next level.
Essential Editing Software
Choosing the right audio editing software can make all the difference in achieving flawless voiceover recordings at home.
You'll want to explore options that fit your needs and budget. For beginners and those looking for a free option, Audacity offers essential editing capabilities that are straightforward and user-friendly.
If you're ready to invest, Adobe Audition provides a podcasting layout tailored for voice recordings, making it a favorite among many professionals.
For advanced audio repair, consider iZotope RX, which features powerful tools like De-Noise and Mouth De-click. These tools can really elevate your recordings.
Here are some essential features to look for:
- Ease of use: Intuitive interface to streamline your workflow.
- Editing capabilities: Advanced options for precise adjustments.
- EQ and compression tools: Essential for balancing frequencies and volume levels.
- Regular updates: Keep your software up-to-date for peak performance.
Audio Cleanup Techniques
Achieving pristine audio quality in your voiceover recordings often hinges on effective audio cleanup techniques. Start by utilizing audio editing software like iZotope RX, which offers tools like De-Noise and Mouth De-click. These tools help reduce background noise and eliminate those pesky mouth sounds, giving you a cleaner final product.
Next, focus on Equalization (EQ) to balance frequencies. A high-pass filter can remove low-frequency rumble, while boosting mid-range frequencies enhances vocal clarity. This step is essential for making your voice stand out in the mix.
Don't forget about Compression! It helps maintain consistent volume levels in your recordings. Setting your threshold to -20dB with a 4:1 ratio will control dynamic range, preventing peaks from distorting your audio.
Regularly using software like Audacity or Adobe Audition allows you to trim unwanted silences and breaths, improving the pacing of your audio.
Noise Reduction Strategies
How can you guarantee your voiceover recordings sound crisp and professional? It all starts with effective noise reduction strategies. You want to minimize ambient noise and create a clear audio environment. Here are some tips to help you achieve that:
- Choose a quiet space for your recording sessions.
- Treat your room with sound-absorbing materials like foam panels or heavy curtains.
- Unplug noisy appliances, like refrigerators or air conditioners, before recording.
- Consider using a portable sound booth for better isolation.
Another key factor is proper microphone placement. Position your external microphone about 6 to 12 inches from your mouth and slightly off-axis to capture clear audio while minimizing surrounding noise. With these steps, you'll greatly reduce unwanted sounds during your recordings.
Lastly, don't overlook post-production tools! Advanced noise reduction software, like iZotope RX, can help you eliminate any remaining hum, hiss, or background noise, polishing your audio to perfection.
Implement these strategies, and you'll be well on your way to creating professional-sounding voiceovers right at home!
Enhancing Sound Quality
To really enhance your sound quality, start by treating your recording room with acoustic materials that minimize echoes and background noise.
Next, pay attention to your microphone placement; keeping it about 6 to 12 inches from your mouth can make a huge difference in clarity.
With these tips in mind, you'll be well on your way to achieving that flawless voiceover sound!
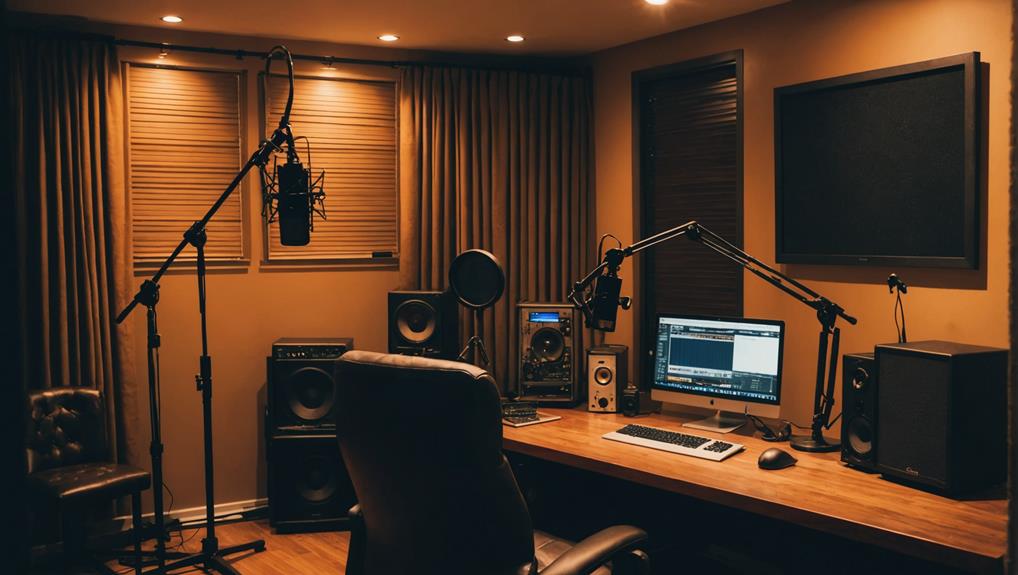
Room Treatment Techniques
Creating a sound-friendly environment is essential for flawless voiceover recordings at home. Proper room treatment can drastically improve your recording quality by reducing echoes and unwanted reflections.
Think about using acoustic treatment solutions like foam panels or sound-absorbing curtains to create an ideal recording environment. Here are some effective techniques you can implement:
- Choose soft materials: Carpets, rugs, and upholstered furniture can absorb sound, minimizing reverberation.
- Avoid hard surfaces: Rooms with tile or bare walls can create unwanted echoes; steer clear of these when setting up.
- Monitor background sound: Regularly check for environmental noise and unplug noisy appliances during your recording sessions.
- Consider a DIY booth: If space is limited, a closet filled with soft materials can work wonders in reducing external noise interference.
Taking these steps will help you achieve clearer and more professional recordings.
Remember, a well-treated room not only enhances sound quality but also sets the stage for a successful voiceover experience.
With the right approach, you'll capture the best audio possible!
Microphone Placement Tips
Where should you position your microphone for the best sound quality? Start by placing it 6 to 12 inches away from your mouth. This distance helps you achieve a balanced sound while minimizing room reflections, ensuring vocal clarity.
To reduce those pesky plosive sounds from letters like "P" and "B," angle your microphone slightly off-axis. This way, you avoid direct air blasts that can distort your audio quality.
Using a pop filter is a great addition to your setup. It works hand-in-hand with your mic placement to further diminish plosive sounds, giving you smoother recordings.
Don't forget to adjust the microphone angle to find that sweet spot that captures the best tonal qualities of your voice while keeping background noise at bay.
As you record, keep an eye on your recording levels. Aim for peaks around -6dB to prevent clipping, while keeping average levels between -18dB and -10dB for ideal clarity and dynamic range.
With these microphone placement tips, you're well on your way to achieving flawless voiceover recordings at home!
Continuous Learning and Improvement
Continuous learning is essential for anyone looking to excel in voice-over work. To truly hone your craft, you should actively seek opportunities that challenge and expand your skills. Engaging in workshops, reading articles, and joining forums can greatly boost your recording techniques.
Here are some ways to keep improving:
- Participate in at least one educational event each month to stay updated.
- Read books on voice-over artistry to learn new methods for breath control and delivery.
- Join online communities for constructive feedback and to gain insights from experienced peers.
- Experiment with different genres to enhance your versatility.
Setting specific goals for skill enhancement—like mastering breath control or improving diction—helps you track measurable progress. Many successful voice actors attribute their growth to continuous learning; in fact, 73% of them emphasize versatility as a key factor in their careers.
Conclusion
With these pro tips, you're well on your way to achieving voiceover recordings that sound as polished as a Hollywood blockbuster! Remember, creating a great home studio takes time and practice, but every little tweak you make will bring you closer to perfection. Don't be afraid to experiment and keep learning—your voice is your greatest asset. So, grab that mic, release your creativity, and let your passion shine through every recording!
