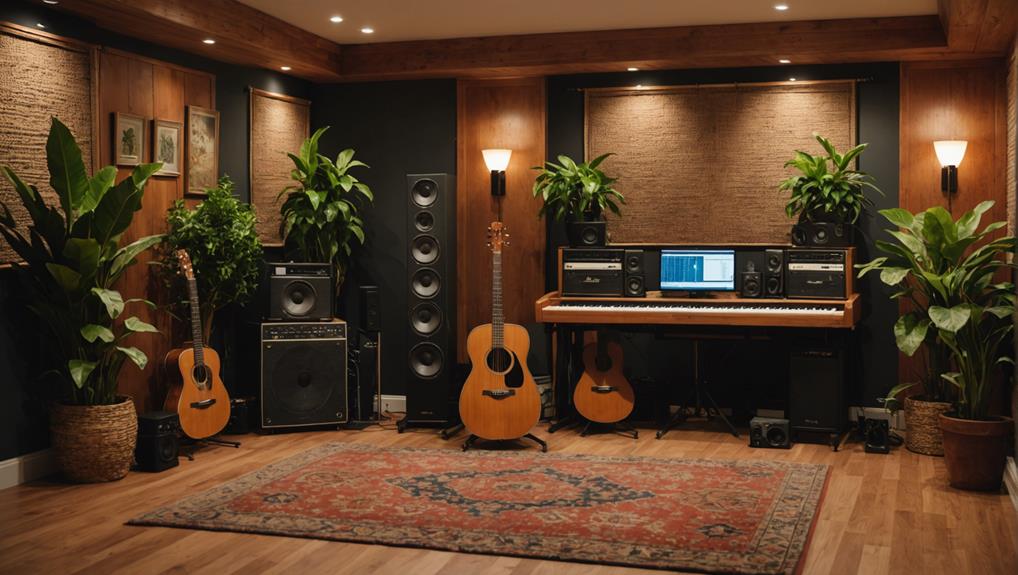
To get the best sound in your home studio, consider using top acoustic treatment materials. Start with acoustic panels to absorb mid to high frequencies and reduce echoes. Bass traps are essential for managing low frequencies, making your sound tighter. You can also explore DIY options like mineral wool panels, which offer cost-effective solutions. Adding fabric-wrapped panels enhances both sound absorption and aesthetics. Don’t forget diffusers to scatter sound waves for a balanced feel. If you want to elevate your studio’s audio performance, exploring more techniques and materials can really make a difference.
Key Takeaways
- Acoustic panels effectively absorb mid to high frequencies, reducing echoes and improving sound clarity in home studios.
- Bass traps are essential for managing low-frequency sounds, enhancing the overall audio quality in recording environments.
- Fabric-wrapped panels provide aesthetic appeal while serving as effective sound absorbers in studio spaces.
- Diffusers scatter sound waves, creating a balanced acoustic environment and maintaining natural sound characteristics.
Importance of Acoustic Treatment
Acoustic treatment is vital for improving sound quality in your home studio, as it helps minimize unwanted reflections and phase issues that can distort your recordings. By implementing effective acoustic treatment strategies, you can greatly enhance the sound environment, making it easier to capture high-quality audio.
Acoustic panels and bass traps are key components in achieving this goal, as they absorb sound waves and reduce echoes, creating a more controlled space for recording vocals and other instruments.
In a well-treated home studio, room acoustics become optimized, allowing you to hear your mixes accurately. This is essential for making informed decisions during recording and mixing processes. Without proper treatment, you risk encountering common issues like inaccurate monitoring and muddled mixes, which can lead to frustrating results and wasted time.
Investing in acoustic treatment isn’t just a luxury; it’s a necessity for anyone serious about producing professional-grade audio. Regularly evaluating and adjusting your room acoustics will keep your sound performance at its best, ensuring that every recording reflects your true artistic vision.
Don’t underestimate the power of acoustic treatment in your home studio.
Common Acoustic Treatment Materials
Choosing the right materials for sound treatment can greatly enhance the quality of your home studio by effectively managing sound waves.
One of the most common options is acoustic panels, specifically foam panels, which absorb mid to high frequencies. These panels reduce echoes and improve clarity, making them essential for home recording environments.
For low-frequency sounds, you’ll want bass traps, often made from high-density materials like mineral wool, which are excellent at absorbing those deep tones.
If you’re looking for an aesthetically pleasing solution, consider fabric-wrapped acoustic panels that not only absorb sound but also allow you to customize their appearance.
In addition to absorptive materials, incorporating diffusers can help scatter sound waves, preventing harsh reflections and creating a more balanced acoustic environment.
If you’re on a budget, DIY acoustic treatment is a viable option. You can construct your own panels using materials like Rockwool or Owens Corning 703, which are cost-effective yet effective in enhancing sound quality.
DIY Acoustic Treatment Solutions
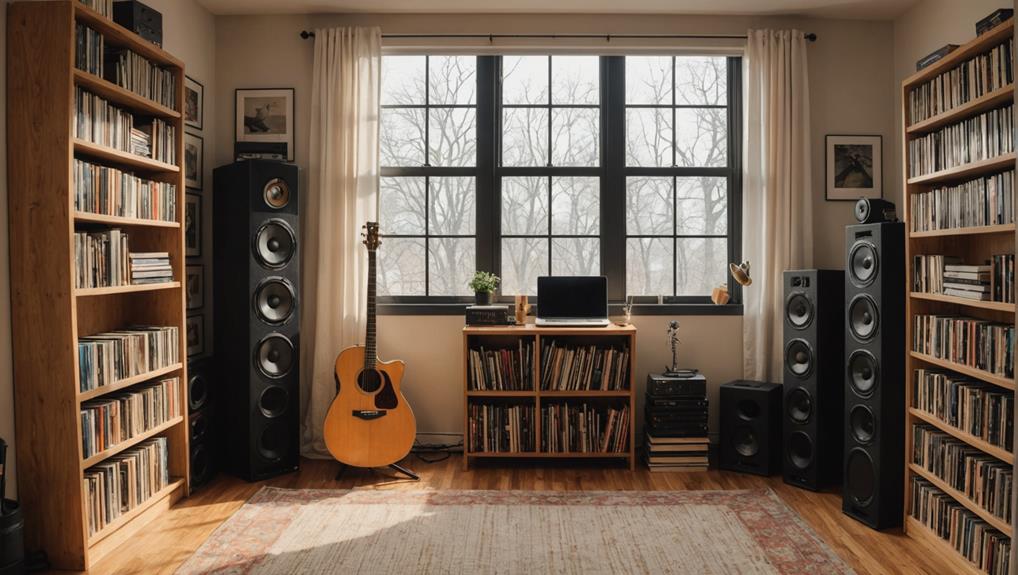
Creating DIY acoustic treatment solutions can be a cost-effective way to enhance your home studio’s sound quality using everyday materials. You can start by using items like pillows and blankets to absorb sound, providing a simple solution at little to no cost.
If you’re looking for more effective acoustic material, consider building your own acoustic panels. For under $500, you can gather tools, wood blocks, and fabric to create panels tailored to your space.
To tackle bass frequencies, utilize mineral wool to create bass traps. Placing these traps strategically in corners can greatly improve low-frequency absorption in your small rooms.
Additionally, employing effective close-miking techniques along with reflection filters will help reduce the impact of room reflections, enhancing the quality of your recordings.
Don’t forget that continuous testing during the setup process is key. Adjust the placement of your DIY treatments to refine their effectiveness in controlling sound reflections.
Budget-Friendly Acoustic Options
You can find budget-friendly acoustic options that greatly improve your home studio’s sound quality without emptying your wallet. DIY acoustic panels made from mineral wool or foam can be created for under $500, providing excellent coverage for your recording space.
Additionally, utilizing soft furnishings like blankets and curtains can help absorb sound reflections at little to no cost, enhancing your studio’s acoustics.
If you’re willing to spend up to $1,000, you can invest in effective treatments like bass traps priced around $450, or eco-friendly acoustic panels that won’t break the bank. For a truly cost-effective solution, consider using household items such as pillows or old mattresses, which serve as excellent sound absorption materials.
To further customize your acoustic treatment, take advantage of online resources and tutorials. They can guide you in constructing your own solutions tailored to your studio’s specific dimensions and sound challenges.
Advanced Acoustic Treatment Techniques
How can you elevate your home studio’s sound quality?
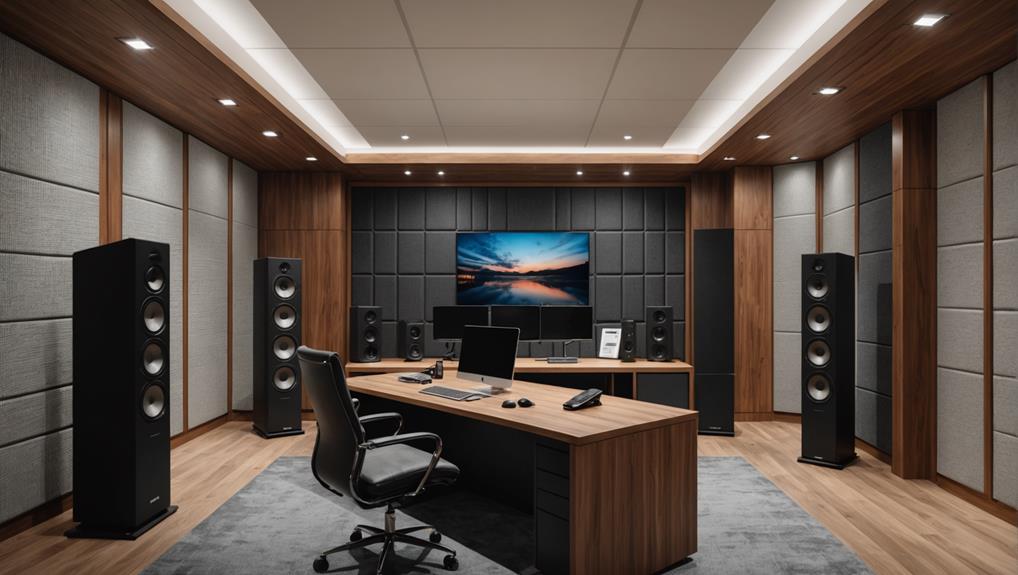
Advanced acoustic treatment techniques focus on strategically placing absorbers and diffusers to minimize reflections and enhance clarity. Begin by identifying key reflection points where sound bouncing occurs. Positioning absorbers, like acoustic foam, at these spots reduces unwanted echoes, particularly in the high frequencies.
Don’t overlook the importance of bass traps, which are essential for controlling low-frequency issues. Placing these in trihedral corners helps improve bass response and address common room modes. For a balanced acoustic environment, consider layering different materials—mineral wool works well for bass traps, while acoustic foam effectively targets high frequencies.
To maintain a lively yet controlled sound, use porous absorbers in front of reflective surfaces. This approach enhances high-frequency absorption without sacrificing the room’s overall energy.
Regularly assess your room acoustic treatment setup, utilizing affordable measuring tools to analyze metrics like RT60 and frequency response. By adjusting your treatment as needed, you can guarantee your home studio continues to deliver peak sound quality, creating an environment that inspires creativity and productivity.
Evaluating Room Acoustics
Evaluating room acoustics requires a systematic approach to identifying sound reflections and measuring key metrics that affect audio quality.
Start by using methods like the clap test to pinpoint reflection points in your space. This technique helps you evaluate how room sounds, as it reveals areas where sound bounces off surfaces.
Next, focus on key metrics such as reverberation time (RT60) and frequency response. These measurements provide insight into how sound behaves within your room, allowing for targeted improvements. You can utilize affordable acoustic measuring software to gain a detailed analysis, offering visual data through graphs that illustrate frequency response and decay characteristics.
Identifying critical reflection points, like side walls and ceilings, is essential for effective acoustic treatment. Untreated surfaces can create unwanted echoes that degrade sound quality.
Remember that continuous evaluation and adjustment are necessary to maintain an ideal sound environment, particularly when you change equipment or room layout.
Soundproofing Vs Acoustic Treatment
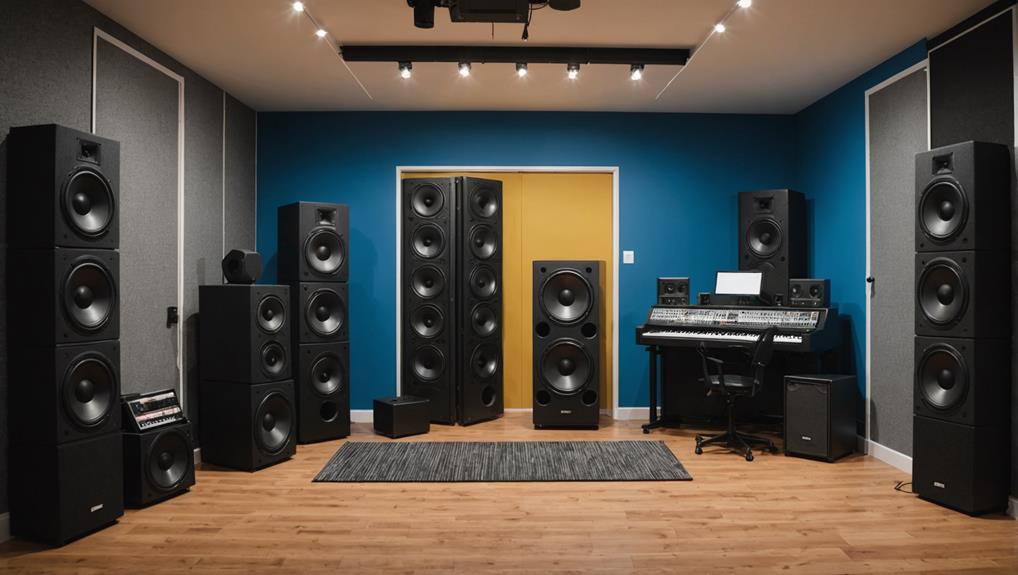
Soundproofing and acoustic treatment are two essential elements in creating an ideal audio environment, each serving distinct yet complementary purposes in a home studio.
Soundproofing focuses on preventing sound from entering or exiting your space, using heavy materials and airtight seals. This is vital, especially in a small home, to minimize outside noise interference. Effective soundproofing materials like mass-loaded vinyl and dense insulation block sound transmission, ensuring peace during recording sessions.
On the other hand, acoustic treatment manages sound reflections within the room to enhance sound quality. This involves using materials such as foam panels, bass traps, and diffusers to control internal sound dynamics. While professional studios often invest heavily in both aspects, you can achieve significant improvements in your home studio with basic acoustic treatment by utilizing cost-effective options like blankets or DIY panels.
Understanding the difference between soundproofing and acoustic treatment is key. Soundproofing won’t necessarily improve the sound quality inside your studio, so focus on both elements to create a balanced and accurate audio environment that allows your studio technology to shine.
Best Practices for Acoustic Setup
Position your acoustic panels at key reflection points to drastically improve sound clarity and reduce unwanted echoes in your home studio. Identify these points on the side walls and ceiling, and strategically place your panels there for ideal effect.
Don’t forget about bass traps; position them in the trihedral corners of the room to manage low-frequency issues, creating a balanced acoustic environment.
For your studio setup, arrange your monitors and listening position in an equilateral triangle. This configuration maximizes stereo imaging and guarantees sound accuracy. It’s important to check that your speakers are at ear level for the best audio experience.
Utilizing a mix of absorption and diffusion techniques is also significant. While absorption helps control excessive reflections, diffusion prevents the room from becoming too dead, allowing for a more natural sound.
Regularly assess your acoustic treatment as your recording environment and equipment evolve. Adjustments will help maintain ideal sound quality and adapt to any changes.
With these best practices, you’ll create a home studio that truly enhances your audio performance.

