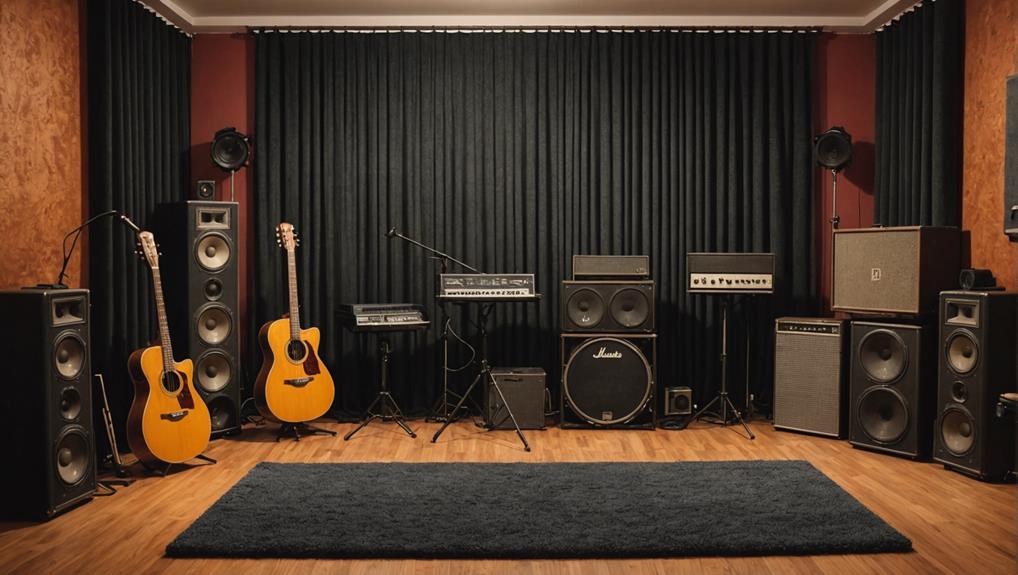
To properly treat your home studio, focus on essential materials like foam panels, mineral wool, and acoustic panels. Foam panels effectively absorb high frequencies, while mineral wool serves as excellent bass traps. Acoustic panels, constructed from fiberglass or foam, help minimize mid to high-frequency reflections. Incorporate diffusors made from wood or irregular surfaces to balance sound scattering. For budget-friendly solutions, consider DIY options using common materials like pillows or blankets for absorption. Each material addresses specific acoustic issues vital for professional-quality sound. Explore more about how to achieve the best results in your studio setup.
Key Takeaways
- Foam Panels effectively absorb high frequencies, reducing echo and enhancing clarity in home studio recordings.
- Mineral Wool is dense and ideal for DIY bass traps, effectively controlling low-frequency sound issues.
- Acoustic Panels made from fabric-wrapped fiberglass or foam target mid to high frequencies, minimizing unwanted reflections.
- Diffusers scatter sound waves to maintain natural acoustic balance, preventing an overly dampened sound environment.
- DIY Solutions, such as using pillows or blankets, provide cost-effective sound absorption options for home studios.
Importance of Acoustic Treatment
Acoustic treatment is essential for any home studio aiming for professional sound quality. Without it, you risk encountering issues like excessive sound reflections and phase problems, which can hinder your recording quality.
Untreated spaces often lead to inaccurate sound mixing, making it difficult to achieve professional-sounding mixes. Implementing proper acoustic treatment is critical in minimizing these sound reflections, as highlighted in essential equipment for home recording. By using acoustic panels and bass traps, you can considerably improve clarity and balance in your recordings. These treatments effectively control low and mid-frequency responses, particularly in smaller rooms where unwanted resonance can occur.
Additionally, investing in acoustic treatment creates an environment conducive to creativity and productivity. When your studio has optimized acoustics, you're more likely to focus on your craft, enhancing your overall sound experience.
This is essential for artists and producers who rely on their home studios to meet the high demands of modern recording techniques.
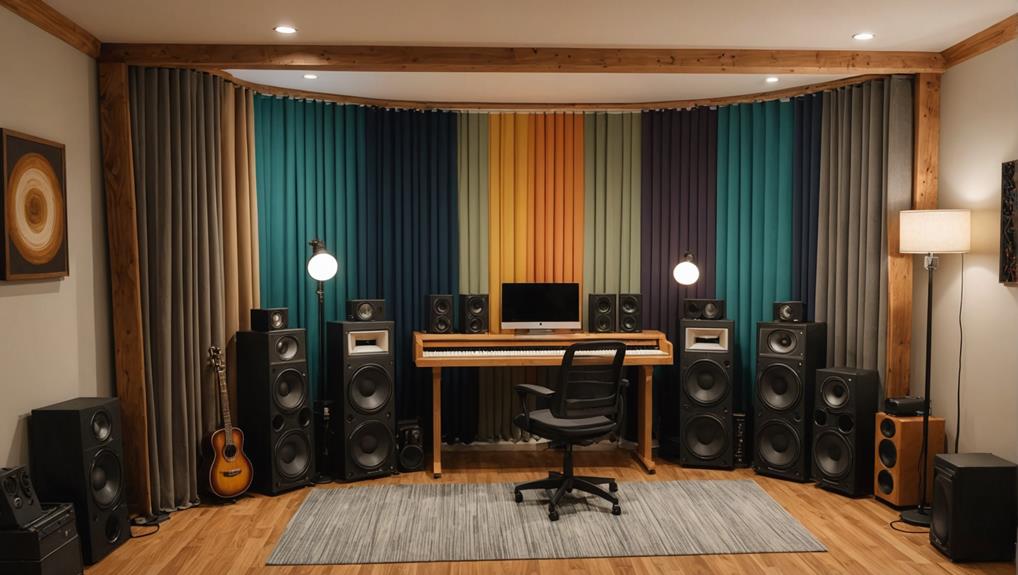
Types of Acoustic Treatment Materials
Effective acoustic treatment relies on a variety of specialized materials, each designed to address specific sound issues in your home studio.
Foam panels are popular for high-frequency absorption and are vital for achieving a clear sound during recordings. Their varied shapes and thicknesses, particularly 2-inch panels, effectively reduce echo and enhance clarity, especially in smaller spaces. Incorporating techniques for acoustic treatment basics can further improve your studio environment.
Mineral wool is another vital material, renowned for its density, making it particularly effective in bass trapping. It can also be utilized to create DIY bass traps, providing a cost-effective solution for controlling low-frequency sound.
Acoustic panels, often constructed from fabric-wrapped fiberglass or foam, excel at absorbing mid to high frequencies. Placing these panels at first reflection points can markedly improve your studio's sound quality.
Diffusers differ from absorbers by scattering sound waves to maintain a natural acoustic balance. Typically made from wood or plastic, they prevent a "dead" sound while effectively managing reflections.
DIY Acoustic Treatment Solutions
You can create effective acoustic treatment solutions using affordable materials found around your home. Items like pillows and blankets can absorb sound, while implementing room-in-a-room techniques allows for a tailored approach without breaking the bank.
Effective Absorption Materials
Creating an ideal recording environment requires understanding the role of absorption materials in minimizing sound reflections and enhancing audio clarity. Effective absorption is essential for optimizing room acoustics in home recording and professional recording studios alike.
Mineral wool stands out as an exceptional acoustic material for building bass traps, thanks to its density and ability to absorb low-frequency energy. This makes it particularly beneficial in smaller rooms where low frequencies can easily overwhelm the sound.
For high-frequency absorption, acoustic foam panels are popular; however, their effectiveness diminishes at lower frequencies. To achieve balanced treatment, layering foam panels with bass traps is advisable.
For DIY acoustic treatment solutions, you can construct panels using a wooden frame filled with insulation materials like rockwool or fiberglass, then cover them with fabric for a polished look. Additionally, thick blankets or heavy curtains can serve as cost-effective alternatives, notably reducing reflections when hung on walls or windows.
Budget-Friendly DIY Techniques
When optimizing your home studio acoustics on a budget, DIY techniques offer practical and effective solutions. You can greatly enhance your recording quality by employing close-miking techniques to minimize reflected sound in untreated spaces.
Utilize household items like pillows, blankets, and old mattresses; these materials serve as excellent sound absorption options, providing a cost-effective solution for DIY acoustic treatment.
To further improve the sound, consider constructing DIY acoustic panels using mineral wool or foam. These panels address high-frequency reflections and can be strategically placed around your recording area. Continuous testing during the setup process is essential—experiment with the placement of these panels to refine their effectiveness.
Additionally, combining reflection filters with strategic microphone placement can yield better recording results. Pairing these methods with soundproofing measures will enhance isolation, ensuring a cleaner sound capture.
By leveraging these budget-friendly DIY techniques, you can create a more acoustically balanced environment in your home studio, enabling you to focus on your artistry without the financial burden of professional treatments.
Budget-Friendly Acoustic Options
Budget-friendly acoustic options can greatly enhance the sound quality of home studios without breaking the bank. For those on a tight budget, optimizing speaker placement and utilizing soft fabric materials like blankets and curtains can remarkably improve sound absorption at no cost.
These low-cost solutions provide immediate benefits and can be easily integrated into your setup.
If you're willing to invest some time, DIY acoustic panels offer an excellent alternative. Using affordable materials such as wood, insulation, and fabric, you can create effective sound treatment solutions for an estimated cost around $500, including tools.
Additionally, investing under $1,000 allows access to products like Outputs Eco Acoustic Panels and bass traps, which are essential for smaller studio spaces.
Consider repurposing old mattresses or pillows as makeshift sound absorbers; these items serve as practical, low-cost alternatives to commercial products.
Remember that continuous testing and adjustment of your DIY solutions during setup are critical. This iterative process helps refine the effectiveness of your acoustic treatment, ensuring you achieve the desirable sound quality that enhances your home studio experience.
Acoustic Panels and Their Benefits
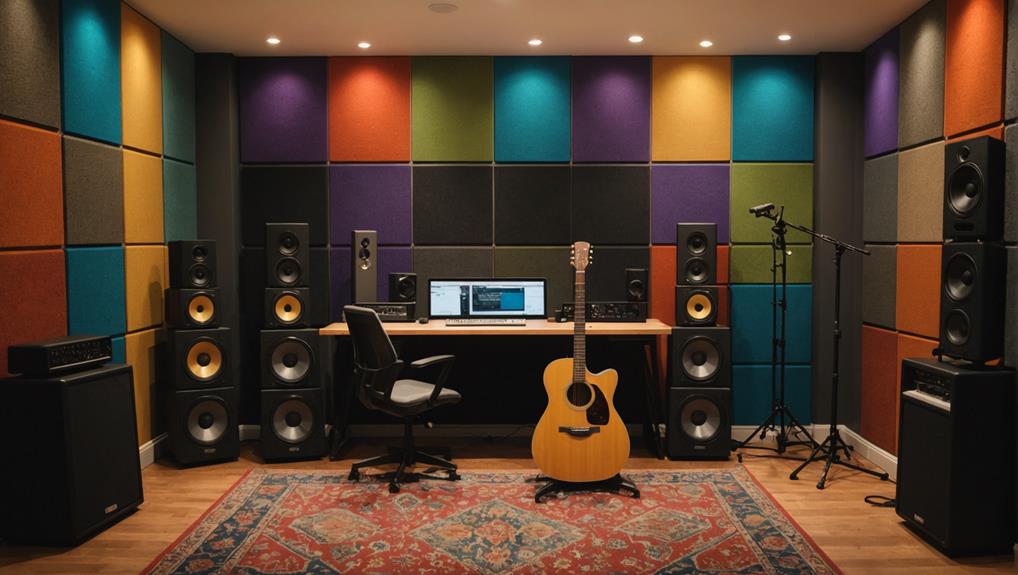
Acoustic panels are essential tools for any home studio, effectively absorbing sound energy and reducing reflections that can muddle recordings. These panels, typically constructed from fiberglass or foam, excel at targeting mid to high-frequency sounds, which are often problematic in untreated spaces.
By strategically placing acoustic panels at reflection points, you can greatly minimize unwanted echoes and reverberation, creating a clearer and more accurate environment for mixing and recording vocals.
If you're on a budget, DIY acoustic panels offer a cost-effective solution. You can create them using affordable materials like mineral wool or rockwool, covered with fabric to enhance aesthetics. This accessibility allows you to optimize your sound treatment without breaking the bank.
It's important to balance the use of absorptive panels with diffusors to avoid an overly "dead" sound. This combination helps maintain clarity in your recordings while preventing excessive absorption of bass frequencies.
Role of Bass Traps
While acoustic panels effectively manage mid to high frequencies, they don't address the complexities of low-frequency sound issues that can plague home studios.
In small rooms, low frequencies often create muddiness, which can distort your recordings and hinder accurate monitoring. This is where bass traps come into play.
Bass traps are specifically designed to absorb excess bass energy, targeting the problematic low frequencies that acoustic panels can't handle.
For ideal performance, it's recommended to construct bass traps using dense materials like mineral wool or foam, ensuring a thickness of at least 4 inches.
The most effective placement for these traps is in trihedral corners, where three surfaces meet, greatly enhancing their absorption capabilities.
Diffusion Techniques for Balance
How can you achieve an ideal balance in your home studio's sound environment? Implementing effective diffusion techniques is key to maintaining a natural tone while avoiding a dead-sounding room. By utilizing acoustic diffusers, you can scatter sound waves, enhancing the spatial qualities of your audio.
Consider these essential points when integrating diffusion:
- Placement: Position diffusers at strategic reflection points, such as the rear and side walls.
- Material Selection: Use materials like wood or specialized diffusers with irregular surfaces for best performance.
- Depth and Design: Choose deeper diffusers for targeting lower frequencies and shallower ones for mid and high frequencies.
Balancing absorption with diffusion is vital for an accurate monitoring environment. While absorption reduces excessive reflections, diffusion disperses sound waves, ensuring liveliness without compromising clarity.
This combination allows for improved stereo imaging, providing a more engaging listening experience.
Incorporating these principles will help you create a well-rounded sound environment that supports both creative work and critical listening in your home studio.
Conclusion
In conclusion, investing in acoustic treatment materials for your home studio is like tuning a musical instrument—essential for achieving clarity and balance in sound. By understanding the various types of materials and techniques, you can create an environment that enhances your recordings and listening experience. Whether you opt for DIY solutions or budget-friendly options, prioritizing acoustic treatment will help you access your studio's full potential and elevate your audio productions to new heights.
