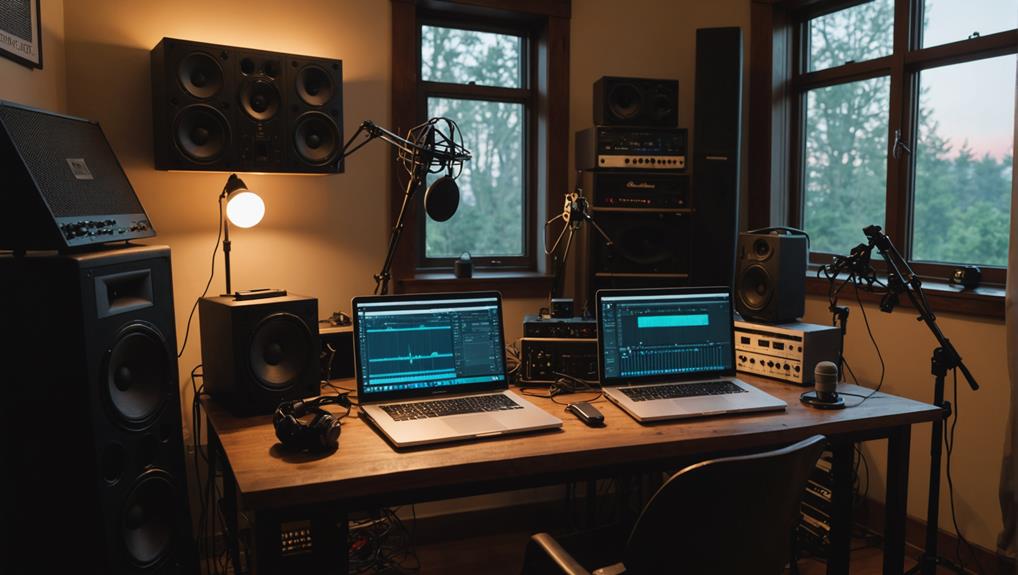
If you’re starting out in home recording, focus on a simple setup that enhances your creativity without overwhelming you. Begin by investing around $400-$500 in essential gear like a reliable audio interface, a solid microphone, and studio monitors for accurate sound. Consider closed-back headphones to minimize sound leakage and create a better tracking environment. Incorporate basic acoustic treatment to improve your recording space. Explore different digital audio workstations (DAWs) to find one that fits your needs. As you build your setup and skills, you’ll uncover even more tips and tricks to elevate your recordings.
Key Takeaways
- Start with a reliable computer featuring at least 16GB RAM and a decent CPU for smooth recording sessions.
- Invest in a quality audio interface, like the Focusrite Scarlett 2i2, for optimal connectivity and sound input.
- Choose versatile microphones, such as the Shure SM57 and Rode NT1, for capturing different sound sources effectively.
- Incorporate studio monitors and closed-back headphones for accurate sound reproduction and isolation during mixing and tracking.
Importance of a Simple Setup
A simple home recording setup lets you focus on honing your skills without getting bogged down by complicated gear. By starting with basic equipment, you can enjoy the recording process and feel less intimidated as a newcomer. This straightforward approach encourages gradual skill development, allowing you to build confidence while mastering recording techniques.
When you maintain a simple configuration, you create space for future upgrades. As your skills evolve and your needs change, you’ll find it easier to adapt your workflow without the stress of overhauling an entire system. Embracing a minimalist approach fosters creativity and productivity, giving you more room to experiment and produce music.
With a simple setup, you can prioritize your artistic expression and focus on what truly matters—your music. You’ll discover that the less you worry about gear, the more you can immerse yourself in home recording. This leads to increased output and a more enjoyable music production experience.
Ultimately, a simple setup not only simplifies your journey but also enhances your overall growth as an artist.
Budgeting for Quality Gear
Budgeting wisely for quality recording gear can elevate your home studio experience without breaking the bank. When you’re serious about music, it’s vital to allocate your funds strategically. A budget range of $400-$500 might require some compromises, so prioritize investing in key items.
Start with a quality audio interface and microphone; the Focusrite Scarlett Solo and Rode NT1 are excellent choices that can greatly enhance your recording experience.
Don’t overlook studio monitors, either. Investing in accurate sound reproduction with options like the KRK Rokit 5 G4 guarantees effective mixing, rather than relying on consumer speakers.
Closed-back headphones, such as the Sennheiser HD280 Pro, are also a must for sound isolation during recording sessions. They’ll help you focus on the details without distractions.
Consider bundled gear packages, like the Focusrite Scarlett 2i2 Studio Pack, which can provide better value and compatibility compared to purchasing individual components.
Must-Have Recording Equipment
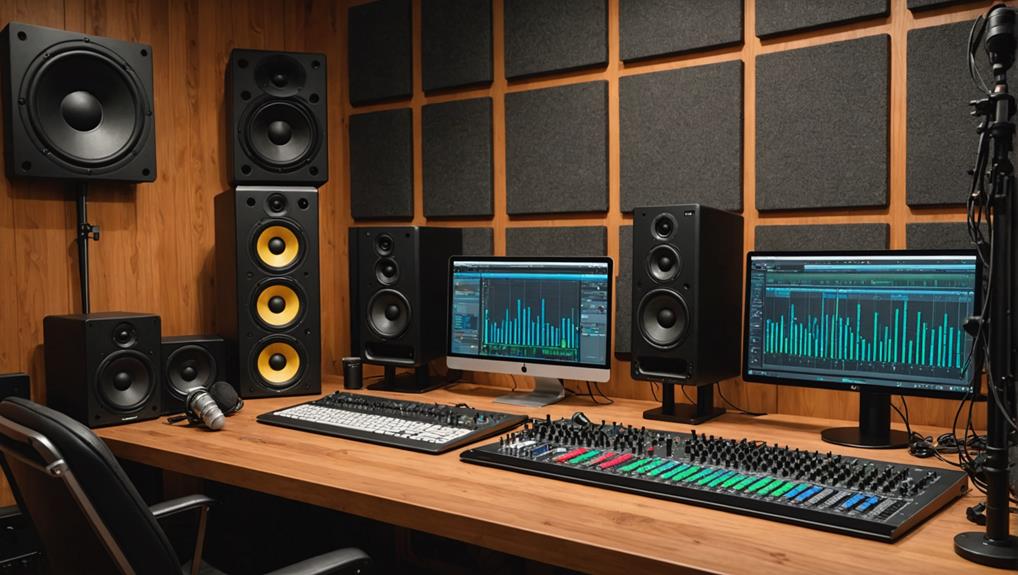
When setting up your home recording studio, you’ll want to prioritize must-have equipment that enhances your creative process and guarantees high-quality sound.
Start with a reliable computer, whether a laptop or desktop, featuring at least 16GB of RAM and a decent CPU. This acts as the central hub for your recording tasks.
Next, invest in an audio interface, like the Focusrite Scarlett 2i2, to convert analog signals to digital, enabling you to connect your microphones and instruments effectively.
Speaking of microphones, you’ll need versatile options such as the Shure SM57 for instruments and the Rode NT1 for vocal recording. These choices will help you capture clear and professional-quality sound.
Additionally, studio monitors, like the KRK Rokit 5 G4, are essential for accurate sound reproduction, allowing you to make informed mixing decisions.
Don’t forget about closed-back headphones, such as the Sennheiser HD280 Pro, which provide sound isolation and prevent leakage during recording sessions.
With this recording equipment in place, you’ll be well on your way to creating impressive tracks in your home studio, just like the pros!
Monitoring and Mixing Essentials
To achieve professional-sounding mixes, you’ll need to focus on monitoring and mixing essentials that refine your audio production process. Start with studio monitors, like the KRK Rokit 5 G4, which offer a flat frequency response for accurate sound reproduction. Properly place them at ear level, forming an equilateral triangle with your listening position to enhance sound quality and mixing accuracy.
Closed-back headphones, such as the Sennheiser HD280 Pro, are also significant for tracking. They provide sound isolation, preventing leakage during recordings. Don’t forget about acoustic treatment using foam panels and bass traps to control reflections and frequencies in your space.
Finally, regularly reference your mixes on different playback systems, like car speakers and consumer headphones, to guarantee they translate well everywhere.
| Gear Type | Key Features | Importance |
|---|---|---|
| Studio Monitors | Flat frequency response | Mixing accuracy |
| Closed-Back Headphones | Sound isolation | Prevents sound leakage |
| Acoustic Treatment | Foam panels, bass traps | Enhances sound quality |
Enhancing Vocal Recordings
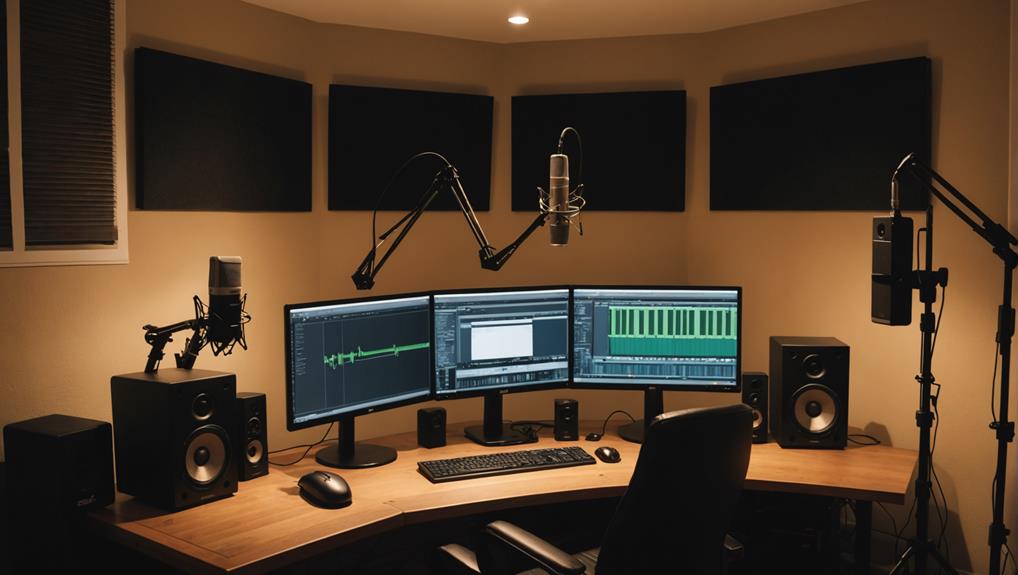
Enhancing your vocal recordings starts with the right tools and techniques to capture clear and polished performances. Invest in high-quality condenser microphones, like the Rode NT1, which provide excellent sensitivity and a smooth frequency response. This will help you capture the nuances of your voice.
Alongside the microphone, use a pop filter, such as the Stedman Proscreen XL, to minimize vocal artifacts caused by plosive sounds like P and B, ensuring clarity in your recordings.
Proper microphone placement is essential, so position it about 6-12 inches away from your mouth. This distance helps capture a balanced sound while reducing unwanted room reflections.
In your recording space, implementing acoustic treatment with foam panels and bass traps can greatly enhance audio quality by controlling reflections and unwanted frequencies.
Don’t forget to use closed-back headphones, like the Sennheiser HD280 Pro, during your sessions to prevent sound leakage and stay focused on your performance.
Tools for Ear Training
Investing in effective ear training tools can greatly sharpen your listening skills and elevate your music production abilities.
Ear training software like TrainYourEars helps you recognize frequency bands, enhancing your mixing skills by developing a more discerning ear for sound quality. As you engage with these tools, you’ll notice improvements in pitch recognition, enabling you to identify notes and intervals with greater accuracy.
Many applications, such as Tenuto and EarMaster, provide interactive practice exercises for identifying chords, scales, and rhythmic patterns. These exercises are essential for both music production and composition, allowing you to better understand the elements of your craft.
Regularly using these ear training tools not only makes your practice engaging but also helps you reinforce your musical knowledge.
Acoustic Treatment Basics
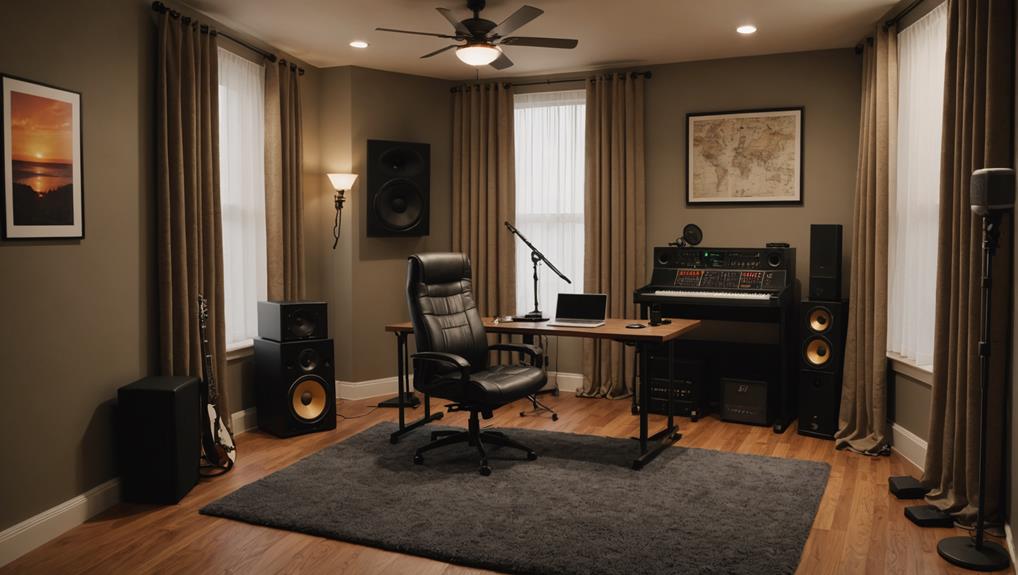
Improving your recording space with proper acoustic treatment can make a significant difference in sound quality by minimizing unwanted reflections and echoes. To achieve the best results, you’ll want to take into account the specific needs of your recording environment, including room size and room shape. Here are some common types of acoustic treatment to include:
| Type | Purpose |
|---|---|
| Foam Panels | Absorb mid to high frequencies |
| Bass Traps | Control low-frequency sound waves |
| Diffusers | Scatter sound for a balanced effect |
| First Reflection Points | Key areas for panel placement |
| DIY Acoustic Treatment | Budget-friendly alternatives |
When placing foam panels, target the first reflection points on walls and ceilings. This helps absorb sound waves before they reflect back into your recording space. If you’re on a budget, think about DIY acoustic treatment options like curtains, rugs, or bookshelves, which can also improve sound quality. Remember, the effectiveness of your acoustic treatment depends on tailoring it to your specific room’s characteristics, ensuring you create an ideal recording environment.
Choosing the Right DAW
Selecting the right Digital Audio Workstation (DAW) is fundamental for achieving your desired sound and workflow in home recording.
Popular options like Pro Tools, Ableton Live, and Logic Pro each offer unique features tailored to different production styles, so it’s important to explore each one.
Many DAWs provide free trials, allowing you to test their interfaces and functionalities before making a purchase, making sure you find the best fit for your needs.
When evaluating a DAW, look for those with built-in effects, instruments, and plugins to enhance your production capabilities without extra costs.
User-friendliness is significant; a DAW that’s easy to navigate can save you time and frustration.
Additionally, consider community support. A DAW with an active user community offers valuable resources, tutorials, and troubleshooting assistance.
Lastly, confirm your chosen DAW is compatible with your operating system—either Windows or macOS.
Don’t forget to check the system requirements, such as RAM and CPU specifications, to optimize performance and avoid technical issues during recording and mixing.
Taking these factors into account will help you select the perfect DAW for your home recording setup.
Microphone Types and Placement
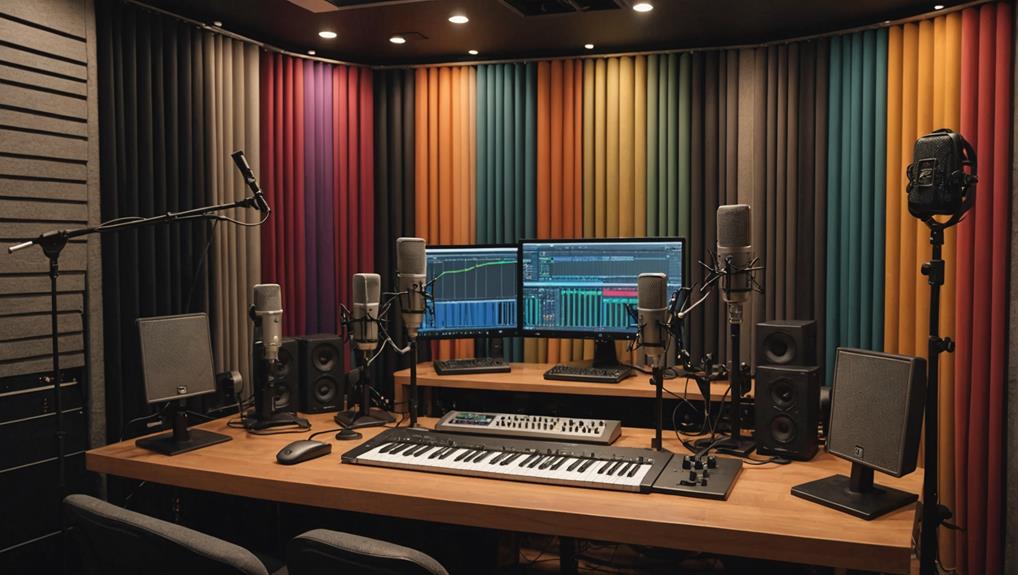
Once you’ve chosen the right DAW, understanding microphone types and their placement can significantly enhance your recording quality. Here’s a quick overview of common microphone types and their characteristics:
| Microphone Type | Ideal Use |
|---|---|
| Dynamic Microphones | Live sound, loud instruments |
| Condenser Microphones | Recording vocals, acoustic instruments |
Dynamic microphones, like the Shure SM57, excel in loud environments, while condenser microphones, such as the Rode NT1, offer sensitivity perfect for capturing vocals. When choosing a mic, consider the directional patterns; cardioid mics isolate sound from the front, ideal for focused recordings, whereas omnidirectional mics capture ambient sound.
Proper microphone placement is essential. For recording vocals, position the mic about 6-12 inches from your mouth to minimize plosive sounds. Using accessories like pop filters can help reduce unwanted noise, while shock mounts will isolate the mic from vibrations for clearer recordings. Remember, most condenser microphones require phantom power, which you’ll need to provide through your audio interface. Experiment with placement techniques and microphone types to find the best setup for your home studio.

