To master your mix at home, focus on creating a polished sound that’s competitive with professional tracks. Start by investing in essential gear like a quality audio interface and studio monitors. Make sure to use effective equalization and compression techniques to enhance clarity and balance. Pay attention to your track arrangements to keep listeners engaged. Accurate monitoring is key for making informed decisions, so treat your space acoustically. Don’t forget to use reference tracks to align your sound with industry standards. Keep honing your skills, and you’ll discover even more valuable tips along the way.
Key Takeaways
- Invest in quality equipment, including a reliable audio interface, studio monitors, and a good microphone for optimal sound capture and playback.
- Mastering involves key processes like equalization, compression, and limiting to ensure a polished sound across various playback systems.
- Utilize acoustic treatment in your studio to minimize sound reflections and enhance monitoring accuracy for informed mixing decisions.
- Regularly reference professional tracks to identify tonal imbalances and ensure your mixes align with industry standards.
Understanding Mastering Basics
Mastering is the vital final step in audio production that guarantees your mixed tracks sound polished and cohesive across all playback systems. This process involves working with a mastering engineer who applies specialized techniques to enhance your recordings. Professional mastering isn’t just about making your music louder; it’s about achieving a balanced dynamic range that highlights the best aspects of your mix.
You’ll want to focus on key techniques, such as equalization (EQ) to guarantee tonal balance. This helps your tracks translate well across different listening environments.
Compression is another vital element, giving you control over the dynamic range, ensuring that quiet parts are audible while still retaining the impact of louder sections.
Limiting can be used to maximize loudness without introducing distortion, which is vital for creating a polished sound.
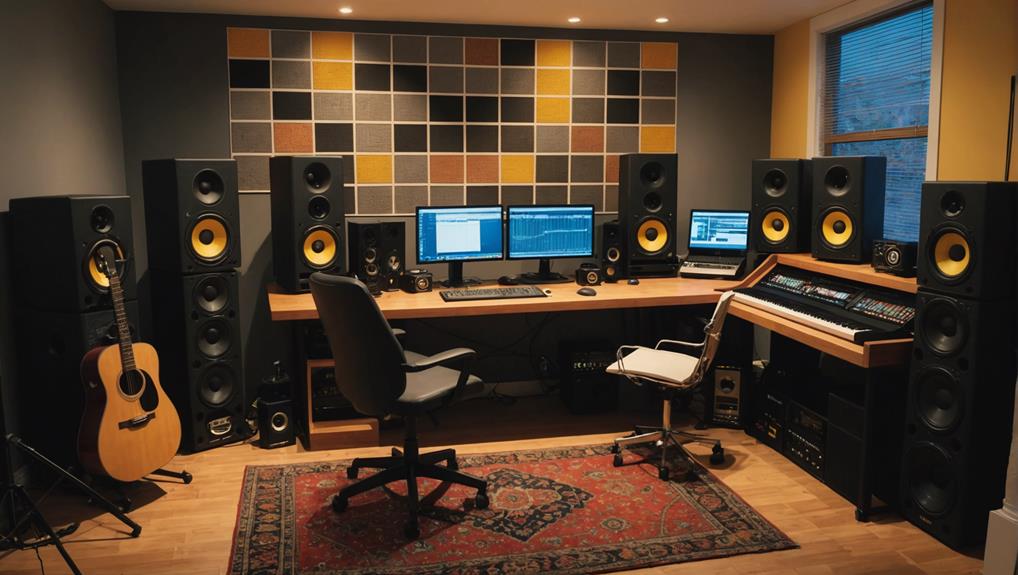
Essential Equipment for Home Studios
To achieve a professional sound in your home studio, investing in the right equipment is key. Start with a high-quality audio interface, like the Focusrite Scarlett or PreSonus AudioBox, to guarantee clear sound capture and playback. Next, select studio monitors that deliver accurate sound representation; options such as the Yamaha HS series or KRK Rokit are excellent choices for their clarity and reliability.
Here’s a quick overview of essential equipment for your setup:
| Equipment Type | Recommended Models | Purpose |
|---|---|---|
| Audio Interface | Focusrite Scarlett, PreSonus AudioBox | Clear sound capture and playback |
| Studio Monitors | Yamaha HS series, KRK Rokit | Accurate sound representation |
| Acoustic Treatment | Bass traps, foam panels | Minimize sound reflections for clarity |
Additionally, don’t overlook the importance of a reliable digital audio workstation (DAW) like Ableton Live or Logic Pro, and consider a good quality microphone such as the Shure SM7B for vocal recordings. With these essentials, you’ll set the stage for a professional-sounding home studio.
Track Arrangement Strategies
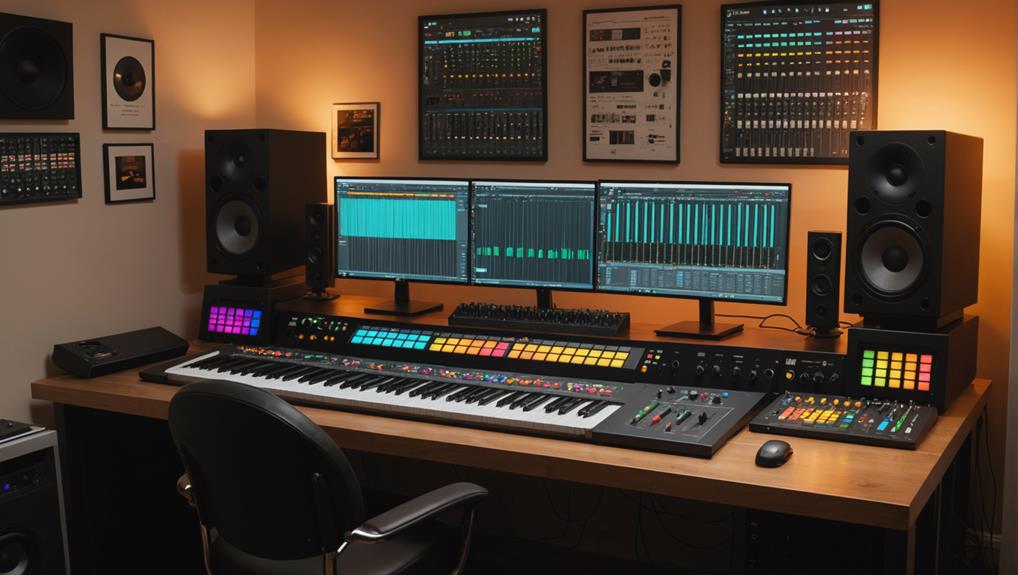
Engaging listeners right from the start is essential, so kick off your album with an enchanting opening track that grabs attention. Your first impression is vital for album retention, so choose a track sound that sets the tone for the journey ahead.
As you arrange your songs in your home studio, think about the emotional flow of the album. Strategically place ballads and upbeat tracks to create a dynamic listening experience that keeps the audience hooked.
Varying track lengths and arrangements can break monotony and enhance the narrative, especially in concept albums where continuity is key. Implement smooth connections between songs to maintain energy and coherence; standard gaps of 2-4 seconds can prevent jarring shifts that disrupt the listening experience.
During the mastering phase, don’t hesitate to experiment with different arrangements. Find the best order that enhances overall album perception and listener engagement.
A well-structured track list not only contributes to a professional mix but also invites your audience to explore deeper into your artistry. With these strategies, your home studio project can resonate more effectively with listeners.
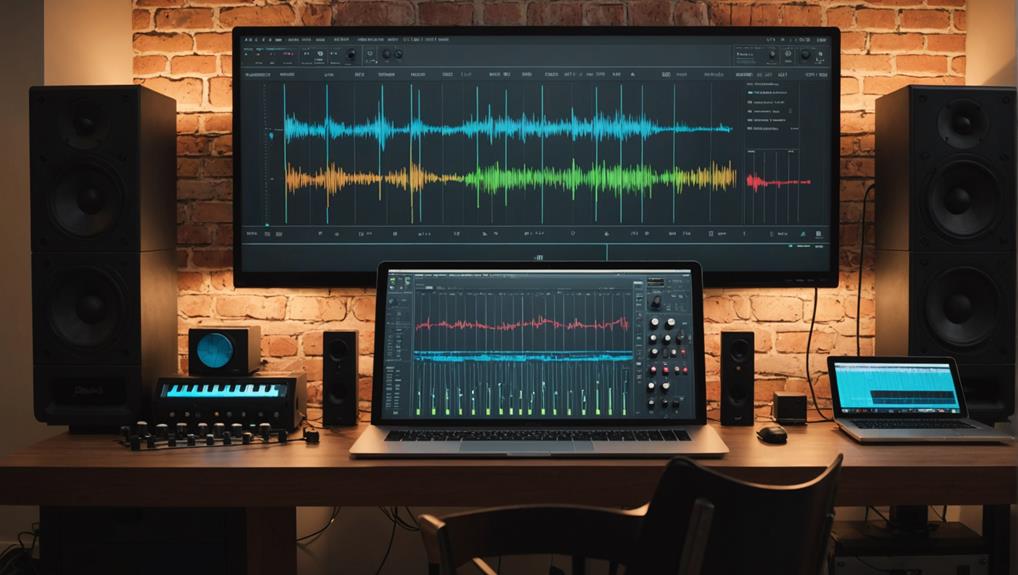
Key Equalization Techniques
Equalization is a powerful tool in your mixing arsenal that can dramatically enhance your tracks’ clarity and impact. In your home recording studio, mastering key equalization techniques is vital for achieving a good sound.
Start by using a parametric equalizer to identify and adjust problematic frequencies. It’s common to cut around 1-3kHz to reduce harshness while boosting between 6-15kHz for added presence and airiness.
Keep your adjustments subtle, ideally no more than 3-5dB, to avoid making your mix feel lifeless or artificially altered. Balancing low frequencies is important too—gently boosting around 40-80Hz can enhance warmth and clarity without introducing muddiness.
Don’t hesitate to experiment with different EQ settings, as each equalizer behaves uniquely. Trust your ears; they’ll guide you to what sounds best for your specific mix.
Regularly reference your mix against professional tracks to evaluate your EQ adjustments and make certain they align with industry standards. By applying these equalization techniques, you’ll elevate your mixes and create a polished sound that stands out.
Compression and Dynamic Control
Compression plays an essential role in managing the dynamic range of your mix, ensuring that both quiet and loud sounds are balanced effectively. By applying compression, you can enhance the overall clarity and presence of your mix, allowing quieter elements to shine through without letting louder sounds dominate.
Using a compressor before EQ is a smart move, as it helps maintain balance and shapes the overall sound before you make frequency adjustments. For vocals, light compression with a ratio of 2:1 to 4:1 can boost presence and energy while preserving natural dynamics. In contrast, more aggressive settings are perfect for instruments like drums, delivering punch that captures attention.
Consider split-band compression for targeted dynamic control; this technique allows you to compress different frequency ranges independently, leading to precise sound shaping. However, be cautious not to over-compress your mix. Excessive compression can sap the life out of your track, stripping away the natural dynamics that make your music engaging. Balancing compression effectively is key to creating a polished, professional sound in your home studio.
Managing Loudness Effectively
Managing loudness effectively is crucial for achieving a polished mix that translates well across various playback systems. You’ll want to utilize digital limiters, like the Waves L1 plug-in, to boost track loudness without distortion, aiming for a peak level around -0.5dB during normalization. Checking loudness levels across all tracks guarantees a consistent listening experience, preventing distracting volume shifts.
Here’s a quick reference table to help you understand loudness management:
| Element | Recommendation | Purpose |
|---|---|---|
| Digital Limiters | Use Waves L1 | Increase loudness without distortion |
| Loudness Meter | Target -14 LUFS | Meet streaming platform standards |
| Compression | Avoid excessive compression | Preserve dynamic range |
| Re-dithering | Implement post-adjustments | Prevent artifacts in final master |
Importance of Monitoring
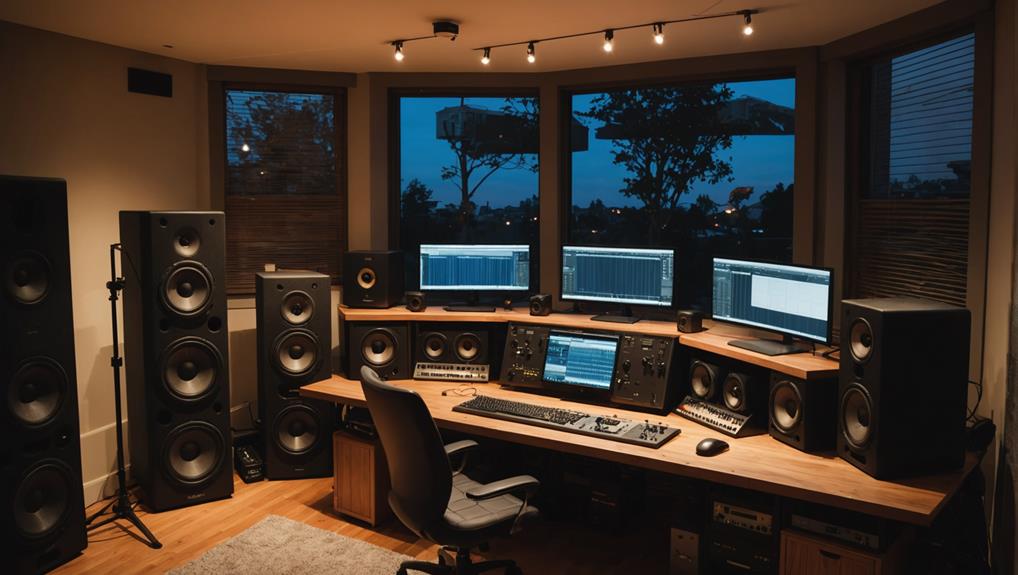
Accurate monitoring is essential for making informed mixing and mastering decisions, ensuring your sound translates well across different playback systems. In your studio, investing in quality studio monitors is vital, as they provide the necessary bass extension and clarity you need. Remember, poorly treated rooms can severely distort your sound perception, making it harder to achieve a balanced mix.
To enhance your monitoring conditions, consider using acoustic treatment. This not only reduces unwanted reflections but also minimizes standing waves, leading to a more accurate listening environment.
When placing your monitors, position them in an equilateral triangle with your listening position to create a balanced stereo image. It’s also important to keep monitors at least 12 inches away from walls to prevent bass buildup.
Lastly, try mixing at lower volumes. This approach allows you to assess mix elements more clearly, as high volumes can skew your perception of bass and treble, leading to misleading conclusions about your mix. By focusing on effective monitoring, you’ll be well-equipped to make the best decisions for your music.
Utilizing Reference Tracks
To enhance your mixing process further, utilizing reference tracks can provide invaluable insights into achieving a polished sound.
By comparing your mix to professional recordings, you can identify resonant frequencies and balance issues that may not be apparent in your work. It’s essential to select reference tracks from the same genre and with similar sonic qualities, as this guarantees you’re making relevant comparisons and helps you achieve a competitive sound.
Regularly toggling between your mix and the reference tracks will help you maintain perspective, preventing over-processing and making certain your mix retains its natural character.
Additionally, listen to your reference tracks on various playback systems. This will give you insights into how your mix translates across different environments, informing necessary adjustments.
Common Mastering Mistakes
Mastering can be a tricky process, and common mistakes often lead to a final product that falls short of its potential. One of the most prevalent errors is over-processing. When you apply too much equalization, compression, or limiting, your track can end up sounding flattened and unnatural. It’s crucial to strike a balance to keep the music’s integrity intact.
Additionally, ignoring the importance of reference tracks can seriously hinder your mastering efforts. Without comparing your mix to industry standards, you risk producing a sound that’s unprofessional and lacks clarity. Always have a few reference tracks on hand to guide your decisions.
Also, don’t forget to check for unwanted artifacts like clicks or pops in your final master. These can detract from the overall listening experience and compromise your track’s quality.
Finally, skipping the final review process before exporting can result in overlooked inconsistencies across tracks. This oversight can make your album feel disjointed and less polished.
Continuous Learning in Mastering
Continuous learning in mastering keeps you equipped with the latest techniques and tools, helping you elevate your skills and adapt to the ever-changing music industry.
To achieve the best possible results in your projects, you should actively engage with various resources and communities.
Here are a few effective ways to enhance your mastering abilities:
- Attend workshops, online courses, and webinars to gain insights from experienced professionals.
- Participate in online forums to share knowledge and learn from the experiences of others.
