
To mix vocals effectively in your home studio, start by guaranteeing a well-prepared environment. Use acoustic treatments to minimize reflections and guarantee clear performance capture. Position the microphone 6-12 inches from the vocalist, employing a pop filter to control plosives. During mixing, focus on EQ and high-pass filters to eliminate unwanted low frequencies. Employ compression to maintain vocal dynamics, and consider using de-essers to smooth out sibilance. Finally, check your mix in mono to prevent frequency clashes. For enhanced clarity and professional quality, there's more to explore in each of these areas.
Key Takeaways
- Start mixing in mono to easily identify frequency conflicts and ensure balanced vocal placement in the overall mix.
- Use high-pass filters to eliminate low frequencies below 80 Hz, enhancing vocal clarity and allowing other instruments to shine.
- Apply de-essers to manage sibilance, smoothing out harsh sounds in the 5 kHz to 8 kHz range for better playback.
- Utilize compression with a ratio of 3:1 to 6:1 to control dynamic range while preserving the natural expression of the performance.
- Continuously refine your mix for balance and clarity, aiming for a professional sound throughout the mixing process.
Five Stages of Vocal Production
The five stages of vocal production are vital pillars in crafting high-quality vocal tracks. You start with pre-production, where you refine the melody, lyrics, rhythm, and arrangement. This sets a solid foundation for a successful vocal performance.
During this phase, consider how your recording environment and acoustic treatment can influence vocal clarity and overall sound quality.
Next is pre-recording, which guarantees your environment is conducive for vocal recording. Pay attention to the room vibe, signal flow, and prioritize the singer's physical and mental well-being.
When you reach the recording stage, focus on your headphone mix and mic technique to capture the best performance across all vocal parts. This is where you'll want to be meticulous, as even minor details can affect the final product.
After recording, you move into editing, where you fine-tune vocal tightness and pitch. This stage is imperative for achieving a polished sound.
Finally, in the mixing stage, you integrate the vocals with accompanying tracks using EQ, compression, and effects. This enhances clarity and guarantees the vocals sit well within the mix, elevating the overall quality.
Preparing for Vocal Recording
Preparing is key to achieving outstanding vocal recordings. When you're preparing for vocal recording, it's vital to lay a solid foundation for the best possible performance. Here are four important steps to follow:
1. Vocalist Readiness: Confirm the vocalist is mentally and physically prepared. A relaxed and confident singer delivers the best results. Incorporating vocal warm-ups can enhance performance and help reduce strain.
2. Comfortable Environment: Create a recording space that minimizes distractions and optimizes room acoustics. A comfortable setting enhances vocal delivery greatly.
Using sound-absorbing materials like carpets and heavy curtains can further improve the acoustic quality of your space.
3. Microphone Positioning: Position the microphone about 6-12 inches from the vocalist's mouth. This distance captures the best sound while preventing unwanted noise.
4. Effective Communication: Maintain open lines of communication with the singer. Provide feedback and guidance throughout the session to foster a collaborative atmosphere.
Additionally, don't forget to check the headphone mix to confirm the vocalist can hear themselves clearly. This clarity is vital for maintaining pitch and timing while recording vocals.
Essential Microphone Techniques

Achieving high-quality vocal recordings hinges on mastering vital microphone techniques. First, focus on microphone placement; position the mic approximately 6-12 inches from the vocalist's mouth. This distance captures a balanced sound while minimizing excessive plosives and sibilance, which can muddy your mix. Proper understanding of essential recording gear can further enhance your setup for peak vocal capture.
Incorporating a pop filter is essential as it reduces plosive sounds, such as "p" and "b," that distort recordings. A pop filter also serves as a visual guide, helping the singer maintain the correct distance from the mic.
Don't overlook the proximity effect, which boosts bass frequencies when the vocalist is closer to the mic. You can leverage this effect to add warmth to the vocal sound without needing additional processing.
Additionally, consider your acoustic environment. Utilizing acoustic treatment, like foam panels or blankets, can greatly enhance recording quality by reducing unwanted reflections and background noise.
Lastly, experiment with different microphone types. Condenser mics are often favored for their sensitivity and clarity in capturing vocal nuances, while dynamic mics can offer durability and varying tonal characteristics.
Fine-tuning these vital techniques will elevate your vocal recordings.
Recording Techniques for Clarity
For ideal vocal clarity, focus on both your recording environment and techniques. Here are four essential steps:
- Acoustic Treatment: Confirm your space is acoustically treated to minimize reflections. Use sound-absorbing materials like foam panels or blankets to enhance vocal clarity.
- Microphone Placement: Position the microphone 6-12 inches from the vocalist. This distance captures the best sound while minimizing unwanted noise. Don't forget to use a pop filter to reduce plosive sounds.
- High-Pass Filter: Utilize a high-pass filter during recording to eliminate low-frequency rumble. This will provide a cleaner vocal track that sits well in the mix.
- Multiple Takes: Encourage the vocalist to perform multiple takes. This gives you a variety of options for comping and selecting the best segments for clarity and emotional delivery.
Throughout the session, maintain effective communication with the vocalist. Confirming they feel comfortable and confident can greatly contribute to a better overall performance quality.
Mixing Techniques for Professional Sound
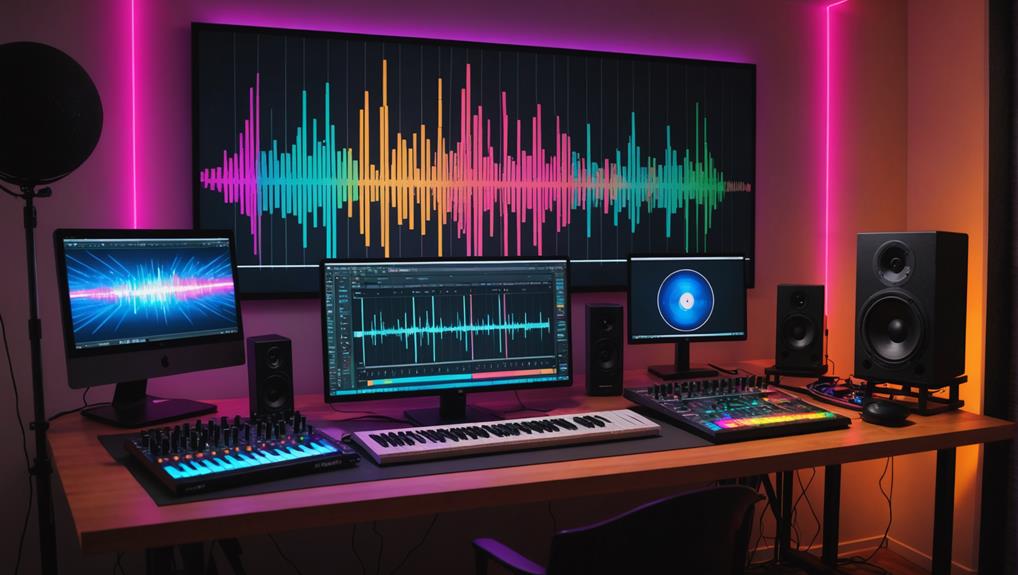
Once you've captured clear vocal tracks, the next step is to focus on mixing techniques that enhance their professional sound.
Start by mixing in mono to pinpoint any frequency conflicts, which helps you determine the ideal placement of vocals within the mix. Utilize high-pass filters to remove unwanted low frequencies below 80 Hz; this keeps your vocal sound clean and allows other instruments to shine through.
To manage sibilance, employ de-essers, targeting the 5 kHz to 8 kHz range for a smoother playback experience.
Compression is essential for controlling the dynamic range of your vocals. Apply a ratio between 3:1 and 6:1, which helps maintain a consistent level while preserving the natural expression in the performance.
Conclusion
In the grand tapestry of vocal production, you've now acquired the tools to transform your recordings into polished gems. By preparing diligently, mastering microphone techniques, and applying precise mixing strategies, you're well on your way to achieving that professional sound. Embrace the journey of vocal mixing—it's less about perfection and more about the delightful evolution of your artistry. So, immerse yourself, experiment, and let your creativity shine through every note you craft.
