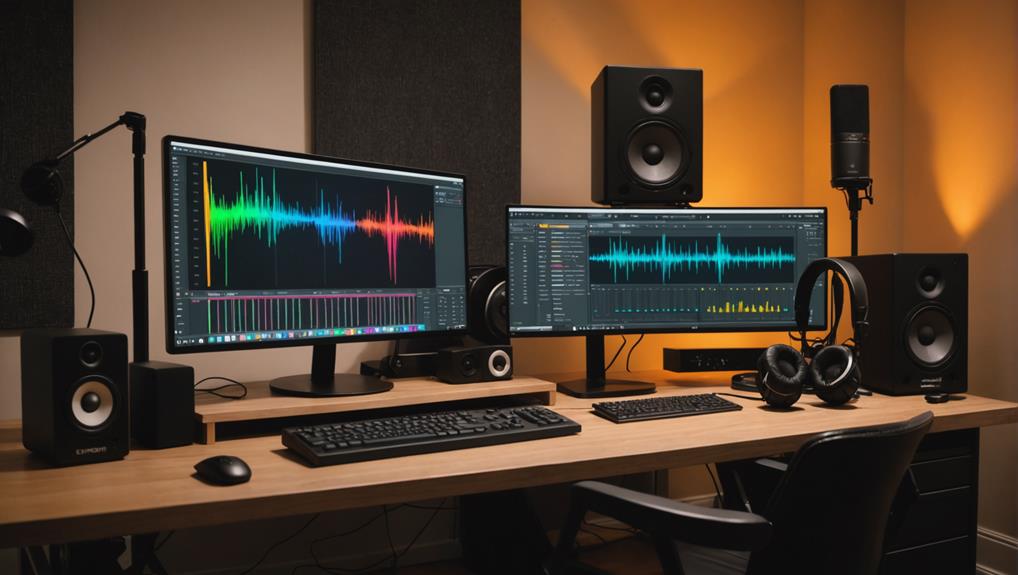
To mix vocals at home effectively, start by selecting the best takes through comping and timing alignment. Eliminate unwanted noise with tools like iZotope RX for clarity. Utilize vocal processing tools, such as pitch correction and de-essing plugins, to enhance vocal accuracy and comfort. Incorporate effects like reverb and delay to create depth, ensuring a balanced wet/dry mix. Employ ideal mixing strategies, focusing on structured workflows that prioritize compression and EQ. Consistent dynamic automation maintains a polished sound. Continue exploring these techniques to refine your vocal mixing process further.
Key Takeaways
- Select the best vocal takes through comping and timing alignment for a polished final track.
- Use noise reduction tools and a controlled recording environment to eliminate unwanted background noise.
- Apply vocal processing tools like pitch correction and de-essing plugins to enhance clarity and performance quality.
- Incorporate reverb and delay effects to create depth and spatial quality in vocal tracks.
- Utilize automation for precise adjustments in vocal levels and selective application of effects for consistency.
Selecting the Best Vocal Takes
How can you guarantee you're selecting the best vocal takes for your mix? Begin by utilizing comping—merging the finest sections from multiple vocal recordings into a cohesive final track. This process enhances your vocal performance, allowing for a polished sound that captures the essence of the artist.
Additionally, experiment with microphone techniques to ascertain you're capturing the best possible sound from the start. Visual representation tools in your digital audio workstation (DAW) are invaluable for identifying standout vocal takes. They help you pinpoint segments that align perfectly in timing and expression, streamlining your selection process.
As you compile your main vocal track, ascertain that timing alignment is maintained between it and any doubles or harmonies. This creates a unified sound, essential for effective vocal mixing.
Remember that unique vocal characteristics may require tailored mixing strategies; each selected take should complement the overall mix rather than clash with it.
Eliminating Unwanted Noise
Once you've selected your best vocal takes, the next step is to tackle unwanted noise that can detract from your mix. Properly processing vocals is essential for achieving clarity and professionalism in your recordings.
Start by employing tools designed for eliminating unwanted noise, such as:
- iZotope RX Voice De-noise: This can effectively remove background noise, enhancing overall clarity.
- RX Mouth De-click: Use this to eliminate distracting mouth clicks and lip smacking, maintaining a clean vocal track.
- Breath Control plugin: This tool helps cut down on excessive breath sounds without compromising the natural feel of the performance.
Additionally, verify your recording environment is well-prepared and acoustically treated, as this will greatly reduce the amount of unwanted noise captured in the first place, allowing for a cleaner vocal track proper microphone placement.
In addition to these tools, consider using the Tame Noises feature in Nectar 4, which automates noise reduction for a polished vocal sound.
Finally, applying careful EQ can shape vocal frequencies, improving warmth and presence while preventing muddiness. This careful management of sound not only enhances the vocal quality but also guarantees that your mix stands out.
Utilizing Vocal Processing Tools

Utilizing vocal processing tools like iZotope Nectar 4 and RX Voice De-noise can greatly refine your vocal tracks.
These plugins not only enhance clarity but also streamline the mixing process through automation, ensuring your vocals maintain consistent levels without overshadowing other elements.
At Long Beach Recording Studio, experienced audio professionals often recommend these tools for achieving a polished sound.
Essential Plugins Overview
In the domain of home vocal mixing, precision becomes paramount, and the right plugins can transform your tracks from amateur to professional. To achieve that polished vocal sound, you'll want to familiarize yourself with essential plugins that elevate your mixing process.
- iZotope Nectar 4: This specialized suite streamlines mixing with its Vocal Assistant, which analyzes your vocals and suggests custom presets for EQ, compression, and effects.
- Pitch Correction Tools: Tools like Nectar 4's Pitch module and Melodyne 5 Essential allow for detailed adjustments, enhancing accuracy and intonation in your recordings.
- De-essing Plugins: These plugins effectively target harsh "s" and "t" sounds, ensuring your vocals remain clear without compromising the overall mix.
Additionally, noise removal tools like RX Voice De-noise eliminate distracting background noise, while reverb and delay plugins, such as Valhalla Room, add depth and space.
Automation Benefits Explained
Precision in vocal mixing goes beyond just selecting the right plugins; it also involves smartly employing automation techniques. Automation allows you to make precise adjustments in vocal levels, ensuring consistency throughout your track while enhancing the overall dynamic range.
By utilizing automation in your vocal processing, you can selectively apply effects like reverb and delay, creating a more immersive experience that maintains clarity.
For example, the Auto-Level module in Nectar 4 automates volume consistency, balancing vocal dynamics without constant manual tweaks. This is essential during mixing, as it helps you maintain a cohesive sound.
Furthermore, automation can dynamically control compression settings, enabling you to apply more aggressive compression during louder sections while keeping softer parts natural and airy.
Additionally, implementing automation for de-essing targets sibilant frequencies only when necessary, protecting your vocal's natural tone from harshness.
Correcting Pitch and Sibilance
To achieve a polished vocal mix, addressing pitch and sibilance is essential. Start with pitch correction tools like Nectar 4's Pitch module or Melodyne 5 Essential. These allow you to fine-tune specific notes, enhancing vocal accuracy and overall performance quality.
When applying pitch correction, adjust the strength and speed to retain a natural sound while correcting inaccuracies.
Next, tackle sibilance using a de-esser. This tool effectively reduces harsh "s" and "t" sounds that can distract listeners. You can customize the intensity settings to suit the unique characteristics of each vocal track.
Consider employing multi-band compression to manage sibilance dynamically. This technique lets you target specific frequency ranges, controlling harshness during vocal performances without affecting the overall vocal integrity.
Key techniques to remember:
- Use pitch correction for precise note adjustments.
- Implement a de-esser to minimize sibilance.
- Apply multi-band compression for targeted frequency control.
Regularly referencing a variety of vocal tracks during mixing will help you identify and correct pitch and sibilance issues, ensuring a polished and professional final mix.
Enhancing Depth With Effects

To enhance the depth of your vocal tracks, start by incorporating reverb to create a sense of space, ensuring a short pre-delay for clarity.
Next, consider using delay to add depth perception, choosing quarter-note or eighth-note settings to maintain balance within the mix.
Reverb for Vocal Space
Reverb is an essential effect that can dramatically enhance the depth and spatial quality of your vocal tracks. By utilizing reverb effectively, you can create a sense of space that makes your vocals feel more immersive while maintaining clarity.
Here are some techniques to optimize vocal reverb:
- Use a dedicated reverb bus: This separates vocal reverb from instrument reverb, giving you greater control over the spatial effects and depth in your mix.
- Experiment with reverb types: Different types, like plate or hall, can add unique character, enhancing the presence and liveliness of your vocals.
- Adjust the wet/dry mix: Fine-tuning this balance is vital for maintaining vocal intelligibility while still achieving the desired spatial effect.
Shorter reverb times can create ambient depth without overwhelming your vocals, while longer reverbs lend an ethereal quality suited for particular genres.
Additionally, setting appropriate pre-delay can help keep the vocal clarity intact by allowing the dry signal to shine through before the reverb effect kicks in.
Delay for Depth Perception
Delay effects play an essential role in enhancing depth perception in vocal mixing. By applying a short delay—typically between 20-40 ms—you can create a sense of space without overpowering the primary vocals. This technique effectively augments the perception of depth, allowing the vocals to sit more comfortably within the mix.
Utilizing a stereo delay with varying timings for the left and right channels, such as 20 ms on the left and 30 ms on the right, can further enrich the vocal texture, adding width and complexity. Careful manipulation of feedback levels on these delays can contribute additional depth, but be cautious; excessive feedback can muddy your mix.
Pairing delay with reverb creates an immersive sound landscape, provided that the delay time complements the reverb's pre-delay settings. This combination helps maintain vocal clarity while enhancing spatial perception.
Additionally, automate delay levels throughout your track to accentuate emotional peaks or changes, making the depth feel dynamic and engaging. By carefully implementing these techniques, you can enhance the depth and overall impact of your vocals, elevating your mix to a professional standard.
Saturation for Warmth Enhancement
As you enhance depth perception with delay effects, incorporating saturation can further enrich your vocals by adding warmth and fullness. This technique introduces harmonic content that makes your vocals more engaging in a mix.
To achieve the best results, consider using analog-style saturation plugins, which emulate the natural compression and tonal qualities of analog tape or tube equipment.
Here are some key points to keep in mind:
- Subtlety is essential: Aim for a balanced effect around 2-5% to avoid unwanted distortion.
- Explore saturation types: Different options, like tape, tube, or console emulation, can impart unique tonal qualities tailored to various vocal styles.
- Parallel processing: Experiment with blending the saturated signal and the original to preserve dynamics while achieving the desired warmth and character.
Optimal Mixing Strategies
An effective approach to mixing vocals involves a structured workflow that prioritizes foundational elements like compression and EQ.
Start by applying compression to your vocal track, guaranteeing the best vocal sits well in the mix. Parallel compression can enhance vocal presence, allowing you to tame louder sections while bringing quieter parts forward for a balanced dynamic range.
Next, use EQ to create clarity and space. Focus on removing any muddiness in the lower frequencies while enhancing the presence range, typically around 3-5 kHz. This helps your vocals cut through the mix without becoming harsh.
Utilize dedicated busses for vocal effects—such as reverb and delay—to maintain clarity and prevent clutter. This method allows for better control over the depth of your vocals.
Incorporate automation throughout the track to adjust vocal levels dynamically. This guarantees consistent presence without the need for manual adjustments during playback.
Conclusion
In the domain of mixing, your vocals are the heartbeats of your track, pulsing with emotion and clarity. By meticulously selecting takes, eliminating noise, and applying processing tools, you'll sculpt a sound that resonates. Pitch correction and sibilance control will refine your masterpiece, while effects add the depth that captivates listeners. Embrace these strategies, and watch your vocal mixes transform from raw recordings into polished gems, ready to shine in the sonic landscape.


