To record high-quality audio as a beginner, start with preparation. Set up your gear and tune your instruments before you hit record. Pay attention to microphone placement; positioning it close to your sound source will enhance clarity. Test different angles and use headphones to monitor your sound in real-time. Control your recording environment by minimizing background noise; acoustic panels or even blankets can help. Keep an eye on your levels—aim for -18 dBFS to -12 dBFS for ideal gain staging. These tips will set you on the right path, and there’s plenty more to discover for improving your recordings.
Key Takeaways
- Set up your recording space with minimal distractions and use acoustic treatment to improve sound clarity.
- Experiment with microphone placement to capture the best sound; position it close to the source for clarity.
- Use headphones while recording to monitor sound quality in real-time and adjust as needed.
- Maintain proper gain staging by aiming for -18 dBFS to -12 dBFS levels during recording for optimal headroom.
Preparation and Planning
Before you hit record, make sure you’ve invested time in preparation by setting up your gear, tuning your instruments, and crafting a clear recording plan. The recording process can be overwhelming, but a solid foundation makes all the difference.
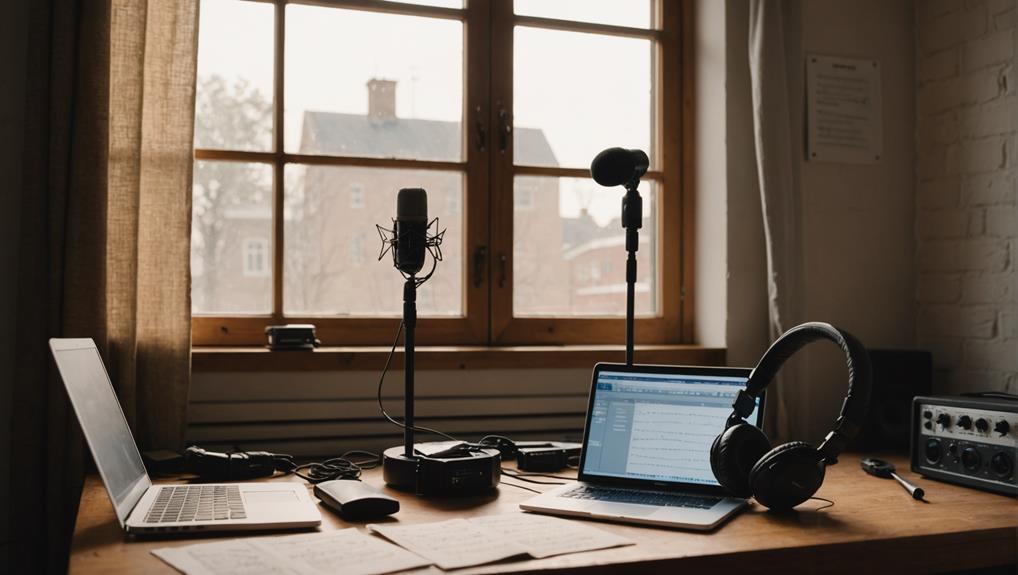
Begin by ensuring your microphones are placed correctly; mic placement can greatly influence the sound quality. Experiment with different positions to find what works best for your instruments.
Don’t forget to set up acoustic panels to minimize unwanted reflections and interference. This will help you capture a cleaner and more professional sound. Document successful mic setups with photos and notes to create a reference for future recordings. This practice not only saves time but also reduces the hassle of trial and error during sessions.
Having a basic recording strategy, including a simple schedule, keeps you organized and focused. Familiarize yourself with MIDI routing and studio configuration to prevent technical issues.
Understanding Room Acoustics
Understanding room acoustics is essential, as the unique sound characteristics of your recording space can greatly influence the quality of your tracks.
The room sound can shape how your music comes across, so take a moment to assess how it affects your recordings. If you’re in a larger space, you might enjoy some natural reverb that enhances certain instruments. However, when recording vocals, a smaller room is often better for capturing a dry sound.
To improve your recordings, consider using acoustic panels or foam to minimize unwanted reflections and echoes. These treatments can help create a clearer, more focused sound, especially when you’re using a vocal mic.
If you’re working with less-than-ideal acoustics, you can even make a makeshift vocal booth using blankets or other materials to control sound reflections.
Positioning your mic closer to the sound source can also help reduce ambient noise, allowing for a cleaner recording.
Microphone Techniques

Now that you’ve got a good grasp of room acoustics, it’s time to explore microphone techniques that can elevate your recordings even further.
Understanding microphone polar patterns, like cardioid and omnidirectional, is essential. Cardioid is great for isolating sound sources and reducing unwanted background noise, while omnidirectional captures sound from all directions, which can be useful in certain situations.
Positioning your microphone close to the sound source is key. This technique helps minimize background noise and enhances clarity. Don’t be afraid to experiment with different microphone placements and angles—these adjustments can greatly affect the tonal quality of your recordings.
While setting up, use headphones for monitoring sound in real-time. This allows you to hear exactly what you’re capturing, ensuring ideal placement for the best audio quality.
Additionally, conducting quick shoot-outs with various microphones and pre-amps can reveal the best combinations for achieving your desired sound.
Gain Staging Essentials
To achieve the best sound quality in your recordings, mastering gain staging is essential for maintaining a clean audio signal throughout the entire process. Proper gain staging helps you avoid unwanted distortion and noise, ensuring your home recordings shine.
Aim for a signal level that hovers around -18 dBFS to -12 dBFS during recording. This gives you ample headroom to prevent clipping while capturing a strong signal. Use a 24-bit recording format to benefit from a wider dynamic range, preserving audio quality during recording and mixing.
Here’s a helpful overview:
| Stage | Target Level |
|---|---|
| Mic Input | -18 dBFS to -12 dBFS |
| Preamp Output | -12 dBFS |
| Audio Interface Output | -12 dBFS |
| DAW Input | -12 dBFS |
| Final Mix | -6 dBFS (for mastering) |
Regularly check levels at each stage of the recording chain—input, output, and within your DAW. Utilize proper mic placement, preamp settings, and digital levels to optimize gain staging and achieve the best possible sound quality.
Recording Environment Tips
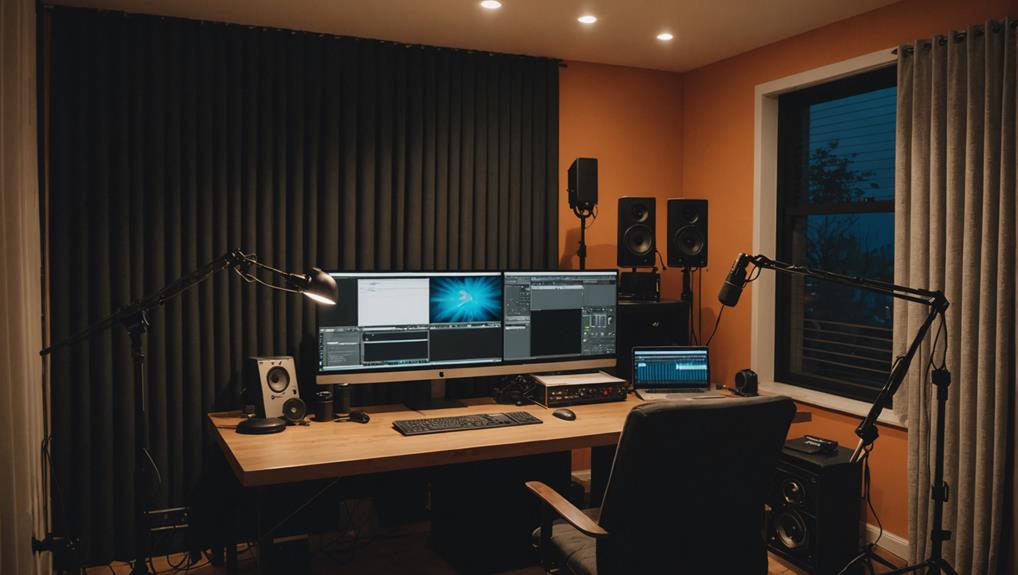
Creating an ideal recording environment is essential for capturing high-quality audio free from distractions and unwanted noise. Start by choosing a recording space with minimal external interference. Common culprits include pets, appliances, and weather, which can disrupt your audio quality.
Implement acoustic treatment using foam and panels to reduce reflections and enhance sound clarity in your home studio. If you’re recording instruments, larger rooms can provide a natural reverb, while smaller spaces work well for capturing dry vocal tracks. A clean, dry vocal track simplifies the mixing process, so consider building a makeshift booth using available materials to isolate sound effectively.
Don’t forget to test different room setups and mic placements. This evaluation lets you see how each arrangement impacts sound quality, ensuring the environment complements your recording needs.
Note-Taking Strategies
Effective note-taking during recording sessions can greatly enhance your workflow and help you capture the essence of your creative ideas. By implementing effective note-taking strategies, you can track strong takes, document mic placements, and refine your techniques for continuous improvement. Here’s a simple table to organize your notes:
| Timestamp | Mic Placement | Notes on Techniques |
|---|---|---|
| 00:01 | Vocal: 3 feet | Strong take, clear sound |
| 01:15 | Guitar: 12 inches | Adjusted EQ, nice warmth |
| 02:30 | Drums: overhead | Balanced mix, good punch |
| 03:45 | Bass: direct | Great depth, slight tweak |
| 04:50 | Keys: room mic | Adds space, consider reverb |
Using timestamps in your notes helps you locate specific moments quickly during playback, making the editing process smoother. A clear format—whether a dedicated notebook or a digital document—ensures you can easily categorize and retrieve information when needed. Regularly review and update your notes to reflect any new insights or changes in your technique, and you’ll see significant growth in your recording practices.
Collaborating With Others
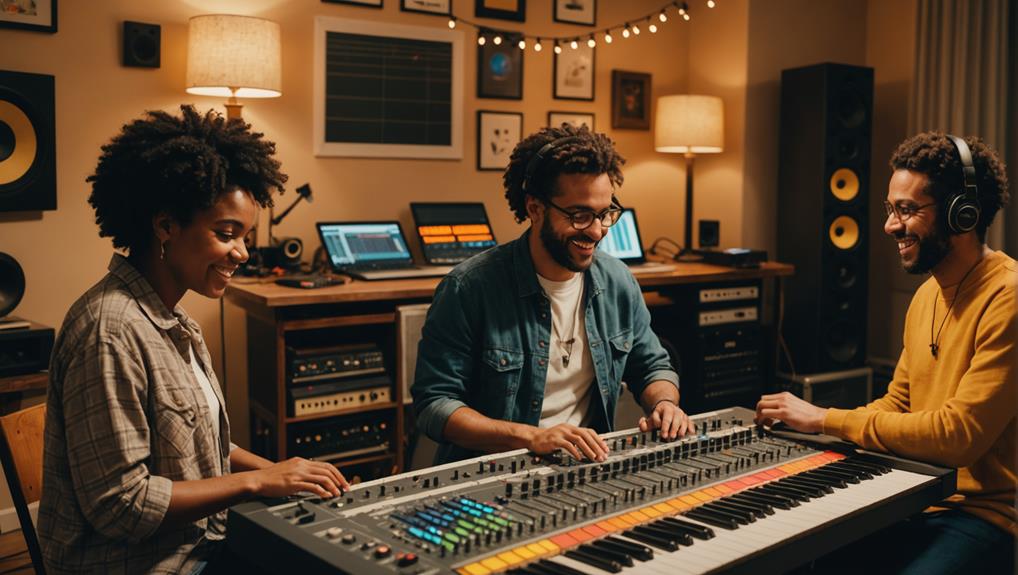
Collaborating with others can greatly enhance your musical projects, providing new perspectives and ideas that mightn’t emerge during solo sessions. By connecting with fellow musicians, you open up a world of creativity that can transform your recordings. Utilizing online collaboration tools allows you to reach artists globally, expanding your musical horizons and enriching your work.
Hiring remote session musicians can be a cost-effective way to bring fresh expertise into your tracks. They can provide valuable insights that elevate your recordings, giving them a professional edge. Additionally, consider sending your multitracks to experienced professionals for mixing and mastering, as they can enhance the overall quality of your music.
Engaging with active forums and online communities is another excellent strategy. These platforms connect you with other musicians who can share gear recommendations, recording techniques, and industry news. You’ll not only learn but also find a supportive environment to grow in your craft.
Ultimately, collaborating with others fosters creativity and helps mitigate the isolation often felt during self-recording sessions. Embrace these opportunities, and you’ll notice a significant improvement in both your skills and your projects.

One response to “Easy Audio Recording Tips for Beginner Musicians”
[…] experiment with microphone techniques to ascertain you're capturing the best possible sound from the start. Visual representation […]