To kickstart your effective home audio recording journey, gather essential equipment like a Digital Audio Workstation, audio interface, and a reliable microphone. Create an ideal recording environment by selecting a quiet room and incorporating sound isolation techniques like heavy curtains. Understand basic recording techniques, such as vocal delivery and microphone placement, to enhance audio quality. Don’t skip on acoustic treatment—foam panels and bass traps can make a huge difference. As you experiment with mixing skills, focus on gain staging and EQ to balance your tracks. If you explore further, you’ll uncover even more tips to elevate your recordings.
Key Takeaways
- Choose a reliable Digital Audio Workstation (DAW) like Ableton Live or GarageBand to facilitate your recording process effectively.
- Invest in a quality audio interface to connect your microphones and instruments, ensuring optimal sound capture.
- Create a quiet recording environment with sound isolation techniques, such as using heavy curtains and acoustic foam panels.
- Understand basic recording techniques, including microphone placement and polar patterns, to enhance audio quality.
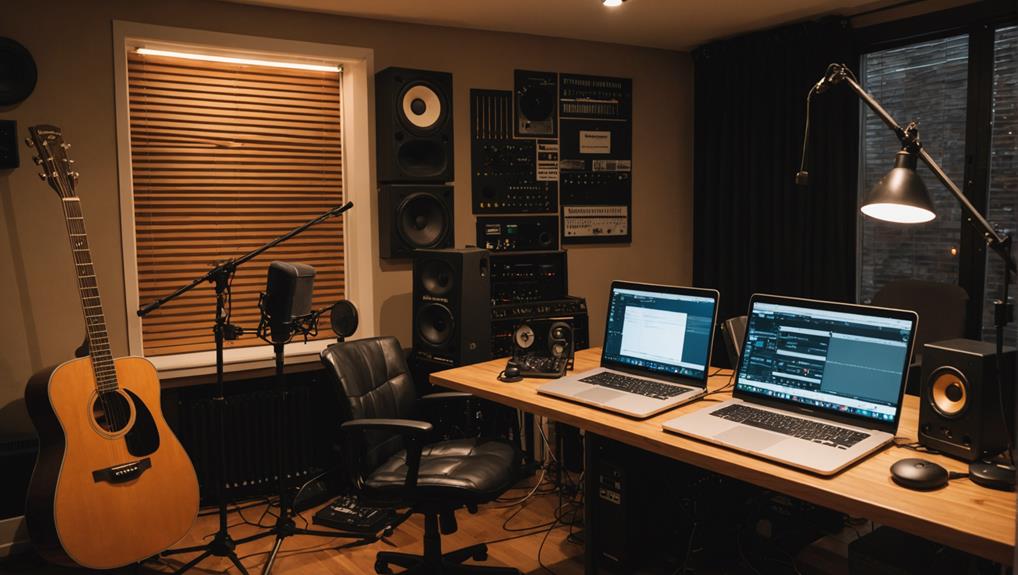
Essential Equipment for Home Recording
To set up your home recording studio, you’ll need some essential equipment that guarantees high-quality audio capture and mixing.
First, invest in a reliable Digital Audio Workstation (DAW) like Ableton Live, GarageBand, or Pro Tools, as it serves as your primary recording software.
Next, an audio interface is vital for connecting your microphones and instruments to your computer while providing upgraded sound quality. Make sure your interface has preamps to power your condenser mic, which is ideal for studio recordings.
For capturing vocals and instruments, choose a quality microphone; condenser mics, such as the Behringer C-1, excel in this area. Don’t forget to include accessories like a pop filter to minimize plosive sounds and a sturdy microphone stand for stability.
To monitor your recordings accurately, invest in over-ear headphones for better bass response and sound isolation.
Finally, consider adding studio monitors for a more balanced sound during mixing.
With these essentials in place, you’ll create a home studio that enhances your recording experience and produces professional-quality audio.
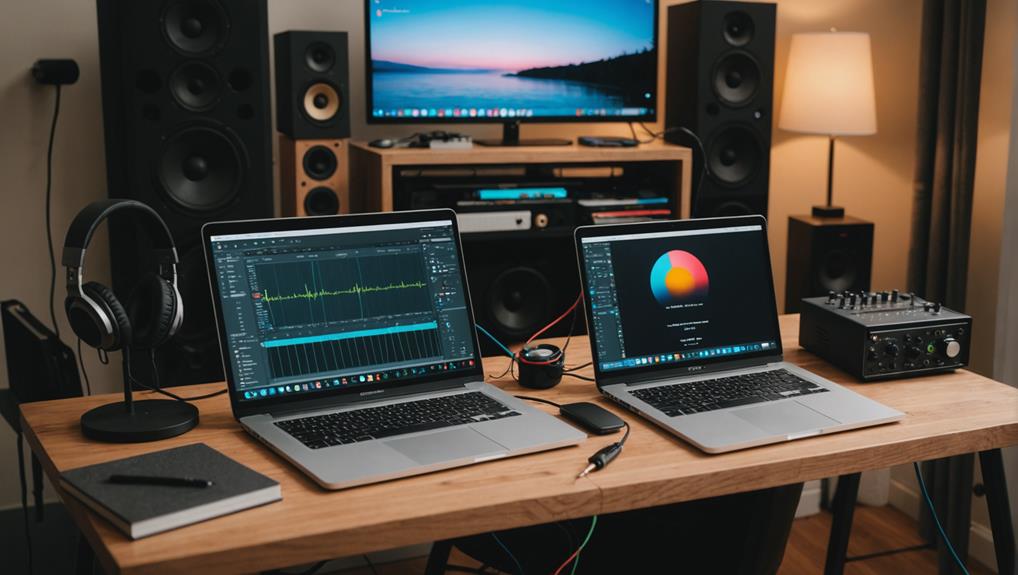
Creating an Ideal Recording Environment
Creating an ideal recording environment starts with sound isolation, as minimizing external noise is fundamental for achieving high-quality audio.
Begin by selecting a quiet room for your recording space. You can enhance sound isolation by utilizing heavy curtains and carpets to reduce room reflections, effectively creating a makeshift vocal booth. Avoid spaces with excessive reverb; controlled environments lead to cleaner recordings and better mixing outcomes.
Consider the room’s structure, as high ceilings and irregular surfaces can enhance acoustics, improving your overall audio quality. Acoustic treatment is also important, so look into adding foam panels or bass traps to manage sound waves effectively. This will help you control unwanted echoes and guarantee a more polished sound.
Lastly, don’t underestimate the importance of organization. An efficient workflow is crucial, so set up your recording space for easy access to equipment and a comfortable setup.
With these strategies in place, you’ll create a recording environment that not only improves your audio quality but also makes the recording process more enjoyable and productive.
Understanding Basic Recording Techniques
With your recording environment set up for ideal sound quality, it’s time to explore basic recording techniques that will help you capture your audio effectively. The recording process typically involves four key steps: recording, editing, mixing, and mastering. Each step is vital for transforming your song ideas into polished music sound.
When it comes to vocal recording, pay close attention to the performer’s delivery and technique, as this directly impacts your final track’s audio quality. Understanding microphone polar patterns, such as cardioid and omnidirectional, is essential for effectively capturing sound in various scenarios. Choose the right pattern based on your home studio setup and the sound you want to achieve.
Don’t overlook stereo recording techniques, as these can greatly enhance your audio quality, creating a more immersive listening experience. Many beginners miss out on this aspect due to a lack of knowledge, so take the time to learn about panning and depth in your mixes.
Embrace these basic recording techniques, and you’ll be well on your way to producing high-quality audio in your home studio.
Acoustic Treatment Solutions
Effective acoustic treatment is essential for achieving clear, professional-quality recordings in your home studio. By controlling room acoustics and reducing unwanted reflections, you can greatly enhance sound quality. Here are some key solutions to take into account:
- Acoustic foam panels: These absorb sound and minimize reflections, leading to clearer recordings (Price: $50-$200).
- Bass traps: Placed in corners, they control low-frequency buildup, preventing muddiness in your recordings (Price: $50-$150).
- Monitor isolation pads: These help reduce vibrations and resonance from studio monitors, ensuring accurate sound representation during mixing (Price: $30-$100).
- Diffusers: These scatter sound waves, preventing harsh reflections and creating a more balanced sound environment.
Investing in quality acoustic treatment materials creates a controlled environment that’s vital for your home recording studio.
With the right setup, you can focus on making great music, knowing your recordings will sound professional and polished.
Don’t underestimate the impact of proper acoustic treatment—it’s a game changer for your sound quality!
Developing Your Mixing Skills
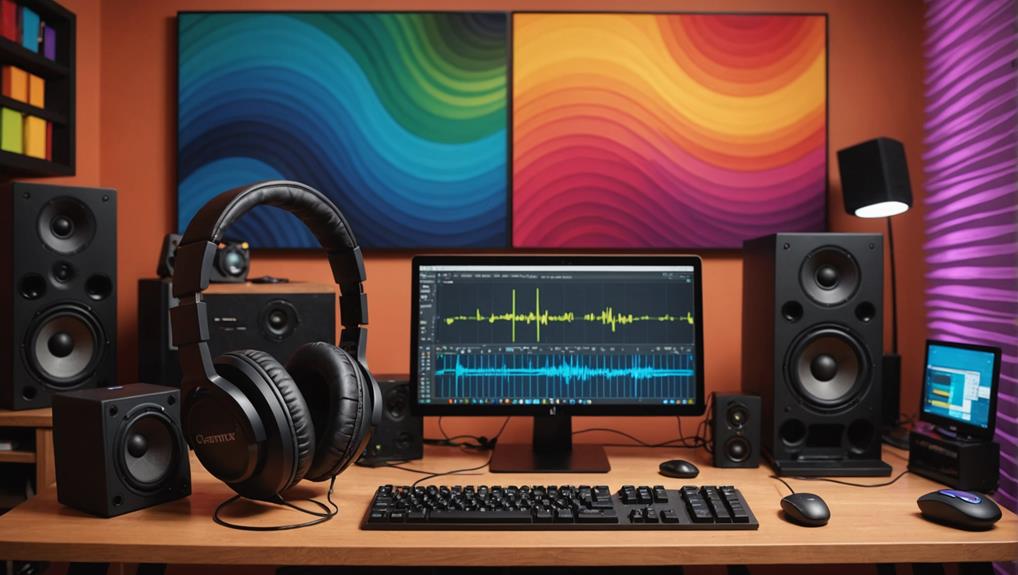
Mastering your mixing skills can greatly elevate the quality of your home recordings and bring your musical vision to life.
Start by focusing on proper gain staging throughout the mixing process. Keeping track levels between -12 dB and -6 dB prevents distortion and guarantees clarity. Use EQ to carve out space for each instrument, applying high-pass filters to eliminate unnecessary low frequencies and avoid muddiness.
Experiment with panning techniques to enhance the stereo field, creating a sense of space and separation among sounds. This can considerably improve clarity and make your mix feel more professional.
To control dynamic range, employ compression, ensuring softer sounds are audible while preventing louder peaks from distorting. Aim for a 3:1 or 4:1 ratio for vocals and instruments to maintain balance.
Regularly reference professionally produced tracks in your genre. This will help you identify tonal balance, volume levels, and spatial qualities, guiding your mixing decisions.
Learning Through Experimentation
Developing your mixing skills sets the stage for exploration, where learning through experimentation can lead to innovative recording techniques and unique sound qualities.
Embrace the process of trial and error, as your mistakes are stepping stones toward mastering audio quality.
Here are some ways to enhance your experimentation:
- Experiment with microphone placement: Different positions can reveal unexpected sound qualities.
- Explore various polar patterns: This helps capture the essence of your recordings.
- Engage in critical listening: Analyze high-quality recordings to refine your ear for mixing.
- Utilize free online resources: These tutorials can provide insights into diverse recording techniques.

One response to “Beginner's Guide to Effective Home Audio Recording”
[…] proper acoustic treatment is critical in minimizing these sound reflections, as highlighted in essential equipment for home recording. By using acoustic panels and bass traps, you can considerably improve clarity and balance in your […]